


When it comes to high-altitude trekking, your backpack is one of your biggest investments (along with your winter jacket and hiking boots). So you want to make a smart choice.
For high-altitude trekking, you want a decently large outdoor backpack that can carry enough water and all of your necessary gear.
Very large adventure backpacks were traditionally called rucksacks. But nowadays the distinction is rather outdated, and large carriers that you might once have argued are called rucksacks are also called backpacks. (Just a little heads up on that one when it comes to doing any online research. 😉)
In this post we discuss the characteristics of a good backpack for high-altitude trekking, looking at everything from pockets to fabric to size.
The best backpacks for high-altitude trekking
There are a number of characteristics to consider when choosing a backpack, especially for use at high altitude. We look at them all, in the following order:
- Frame
- Volume
- Weight
- Size
- Straps
- Organisation and accessibility
- Hydration pack
- Ventilation
- Fabric
- Padding
- Rain cover
Frame
There are three types of backpack frames: frameless, external frame, and internal frame. For high-altitude trekking, you want a backpack with a frame.
A frameless backpack
The pros of backpack frames
Frameless backpacks are the domain of city slickers, and have no business on a trek. We say this because backpack frames serve a handful of purposes:
- They have shape even when empty, and this makes it easier to pack and unpack them.
- They help to distribute the weight of your gear more evenly. (This is the most important point.)
- They help to protect your gear from being crushed.

Hikers wearing backpacks with internal frames
So now that you know why backpack frames are useful, you may well ask: should I get an external or internal frame? We tend to go the way of the internal frame backpack when it comes to high-altitude adventure trekking. Here's why ...
External frame backpacks
External frame backpacks aren't seen as much these days as they were in the past.
External frame backpacks are favoured by the military and those with a nostalgic bent.
Here are the pros, cons and other considerations of external frame backpacks:
- These backpacks have a metal frame that sits between your back and the backpack (as shown below). The backpack therefore sits a little ways away from your body. This is great for ventilation.
- An external frame backpack has lots of pockets and places to attach items. These help with sorting your gear and smaller items can be accessed really easily.
- These backpacks can handle really heavy loads (which is why they're often favoured by the military).
- They sit high on your body, which makes walking in an upright position easier.
- The shoulder straps are harder to adjust than they are with internal frame backpacks. You therefore really need to ensure you get the right height frame for your body.
- They're often a little more affordable than internal frame backpacks.
- If you're bushwhacking, you stand a good chance of snagging branches.
Internal frame backpacks
Internal frame backpacks work really well for most hikers and trekkers.
Most high-altitude trekkers do well when they choose a backpack with an internal frame.
An internal frame backpack
Here are some important points to note about internal frame backpacks:
- Internal frame backpacks sit flush against your back. You're thus likely to get a sweatier back than with an external frame. (But not all internal frame backpacks are created equal; as we discuss in the next point, you should look for an internal frame backpack with a good ventilation system in place.)
- Internal frame backpacks are better suited to rough terrain that requires scrambling, leaning, and so on, as your centre of gravity is closer to normal. When properly adjusted, internal frame backpacks also don't shift much, which is a big positive.
- They tend to have a bigger internal capacity than eternal frame backpacks. This means more can be stowed on the inside, and you have fewer items likely to catch onto foliage as you walk.
- Internal frame backpacks sit lower on your back than those with external frames. This means you have to learn forward a little if you want to transfer weight to your lower torso and legs.
- Finally, these backpacks are more compact and sleek than those with external frames, which makes them easier to travel with and stow.
Volume
Generally speaking, adventure backpacks range from 15 to 50 litres in volume (capacity).
The volume you need in a backpack depends on four things:
- The duration of your trek.
- The sort of trek you plan to do. For instance, do you need camping and cooking gear? Are you going into snowy terrain?
- Whether or not you'll have help carrying your belongings. We're talking here of sharing the load with fellow trekkers, or making use of the services of a porter.
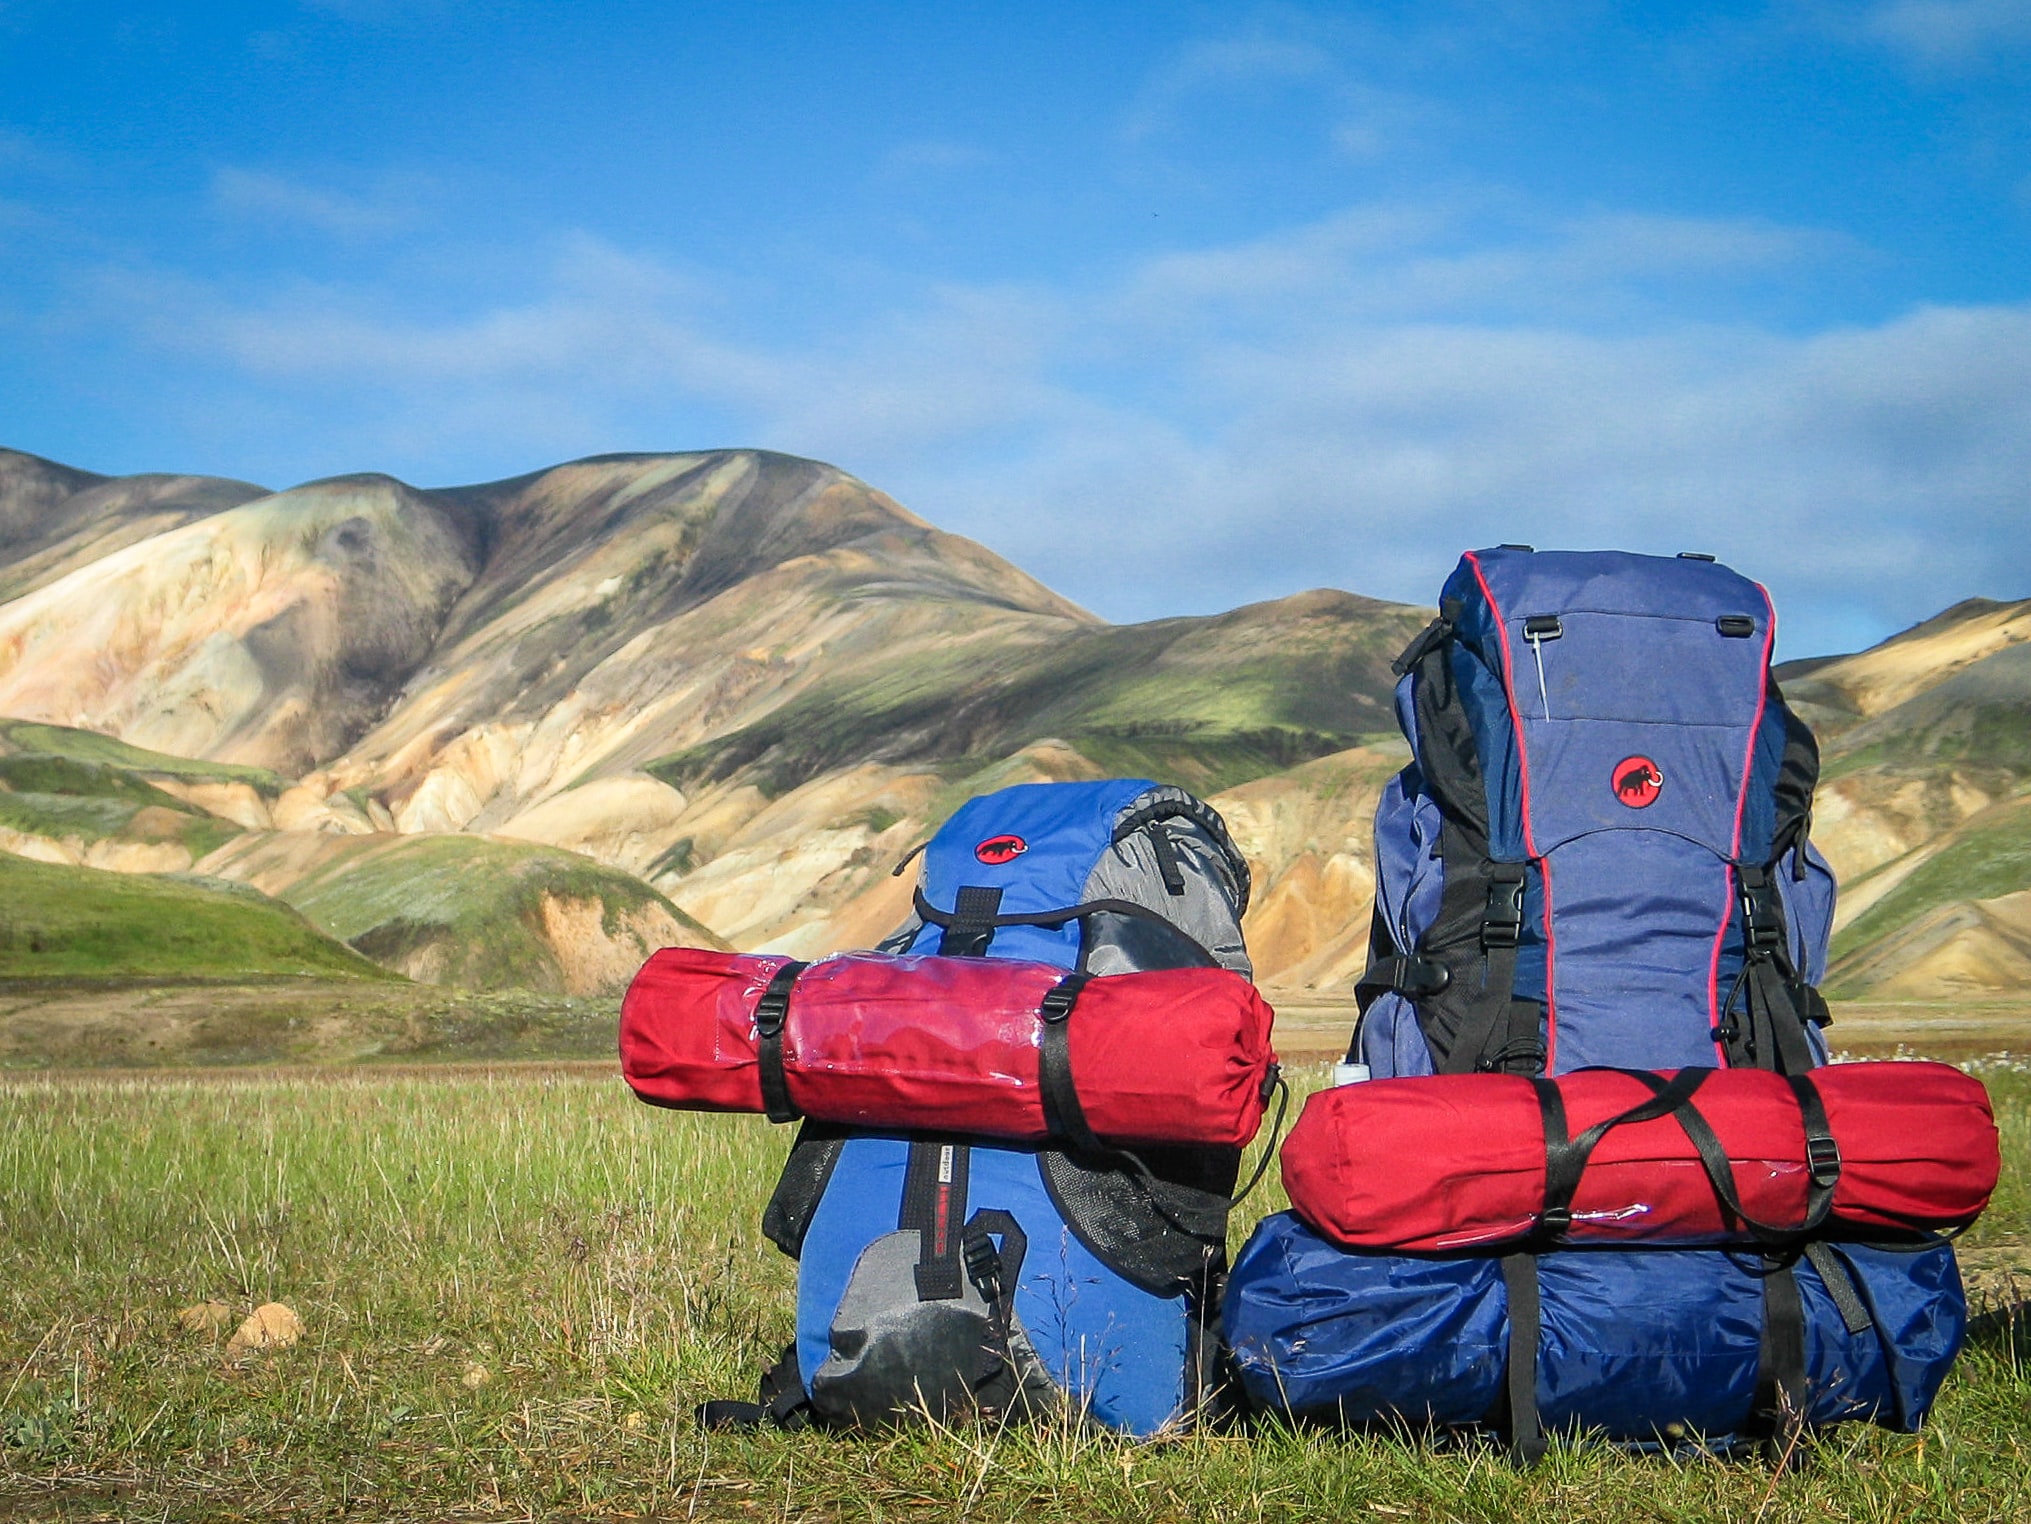
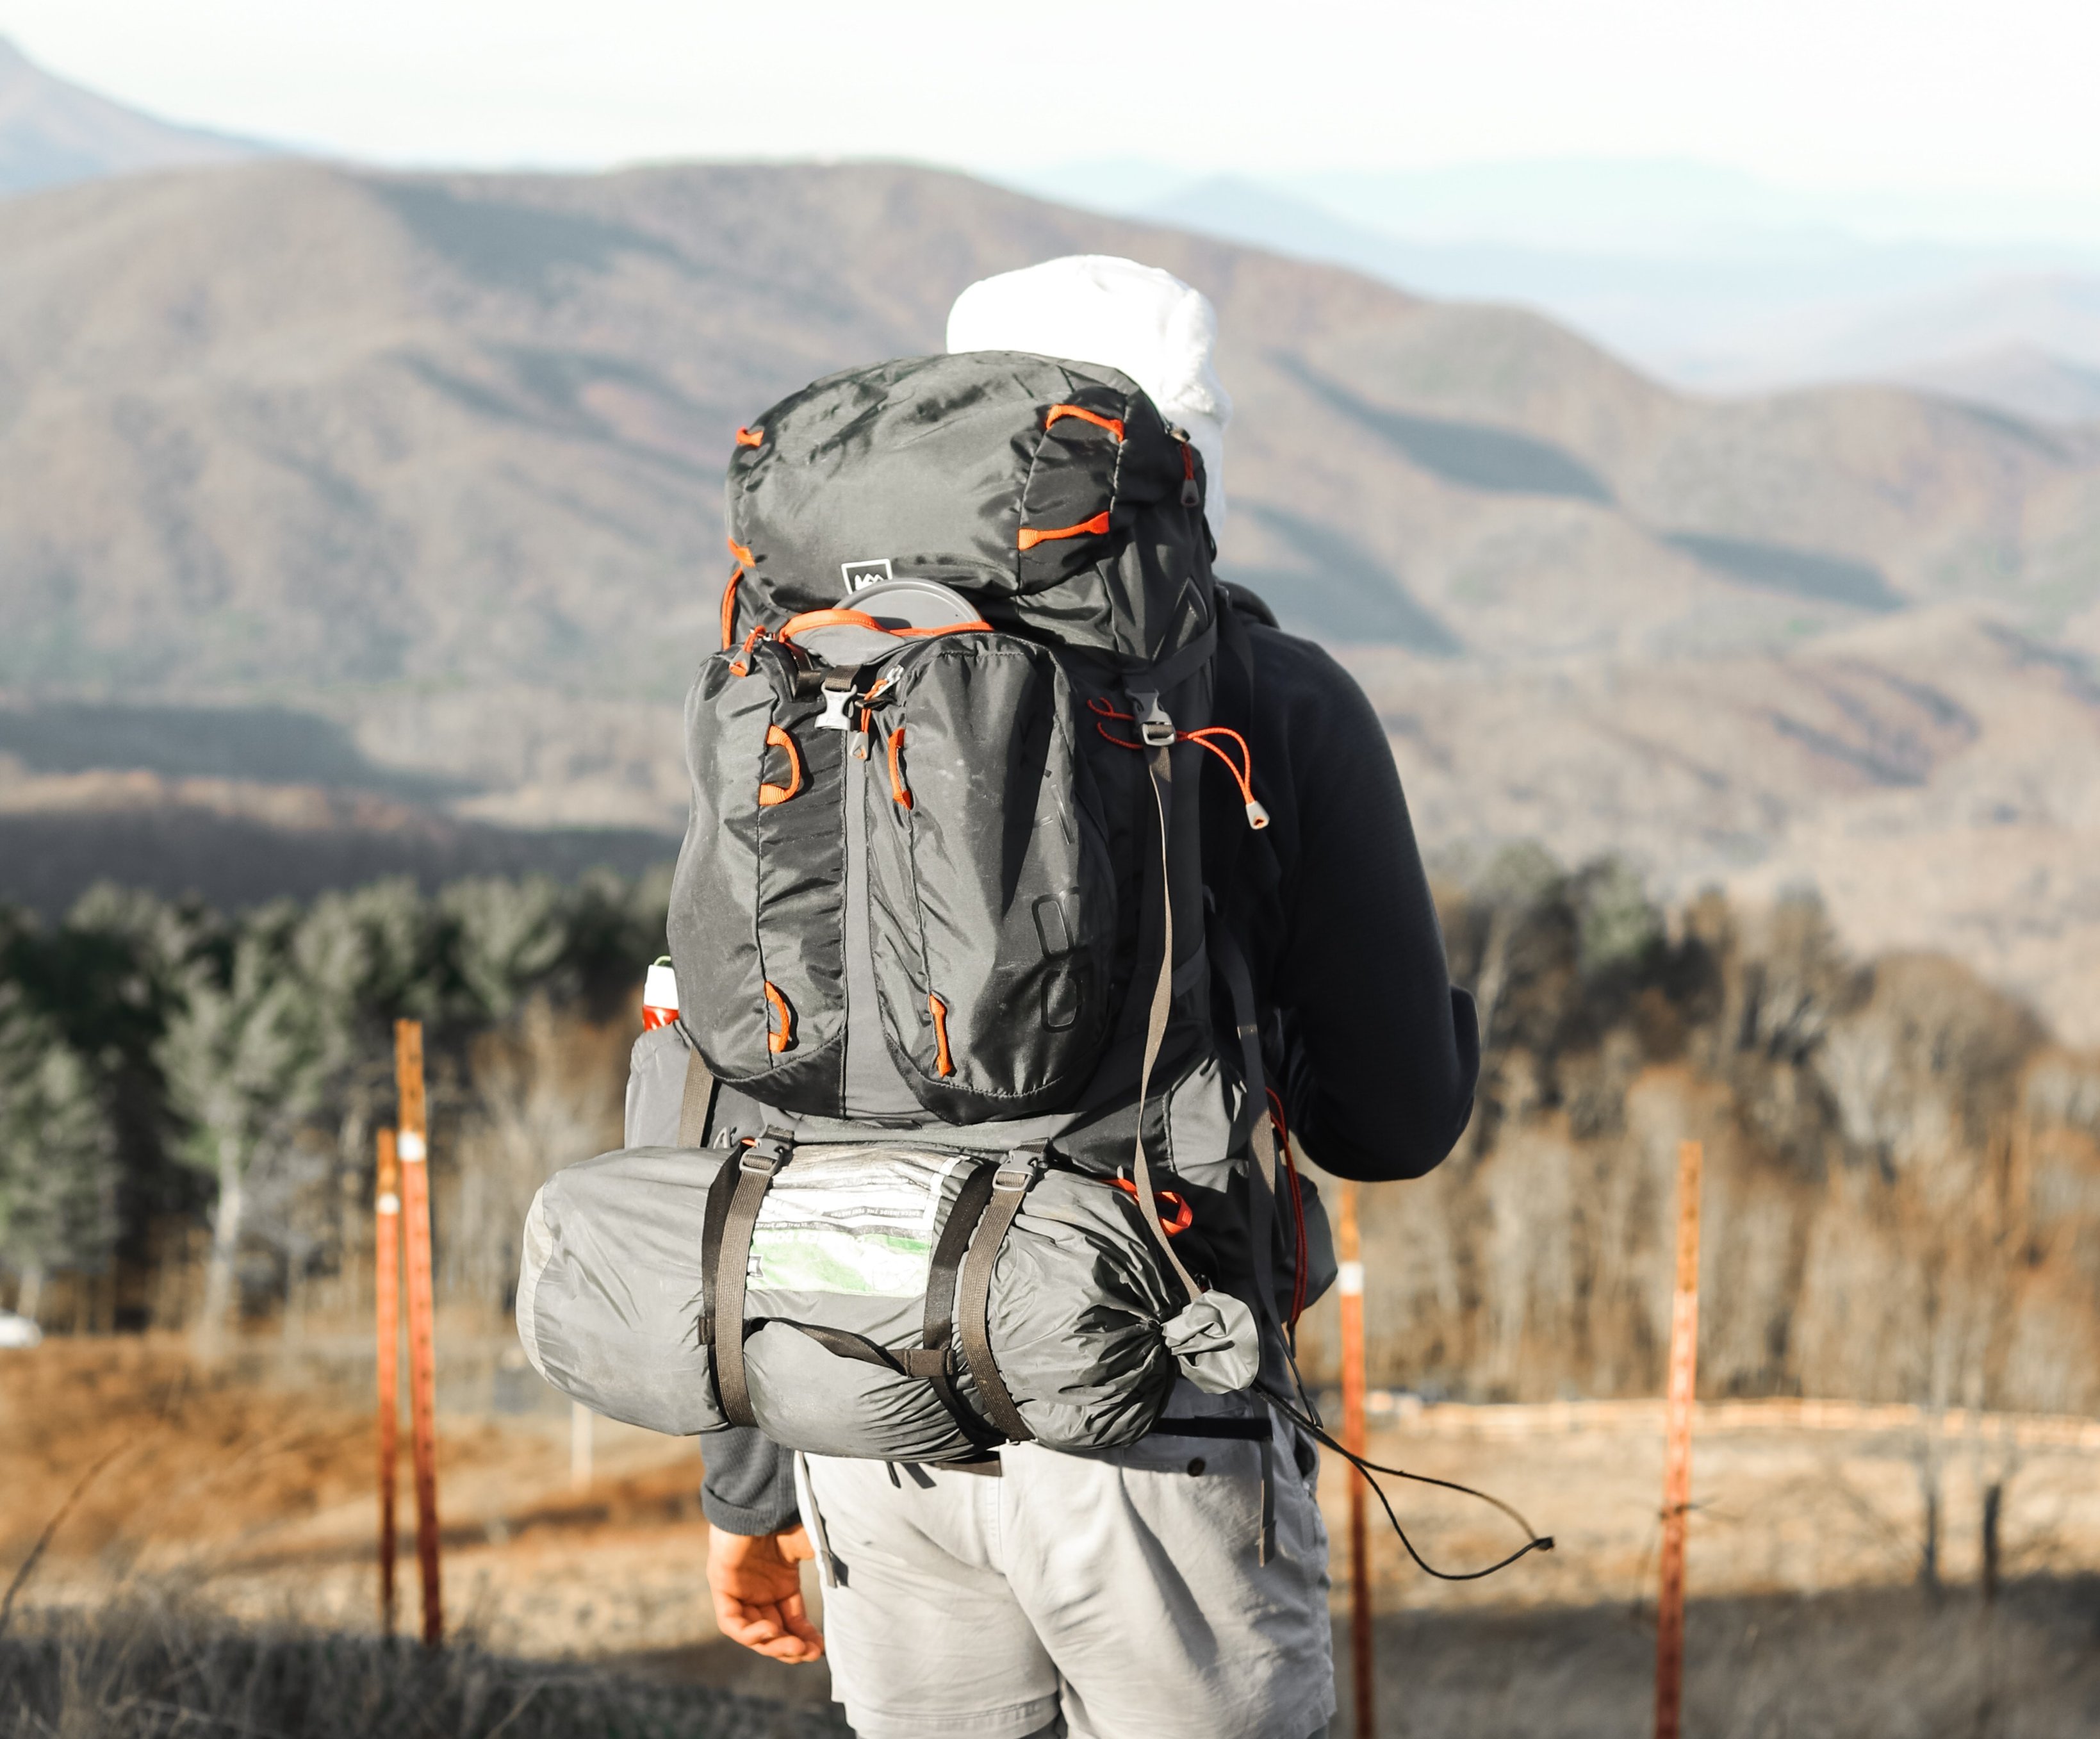
That said, for most of us, the nature of our treks is likely to vary from one to the next. So it makes sense to purchase a relatively large backpack to ensure it can do duty on whatever adventure comes next. You don't need to fill your backpack each time, after all. And if you have compression straps (which we discuss further on and can be seen on the backpack below), you can tighten your backpack up on occasions when it's not full.

A large backpack with side compressions straps
A backpack of around 50 litres suits most high-altitude trekkers who don't need to carry camping and cooking equipment.
When deciding on the volume of your backpack, check to see if there are rear-loader straps. As we discuss in a moment, these straps allow you to attach the likes of a blanket or sleeping bag to the bottom of your backpack. If you don't have these straps, you'll need a backpack that's large enough to allow you to fit these into the main pouch.
Also remember that that your hydration pack (water bladder) will take up space too. We discuss this in more detail later on as well.

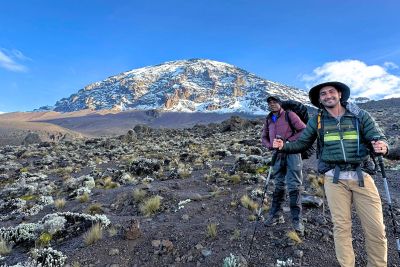
You only need a relatively small backpack if you have assistance carrying your main gear, like you do on Kilimanjaro
On all Follow Alice high-altitude treks, like trekking to Everest Base Camp, you do indeed have help to carry your luggage in the form of porters. And on a Kilimanjaro climb, porters also carry your camping and cooking equipment, as well as your food. So all you need for such adventures is a decently sized backpack of around 40 to 50 litres in which you can carry what you need for that day's hike.
Weight
Nobody wants an unnecessarily heavy backpack, as that will wear you down. Instead, you want a backpack that's as lightweight as possible, while still being strong, durable and large enough to carry all of your necessary gear.
A full backpack that's about 20% of your body weight is plenty of load to carry. For someone who's 70 kg, for instance, that's a 14 kg backpack. Note that any backpack weighing in excess of 25% of your body weight is likely to become a problem on the trek.
As a rule of thumb, a loaded backpack shouldn't exceed 20% of your body weight.
Most empty outdoor backpacks weight around 1 to 3 kg (2.2 to 6.5 lb). A 3 kg backpack is actually pretty heavy, and we wouldn't recommend it for a novice trekker. If you're opting for a 50 litre backpack, we recommend that you look for one that's under 1.5 kg (2.2 lb).
Plane luggage limitations
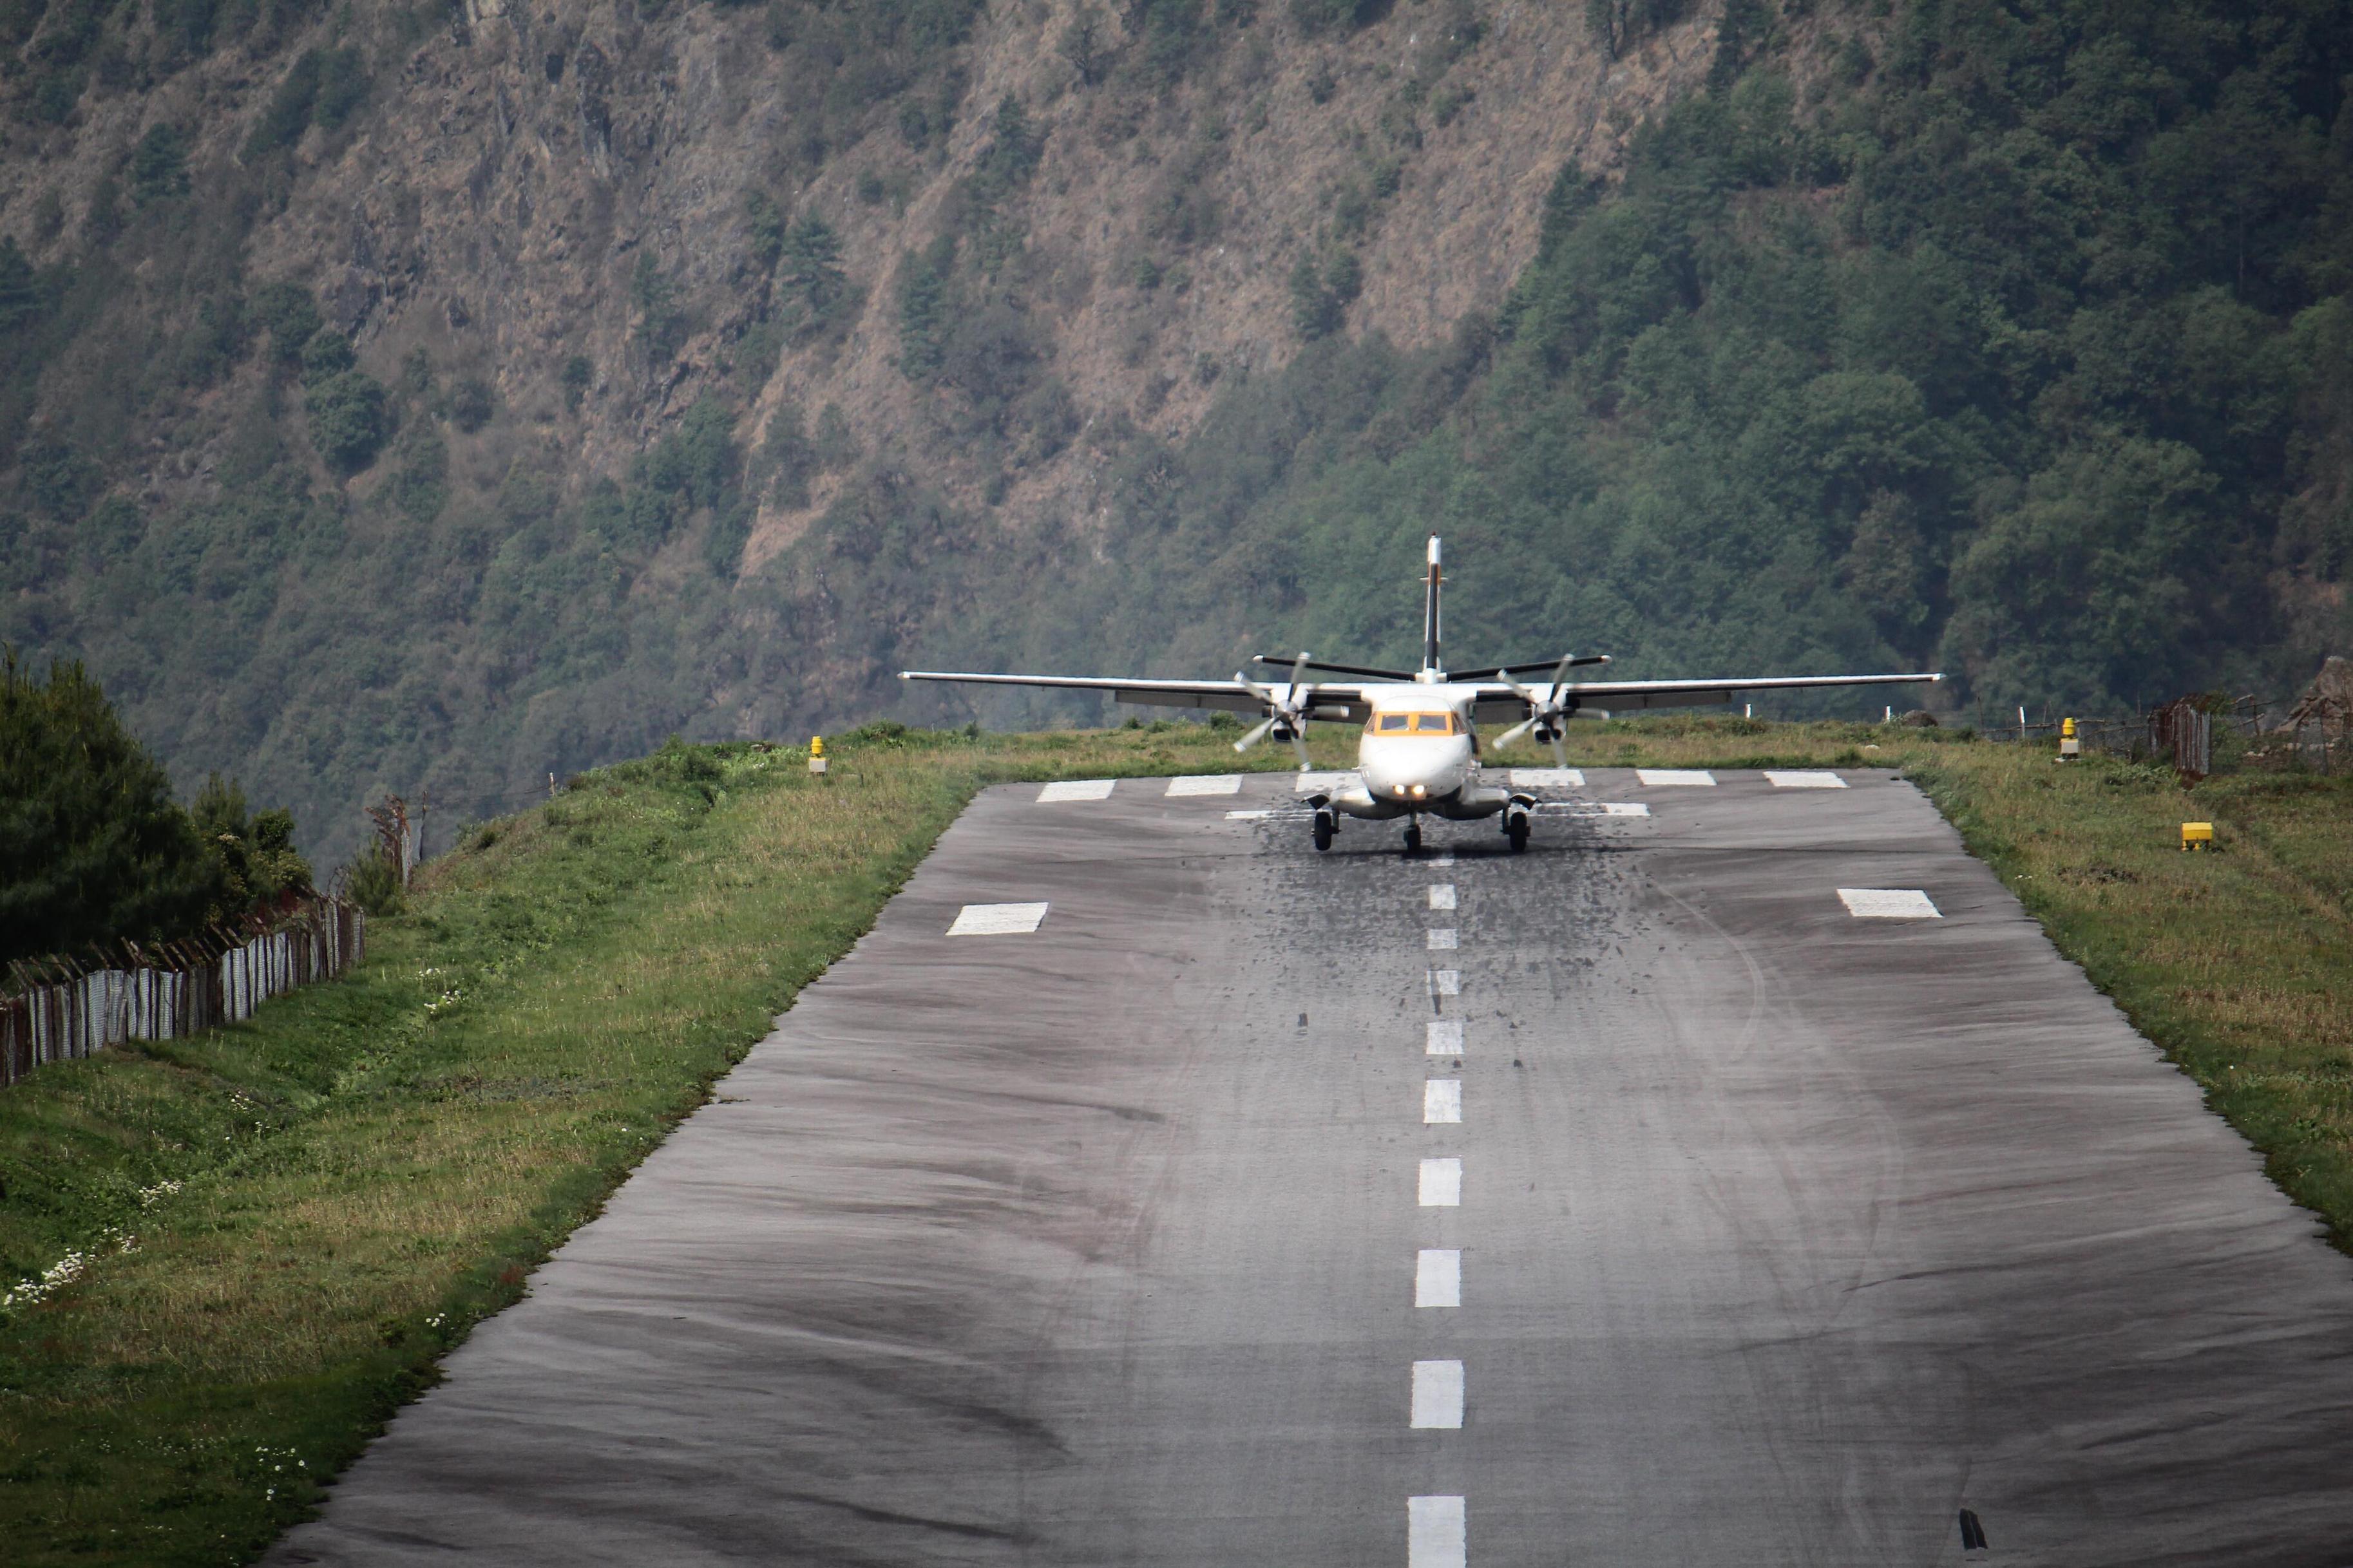
The type of small plane you fly to reach the start of the Everest Base Camp trek
Another thing to consider when it comes to backpack weight is any possible weight restrictions on plane or helicopter flights. For both of our treks in Nepal, for instance – the Annapurna Circuit and Everest Base Camp trek – you must take a flight on a small plane. The luggage limitation on these flights is 15 kg per person.
Even if you wear your heavy boots and winter jacket, 15 kg is not an excessive luggage allowance. So again, you don't want the backpack itself to take up precious kilograms that could go to gear.
Size
The size of a backpack is different from its volume.
Size refers to its dimensions. It's the height of the backpack and its hip circumference that really matter here; you want to ensure the backpack's frame is a good size for your frame.

You should choose a backpack size based on your torso length and hip width
Fixed vs adjustable suspension
Some backpacks come with an adjustable suspension or harness. This lets you modify the backpack to suit your torso length and so have it fit you more precisely. This is helpful if you're in between sizes, or if you're going to be sharing the backpack with others, like a family member.
The downside of an adjustable suspension is that it does add a little extra weight to the backpack.
Most backpacks have no such suspension system, and so you need to ensure you get the correct size. Naturally, the best option here is going inside a bricks-and-mortar backpacking shop where you can try on a range of differently sized backpacks and get expert advice.
If you don't have that option, then you need to measure your torso length and hip circumference to help you to determine which backpack to order.
Measuring your torso length
For your torso length, you need to measure the straight line from your C7 vertebra down to your hip line. Your C7 vertebra is the main, pokey-out vertebra at the base of your neck. Your hip line is the straight line between your tops of your two hip bones (your iliac crest).
So to measure you torso length, stand with your thumbs at the top of your hip bones, and drop your head forward, and then have someone else measure the distance between the two with a tape measure.
It's your torso length that decides your backpack's height – not your height.
Measuring your hip circumference
Your hip circumference is also an important measurement as you want a backpack with an appropriately sized hip belt.
You want most of your backpack's weight to rest on your hips, not your shoulders, as your legs contain your strongest muscles and should carry most of the burden.
Note that you want to measure the circumference at the top of your hip bones. This is a little higher than where your pants (trousers) would sit, so it's a slightly different measurement. Just use a tape measure to get your measurement.
Once you have your torso and hip measurements, you can use these against a backpack's specs to find the right size for you. Most good backpacks come in a range of sizes, so you should be able to get the backpack style you want in your size.
Straps
As we’ve previously mentioned, the fit of your straps is important. Straps that are too snug can lead to rubbing points and strain on your body. Straps that are too loose will lead to an uncomfortable fit and could have you adjusting your posture to accommodate the misaligned load.
The most important straps on any good high-altitude backpack are:
- Shoulder straps
- Sternum straps
- Compression straps
- Hip straps (or hip belt)
Shoulder straps
Good shoulder straps fit snugly, but not too snugly, thereby evenly distributing the weight around your shoulders and back. They're adjustable, so that you can tighten or loosen them as you feel the need. The tighter they are, the higher up on your back the backpack will sit.

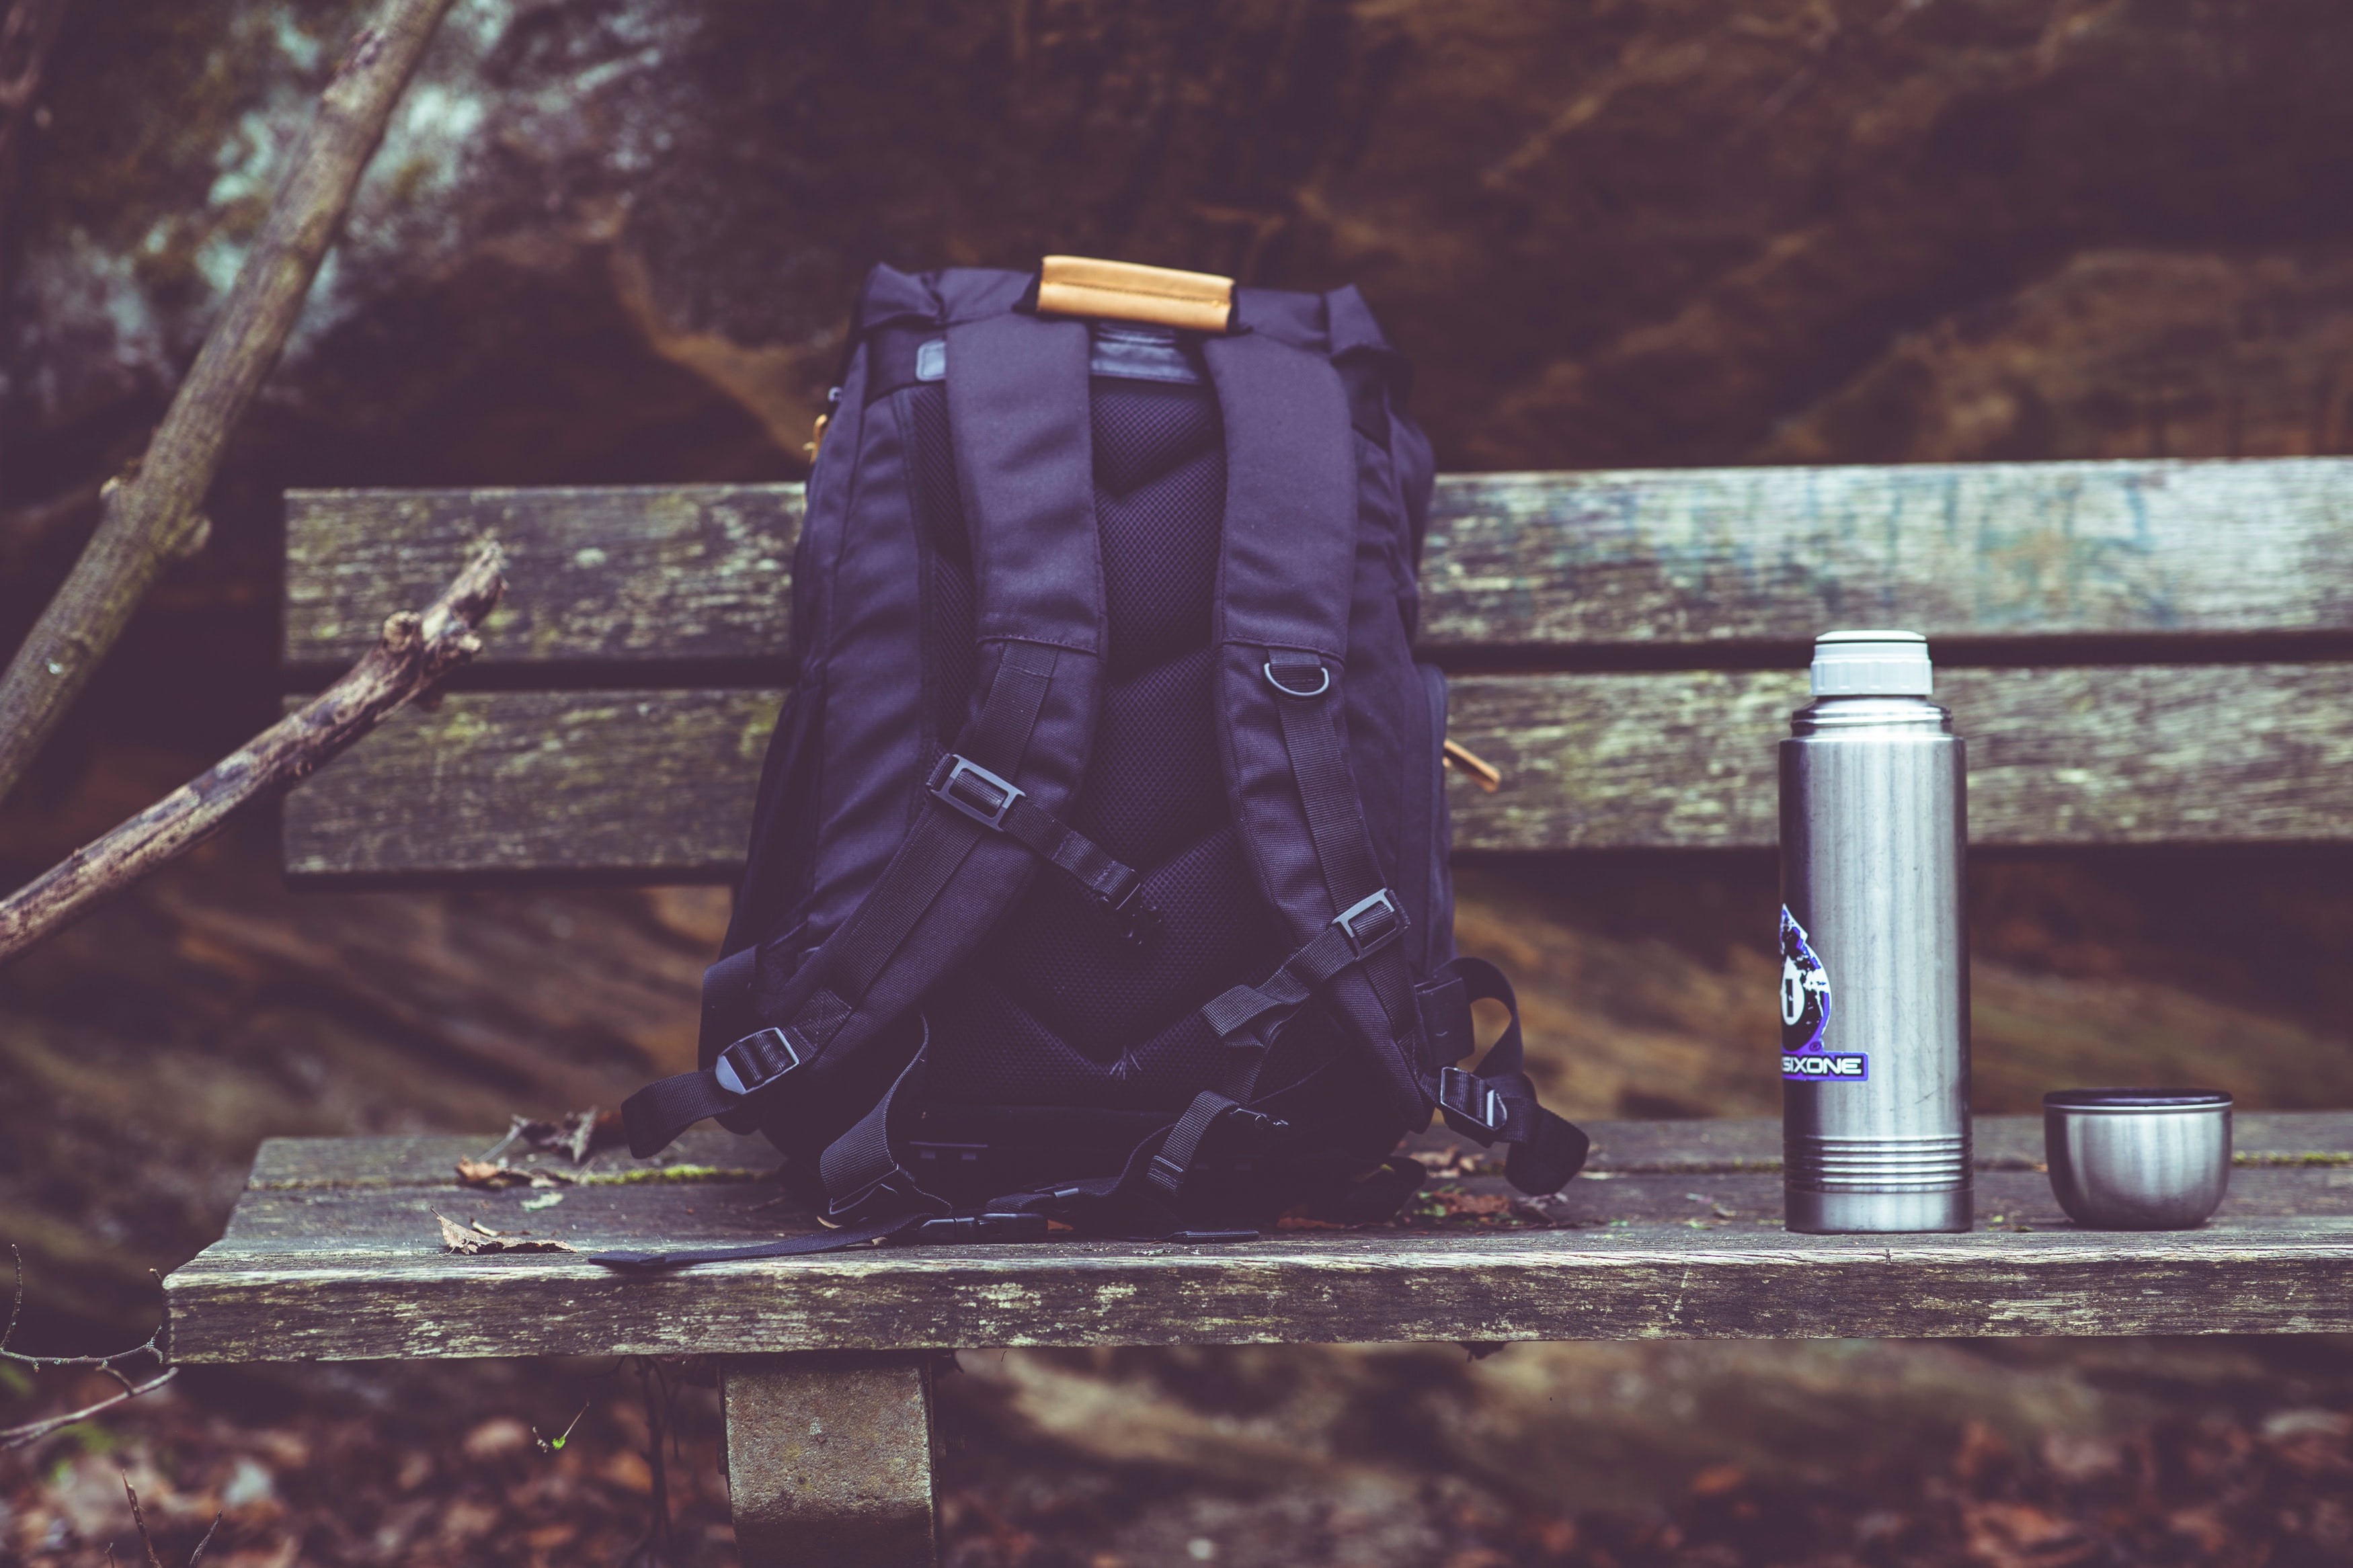
Shoulder straps should be wide and padded to be comfortable
You get the following types of shoulder straps:
- Straight straps. These aren't ideal for outdoor backpacks – they're more the domain of fashion backpacks.
- One-piece straps. These shoulder straps are connected by a bridge, making them 'one piece' of fabric. They can seem an attractive choice, as the bridge can serve as a grab handle. But you're limited in how high you can wear the backpack before the bridge rubs up against the base of your head.
- S-shaped straps (also called curved straps). These shoulder straps follow the contours of your body and are very ergonomic. These are what you'll mostly find on internal frame outdoor backpacks.
S-shaped shoulder straps are the most ergonomic and the best suited for trekking.
Sternum straps
Sternum straps – or chest straps – are small, adjustable straps that protrude perpendicularly from your shoulder straps. They lock into place with a clasp.

Three of these four Kilimanjaro climbers have their sternum straps in place
Sternum straps take some of the pressure off your shoulders and onto your chest. They also help to keep your shoulder straps from shifting or sliding. So they help with weight distribution as well as stability and comfort. They're a must-have for high-altitude trekking.
Compression straps
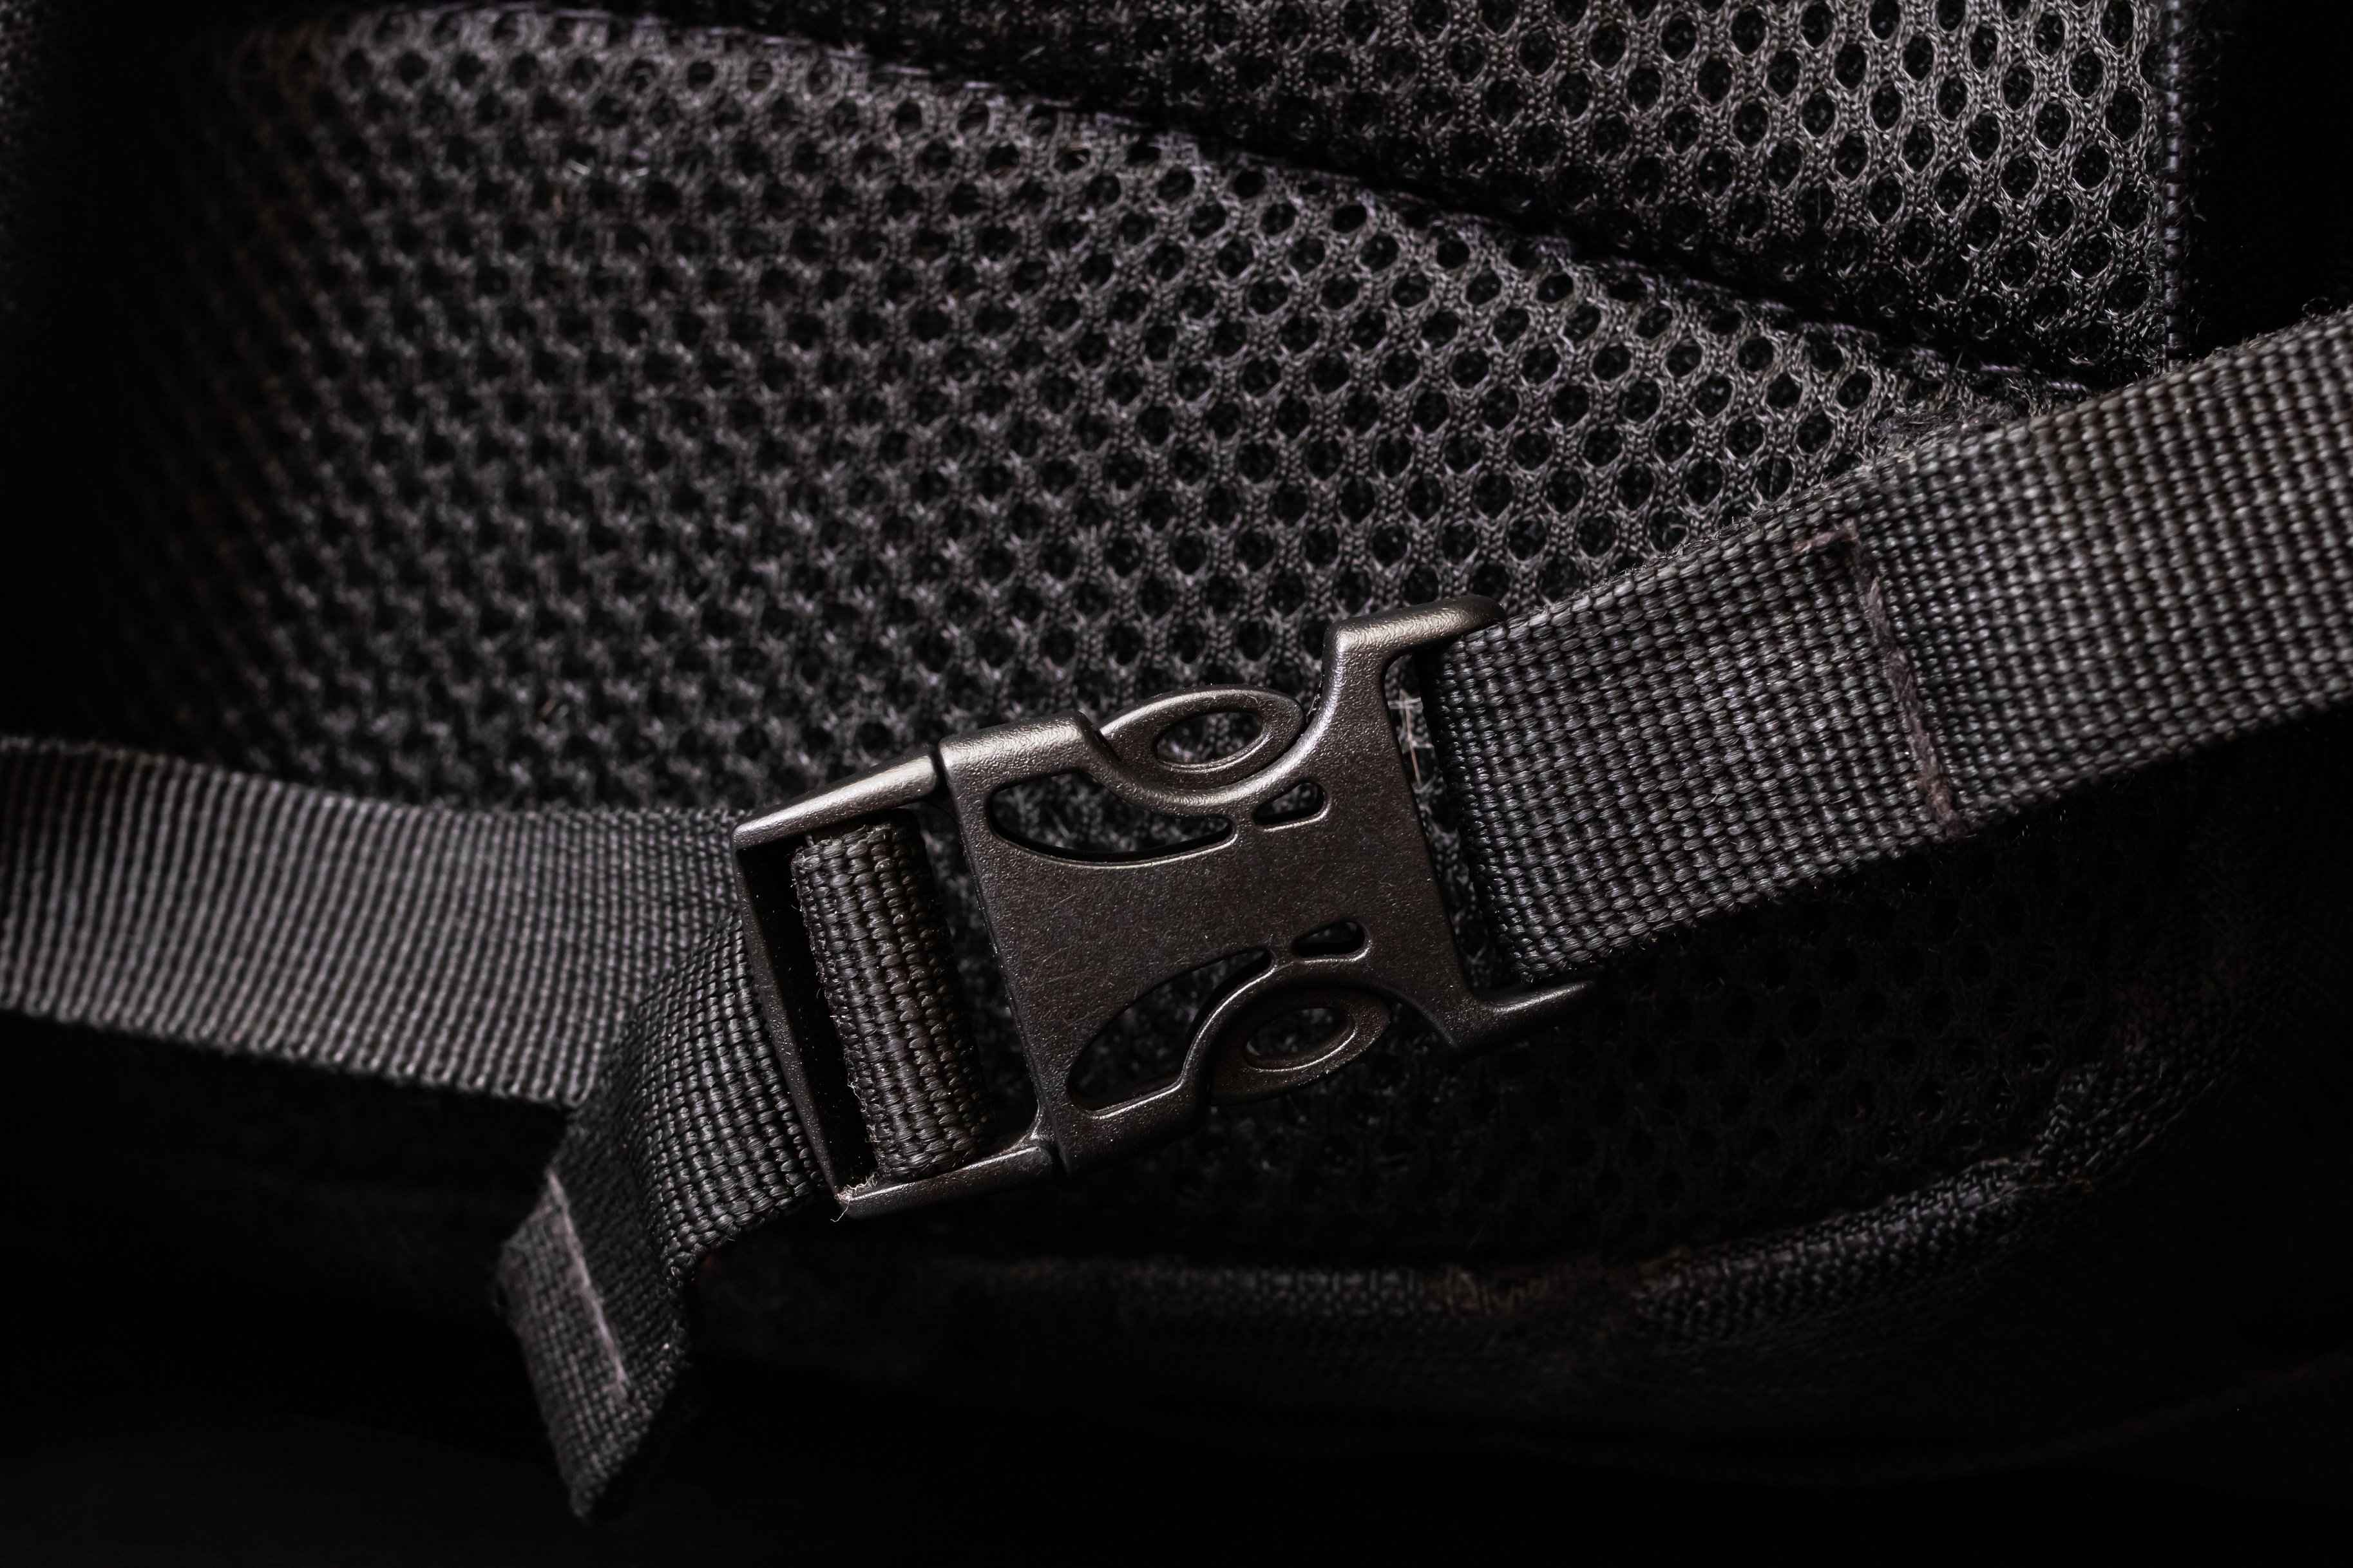
These guys can be found on the sides of the backpack and allow you to to adjust your backpack size depending on the load you're carrying. When you have more gear, extend these straps; when you have less gear, tighten them. Sometimes they're placed in a zigzag shape, like below, while sometimes there's a pair of horizontal straps on each side.
Compression straps let you tighten up a backpack that isn't full
Compression straps can also be used for easily stashing an item like a beanie behind them when you want to keep on the move.
Hip belt
You’ll be working all of the muscles in your body on your high-altitude trek so this strap ensures that the heavy load of the backpack is shared between your shoulders and hips. Ensure that this one is padded because chaffing is no fun for anyone!
Hip belts that come with little pockets are a real bonus!

You want a wide and padded hip belt like those on the backpacks above
Organisation and accessibility
Let's talk about the following aspects of a backpack, all of which affect your ability to organise and access your gear:
- Main opening
- Compartments
- Pockets
- Attachment points
- Zips vs drawstrings
Main opening
The main opening of a backpack determines how easily you can access the contents of the main compartment of your backpack.
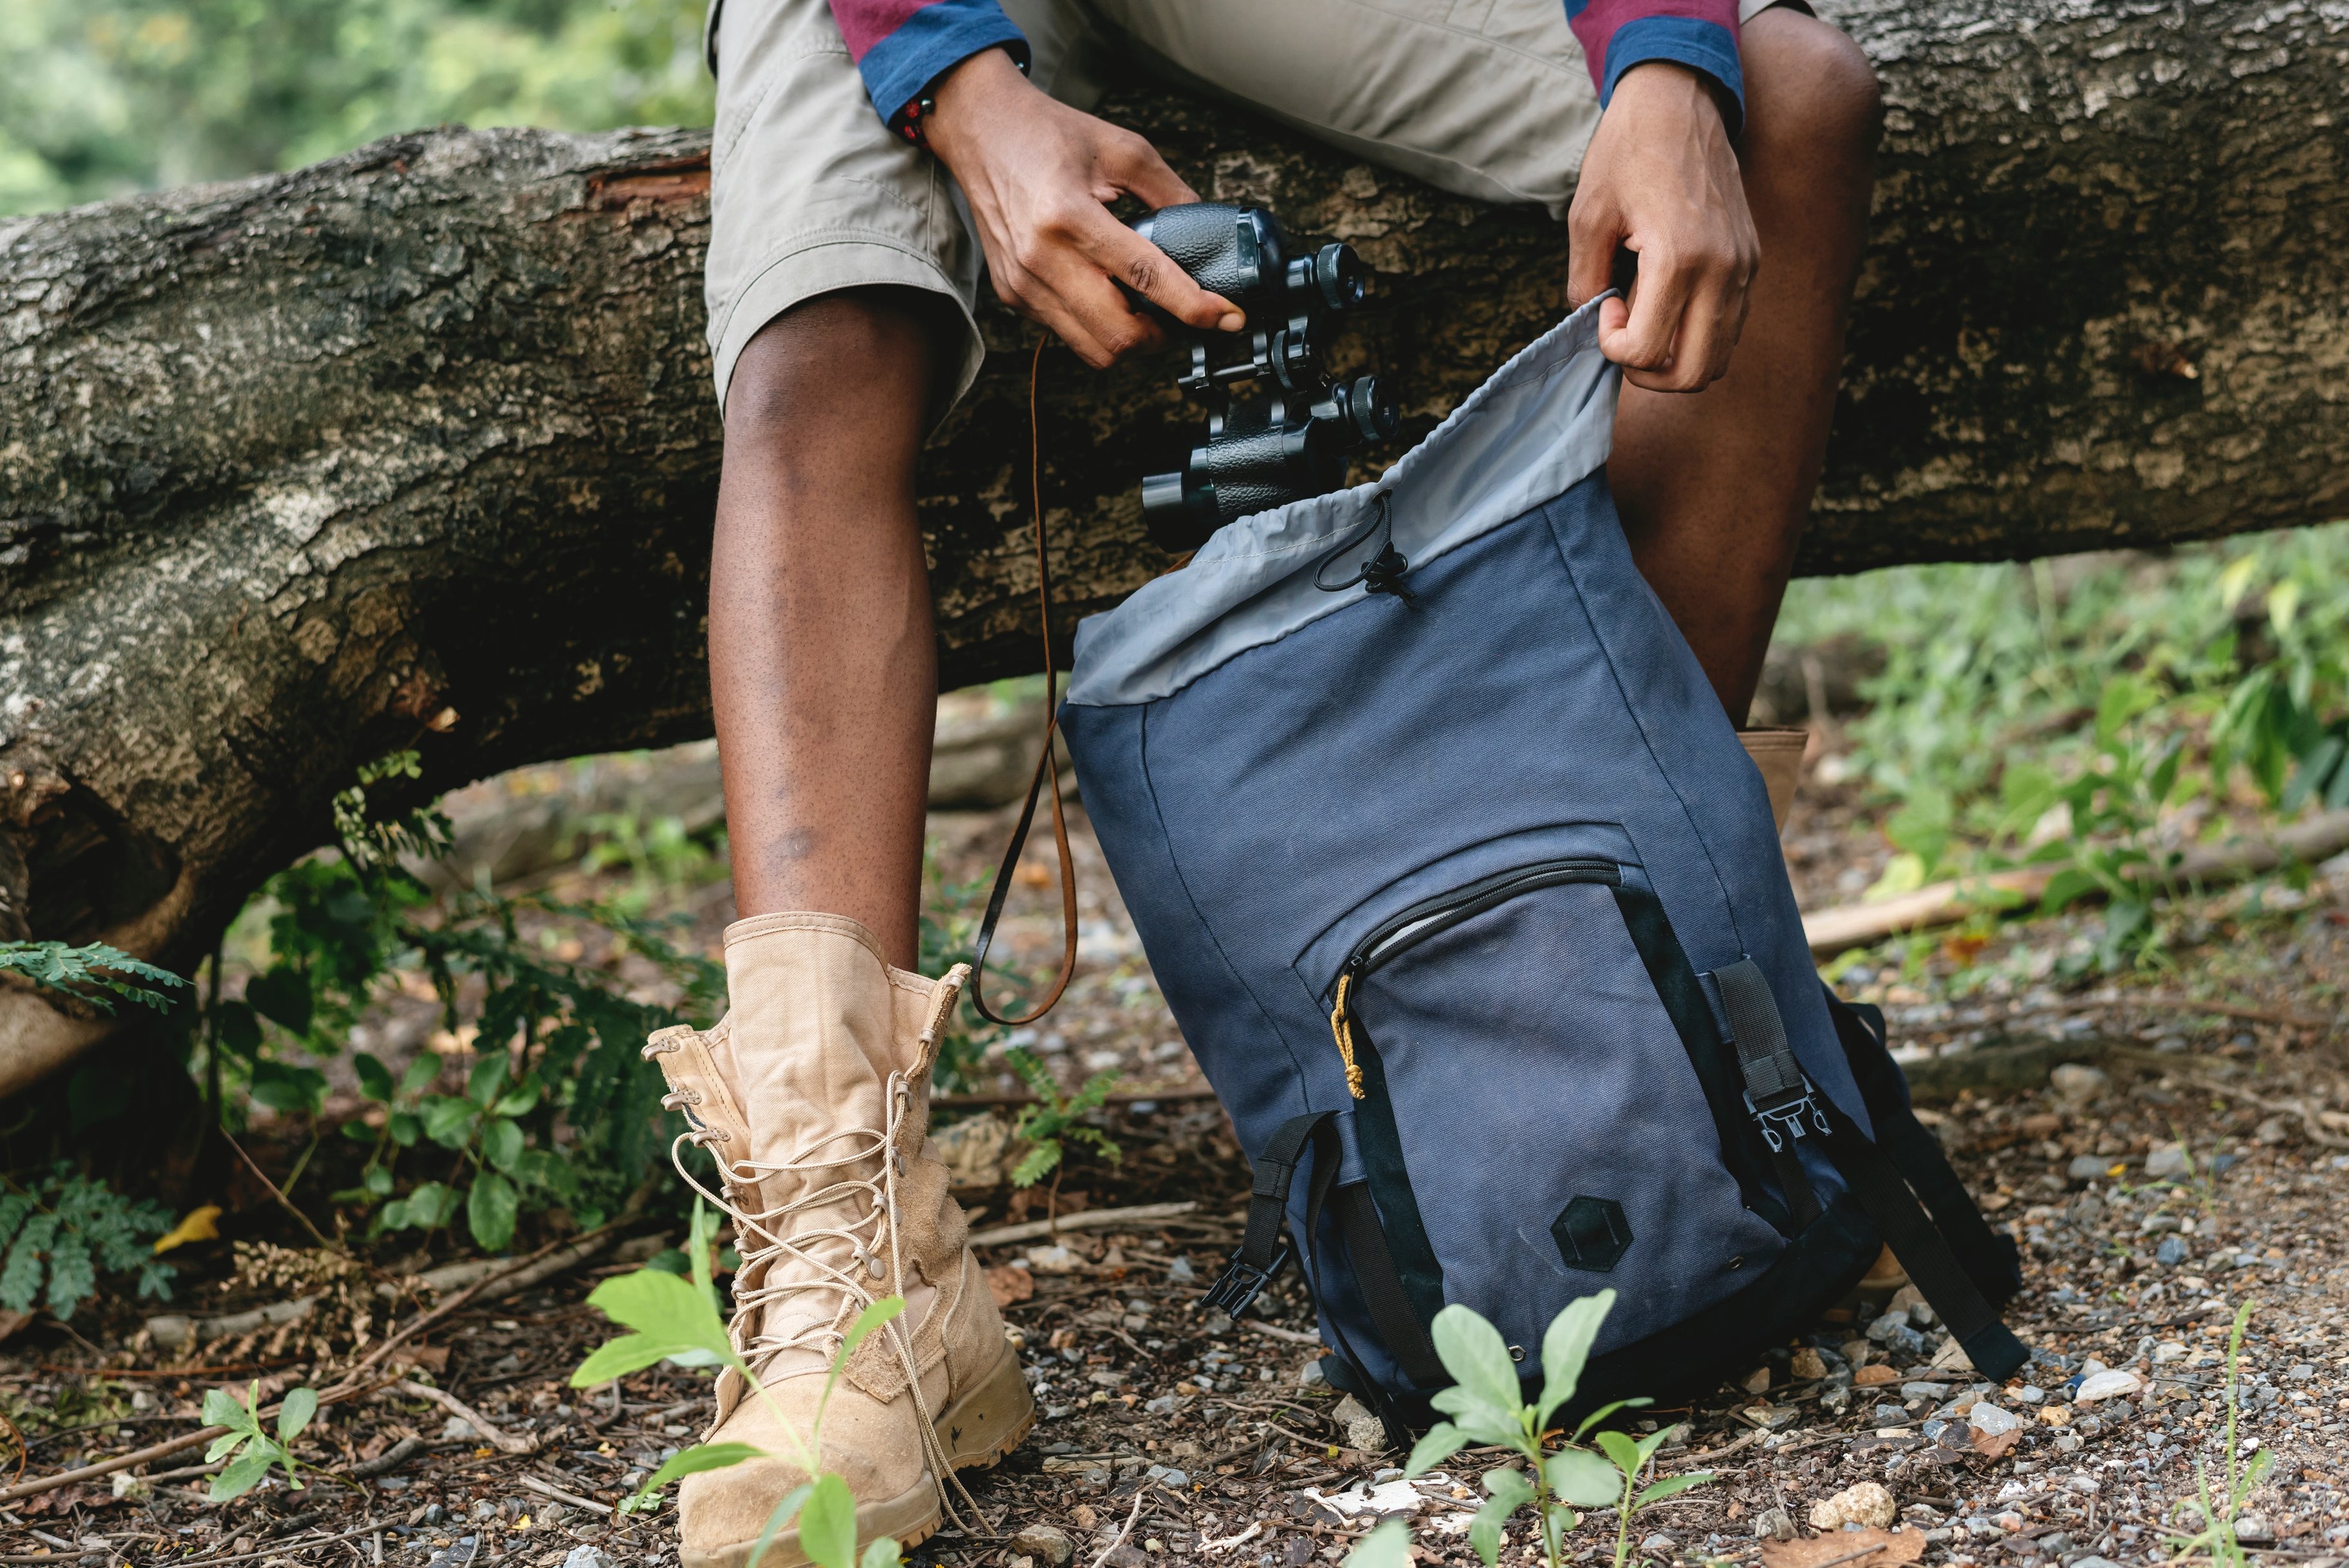
A top loader backpack
Top loader backpacks tend to be more popular among trekkers as they're usually more lightweight than clamshell backpacks. Some top loaders have a fold-over opening, others a flap with a buckle, others a classic zip opening, and others a roll-over opening.
On the downside, the items at the very bottom of the main compartment of a top loader can be a little harder to access – you often need to take everything out to access those items.
Clamshell backpacks are those that zip open to the extent that they can lie in two flat 'halves' much like a suitcase. The pro here is that you can see and access two full surfaces when open. The con is that you need a little extra room to lay it open.
Front access backpacks have a zip all the way down the front of the main compartment. You need to lay such a backpack down on its back when opening it, otherwise contents may fall out. But they do make accessing items at the bottom of the compartment pretty easy.
There's no right or wrong choice for a main opening – just preference, really.
Compartments
Having multiple compartments is an absolute must when it comes to choosing the best backpack for high-altitude trekking. You don't want to be forever scrounging around your backpack for items and getting everything in a tumble. So be sure to choose a backpack that has more than one compartment – a handful is ideal.
An unusual backpack with various compartments
Some backpacks have a secondary main compartment that's separated from the main compartment by an inner divider or has its own opening. These can be very useful for helping to organise items.
The more compartments you have, the more easily you can organise and access gear.
A bottom compartment that sits directly below the main well is also very useful. This is usually a smaller – yet still decently large – compartment. Just check that it's easy to access the inside of this compartment even when the main compartment above is full. In other words, it must be able to open wide enough for you to put your hand in.
Many backpacks also have a compartment that's in the lid of the backpack, as in the photo below. This can be helpful for storing items like gloves, a beanie and a rain jacket. It could also be where you store a small first aid kit.

A backpack with a top, zip-up compartment
A variety of smaller, side compartments are often invaluable for storing items you're likely to want to access during the day's trek. They're also often helpful for any food items (like a sandwich) that you don't want to get crushed.
Pockets
Pockets make accessing certain things easier, as you know exactly where to look and there isn't a host of other items sharing the space, so you can grab what you want pronto.
Ideally you want a mixture of closed and open pockets. In this way, valuable items can be securely sealed, while items you want to access super easily can just be slipped in and out of their pockets.
Mesh pockets are also sometimes nice, as they offer some breathability. Internal pockets are also very useful for ordering items within compartments.
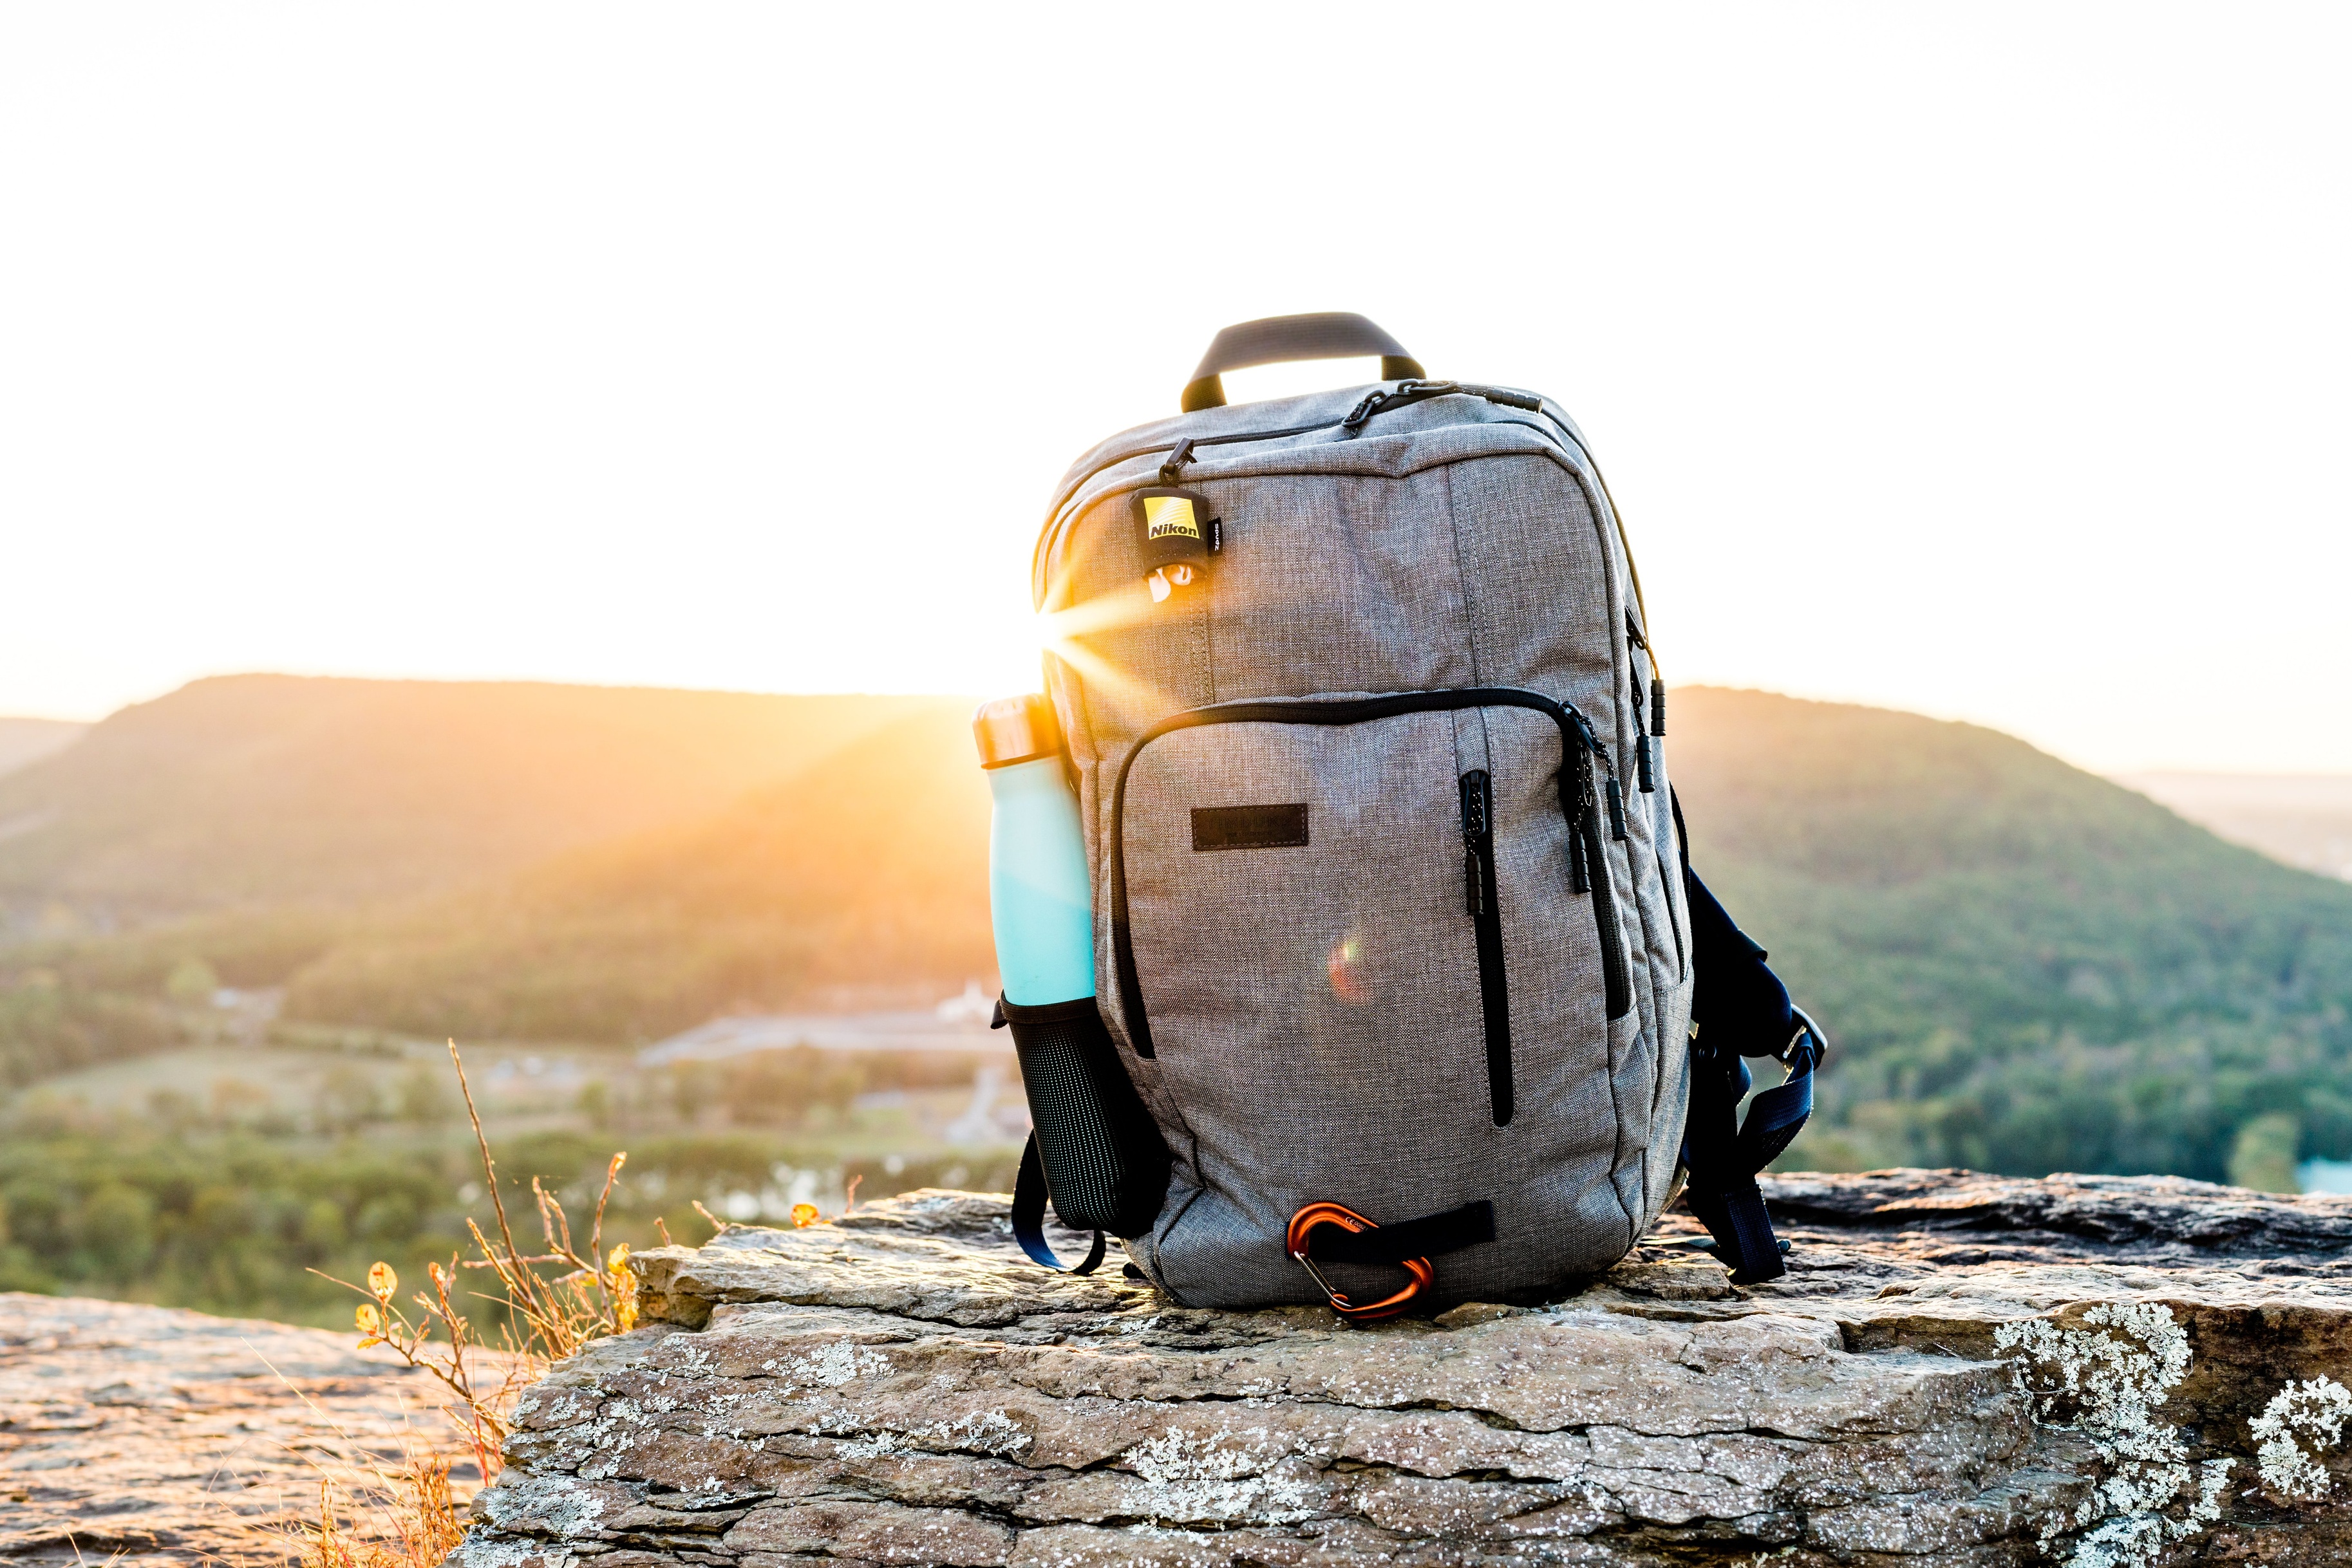
One of the main pockets to look for is a water-bottle pocket. Even if you have a water bladder, we always recommend carrying at least one water bottle as well. You want this to be super accessible. It also can't be too shallow as then your bottle could fall out.

Here you have a jacket stuffed into a front pocket
Helpful backpacks usually have at least the following pockets:
- A front pocket. This is useful for holding something like a compressible dry jacket or a map. You get zipped front pockets as well as mesh pockets.
- Hip belt pockets. These are useful for holding small items like tissues, insect repellant and sucking sweets that you want to be able to access while walking.
- Side pockets. These are usually open pockets that work well for your water bottle(s) or a thermos. Look for flexible ones that make taking out your bottle and putting it away again easy.
Attachment points
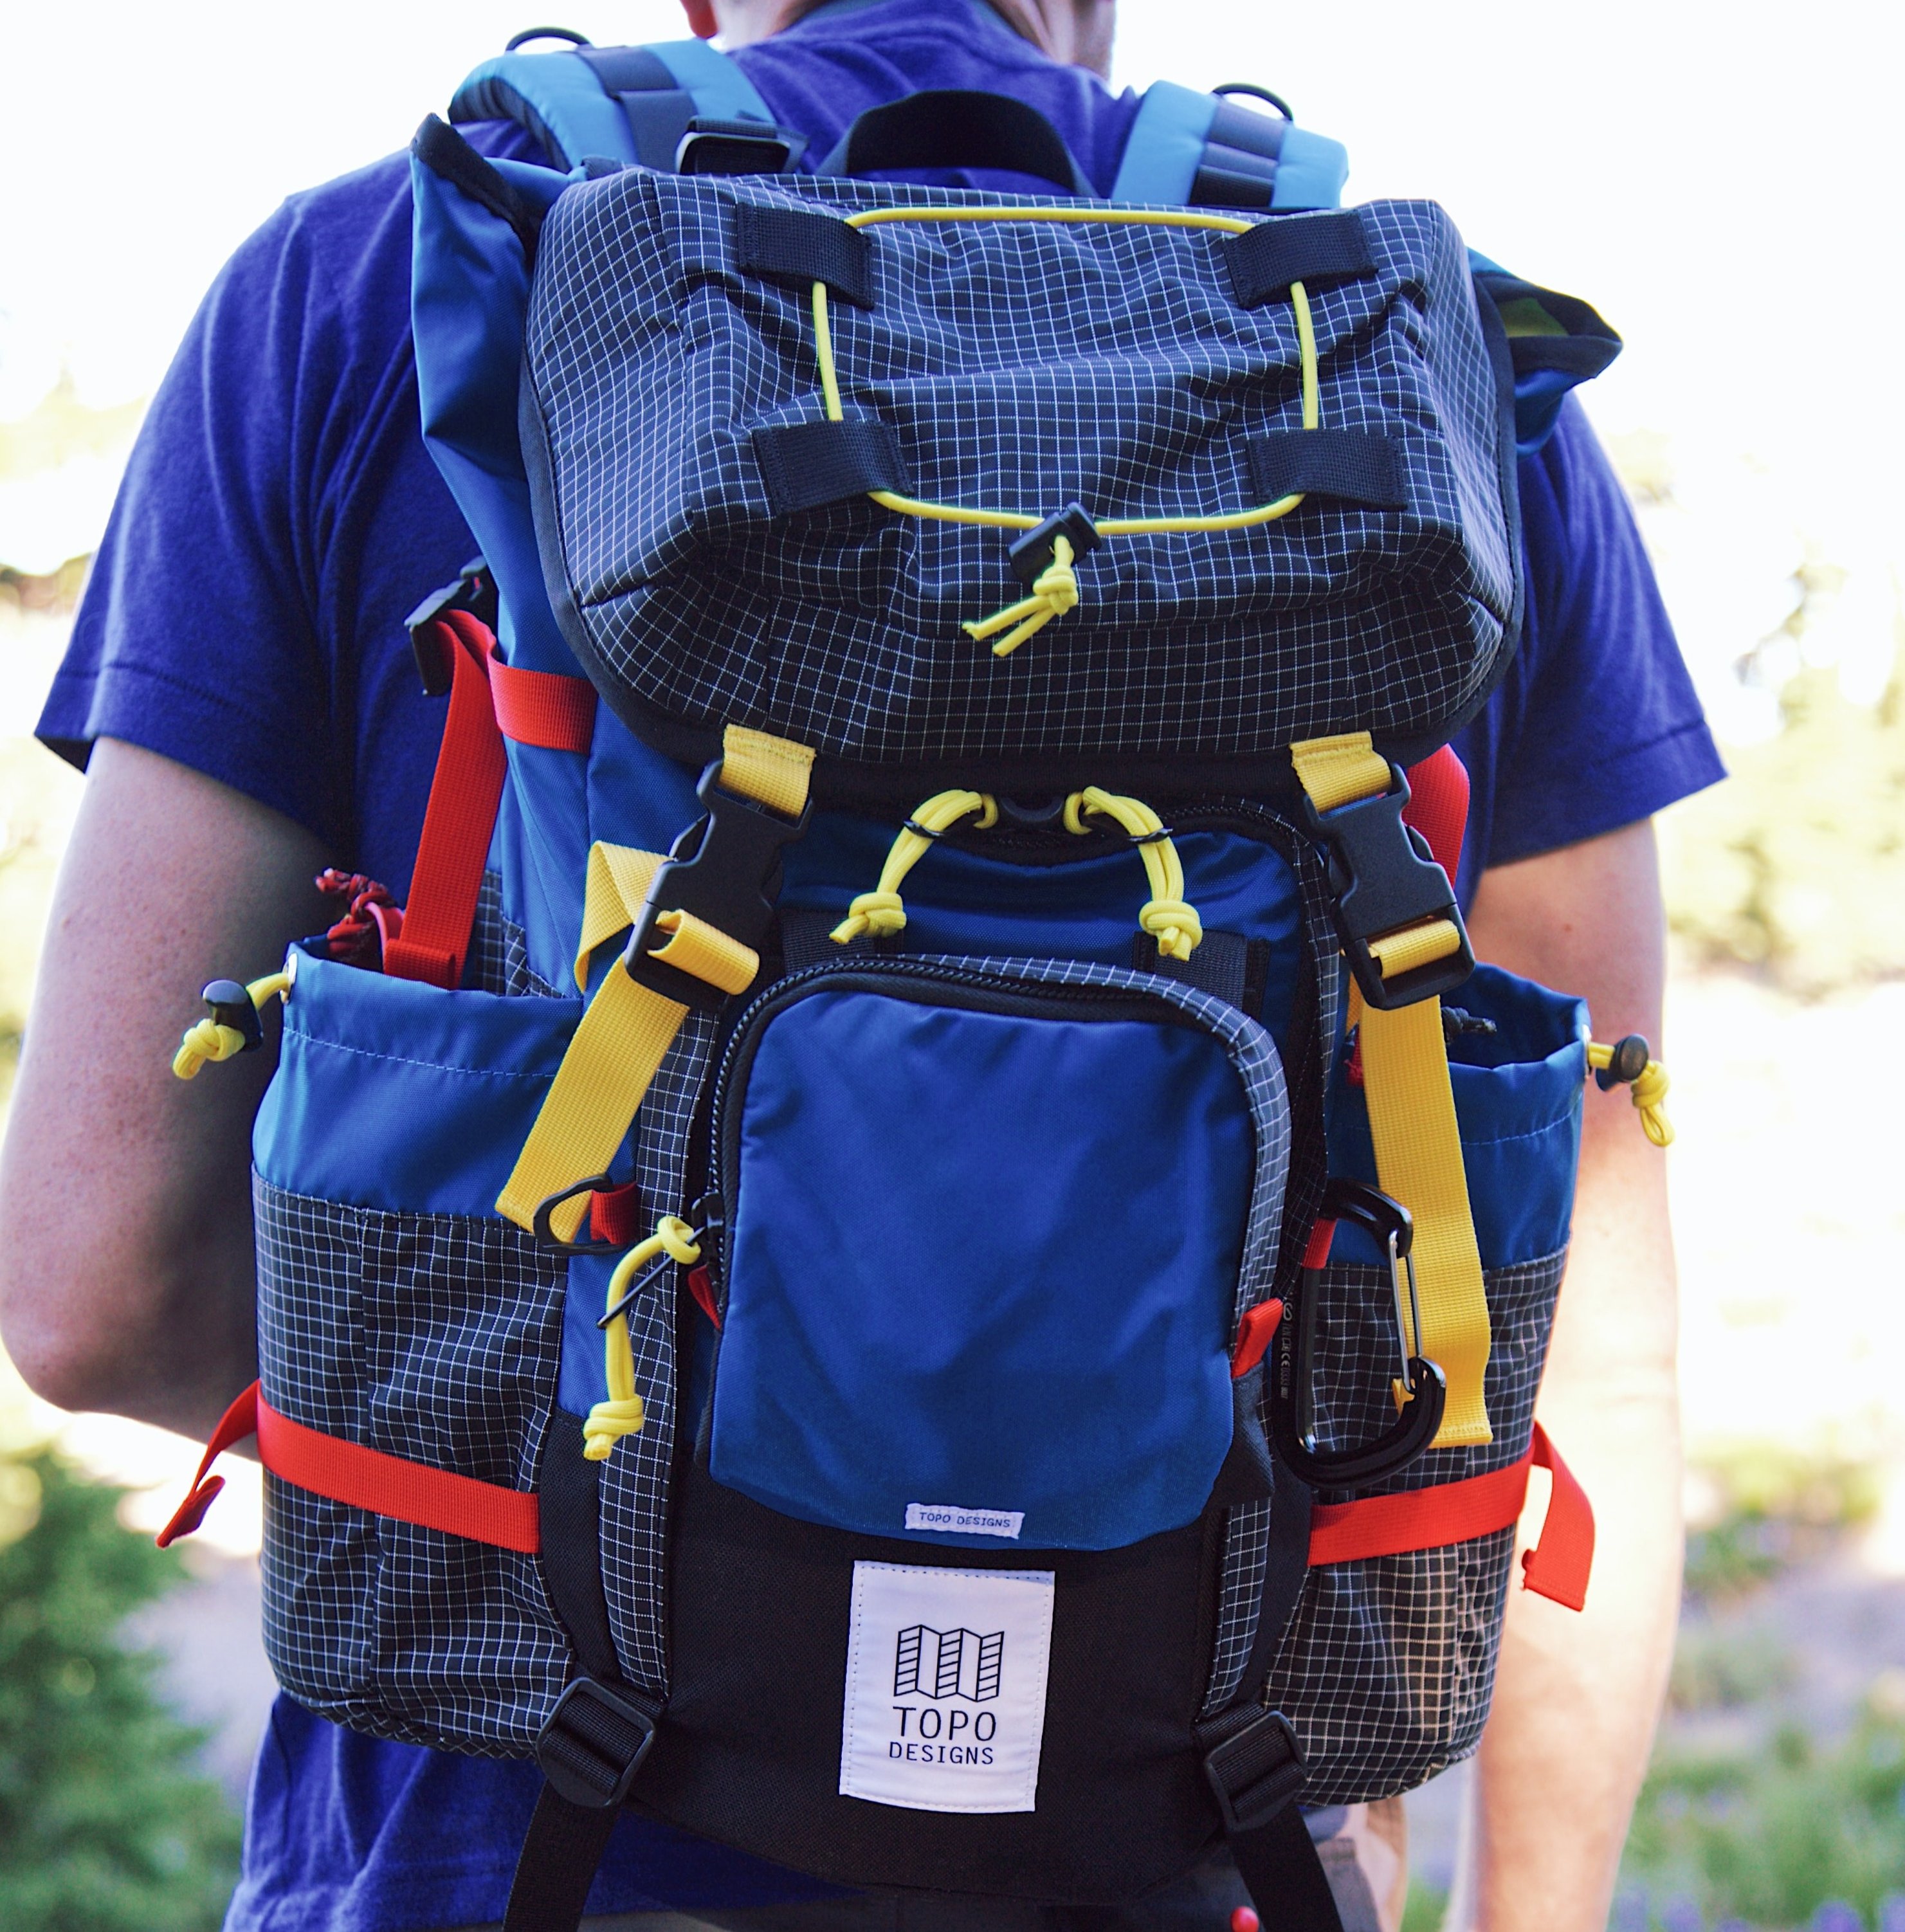
Modern outdoor backpacks often have a variety of attachment points that can be very useful, like with the backpack below.
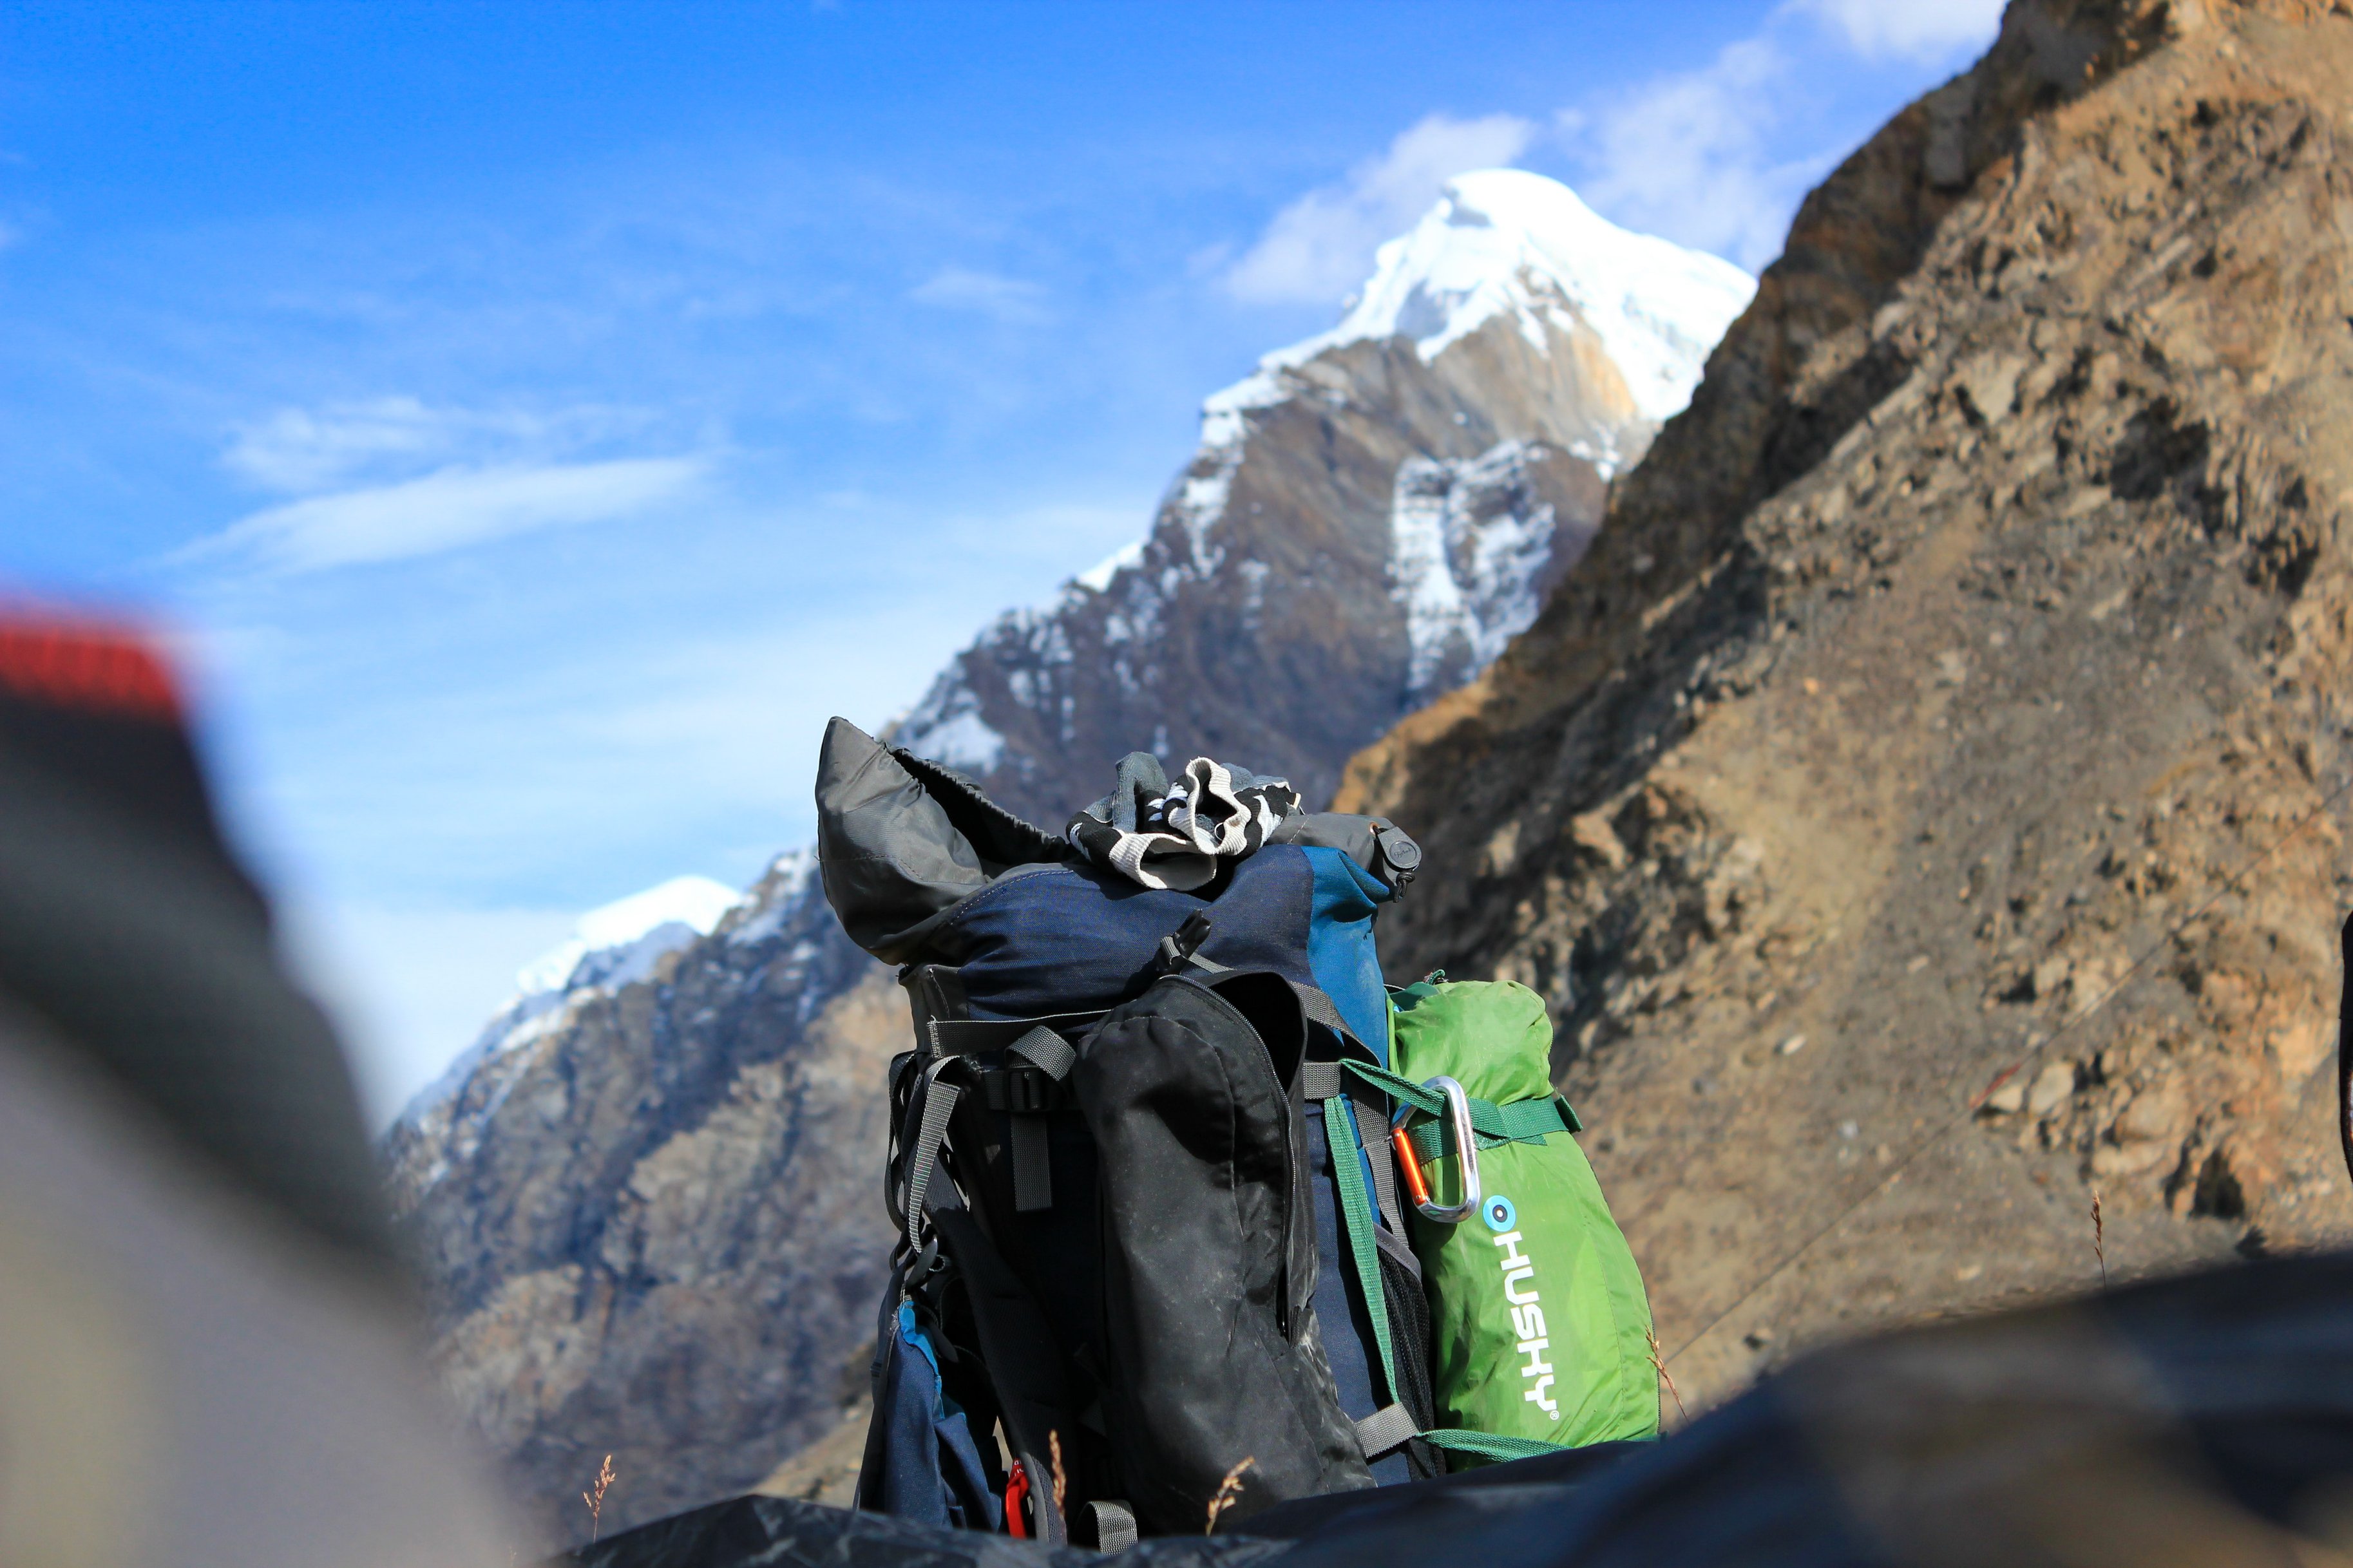
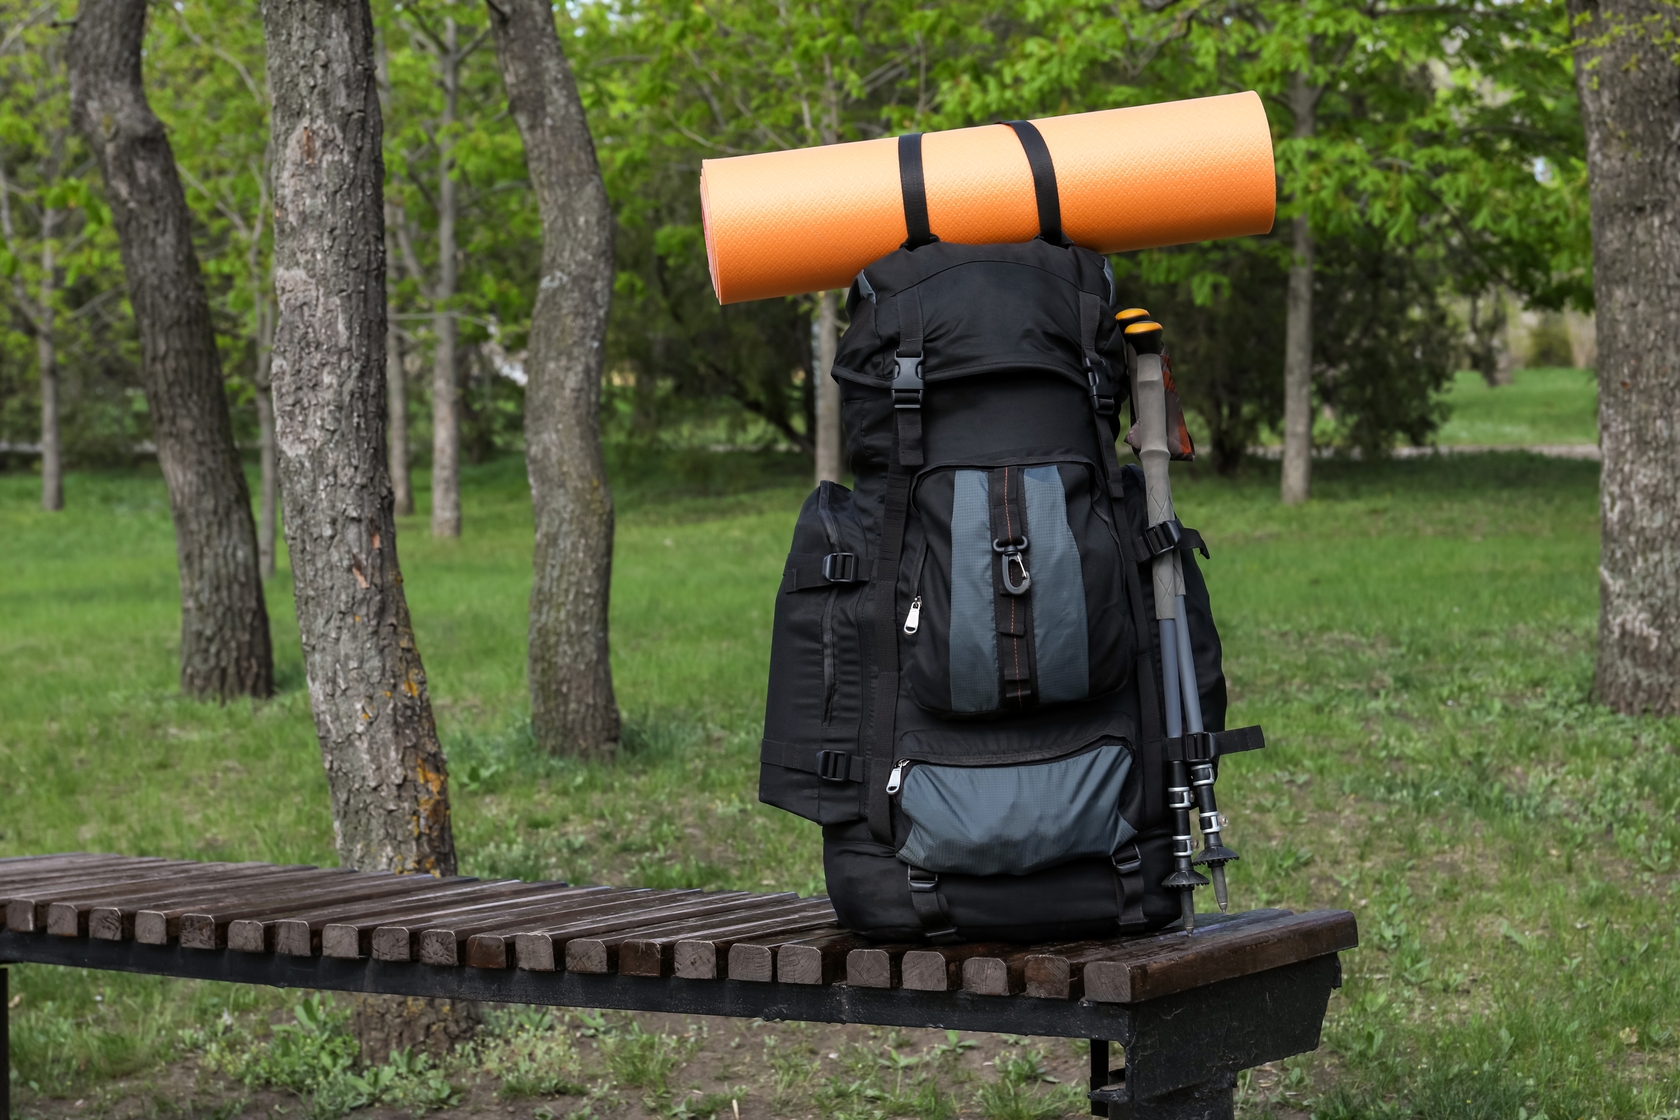
Rear-loading straps, for instance, are integrated into many hiking backpacks. They're a pair of straps that are super useful for attaching something bulky that you want to carry on the outside, like a sleeping bag, blanket or sleeping roll (as shown below).
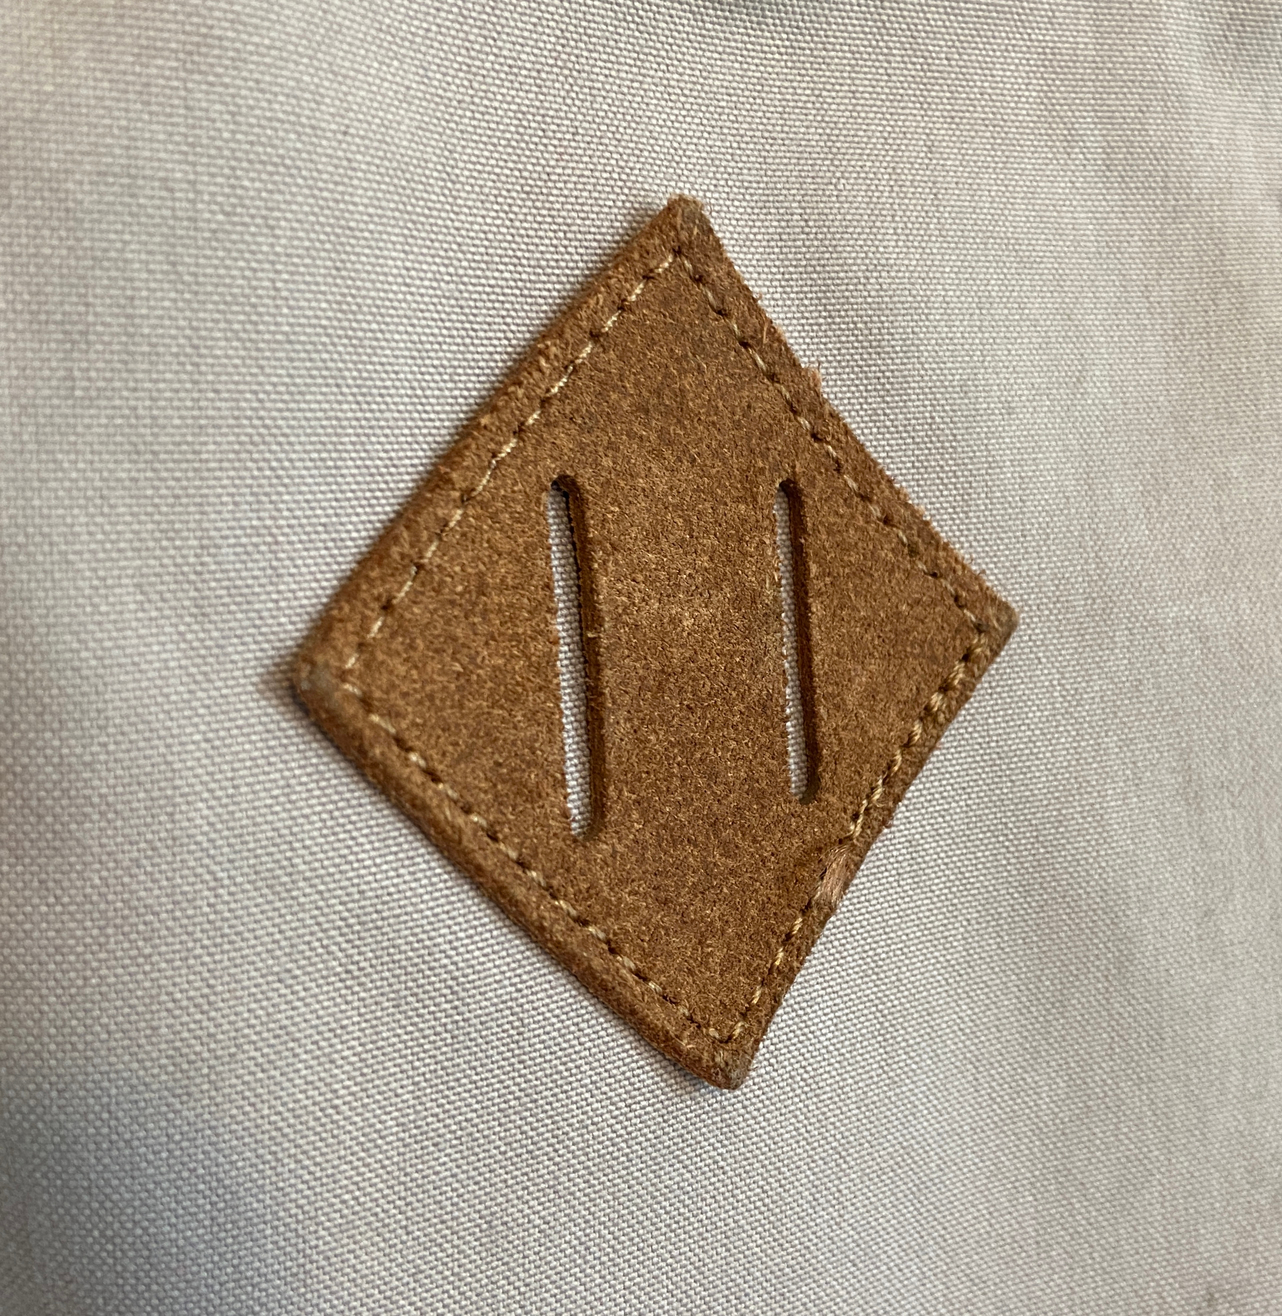
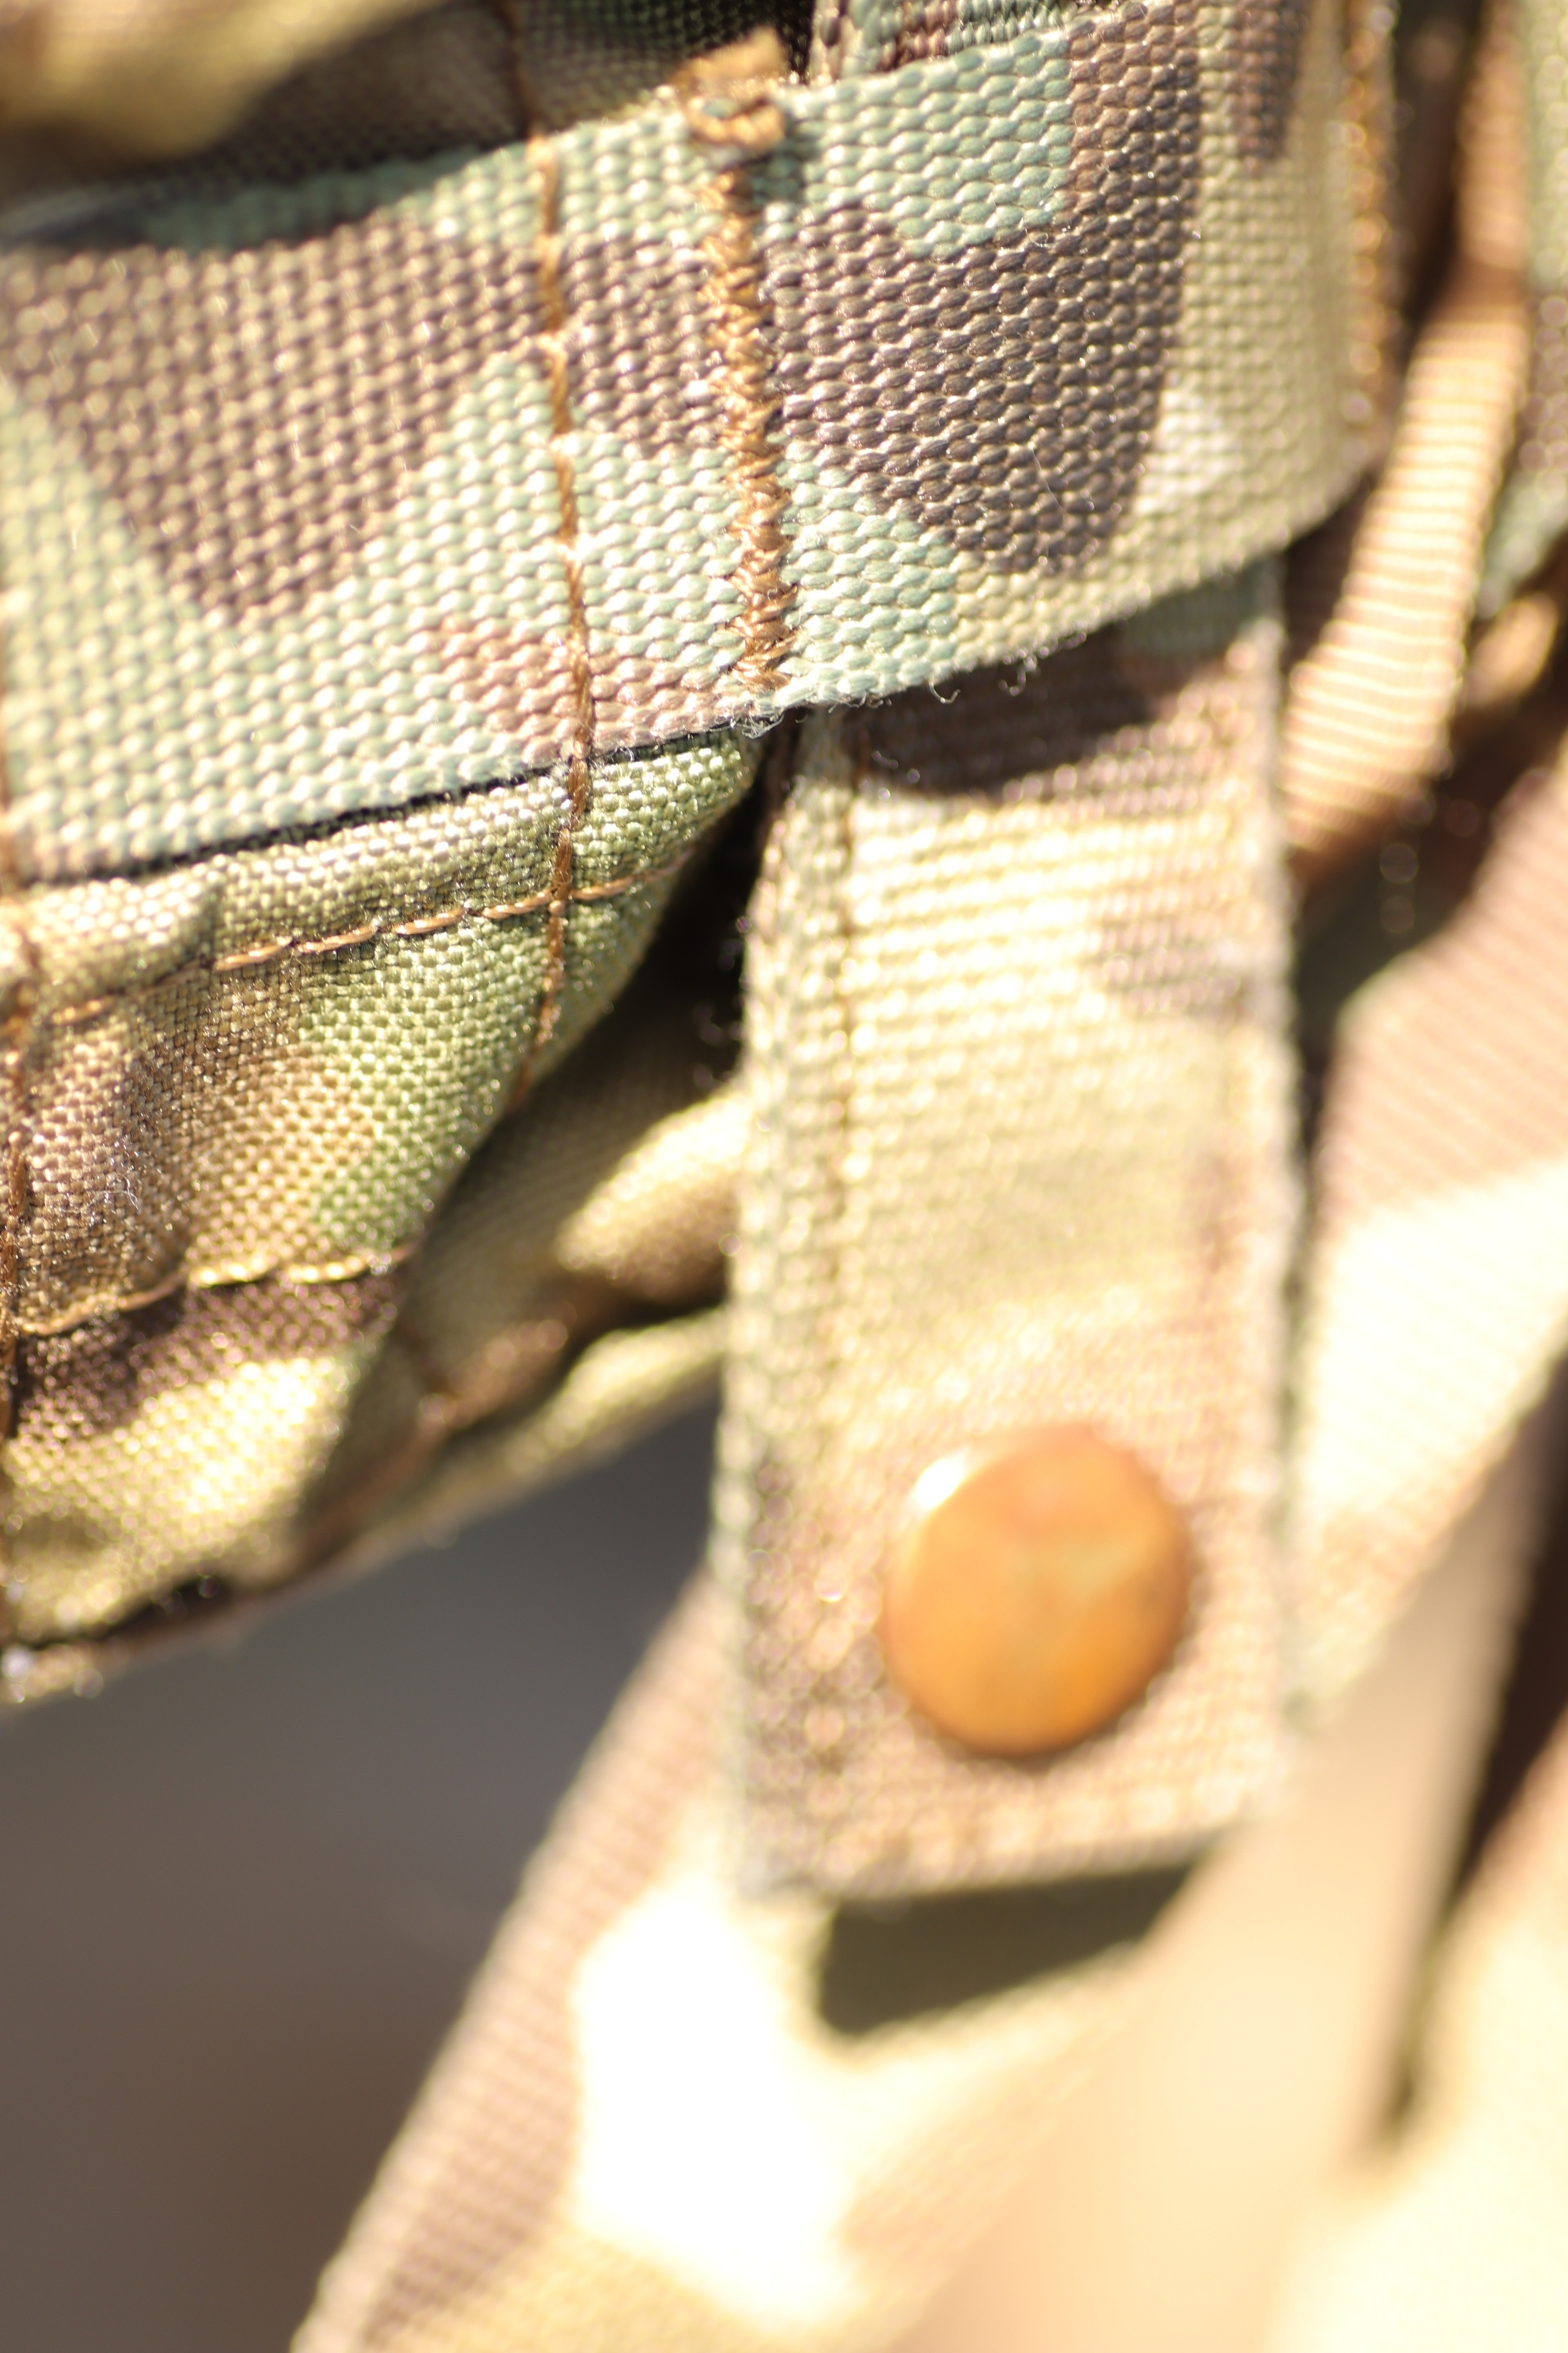
A lash point (or lash tab)
Lash points (or lash tabs) are those two little parallel lines that are often featured on the front of a backpack (as shown above). They allow you to thread a cord or strap for attaching items to the outside of your backpack.
Sometimes folks loop shoelaces through them so that they can hang the likes of sneakers on the outside of the backpack. This is especially useful if they're wet and you want them to dry while you walk.

This backpack has multiple lash points, two of which are being used to attach a picnic blanket
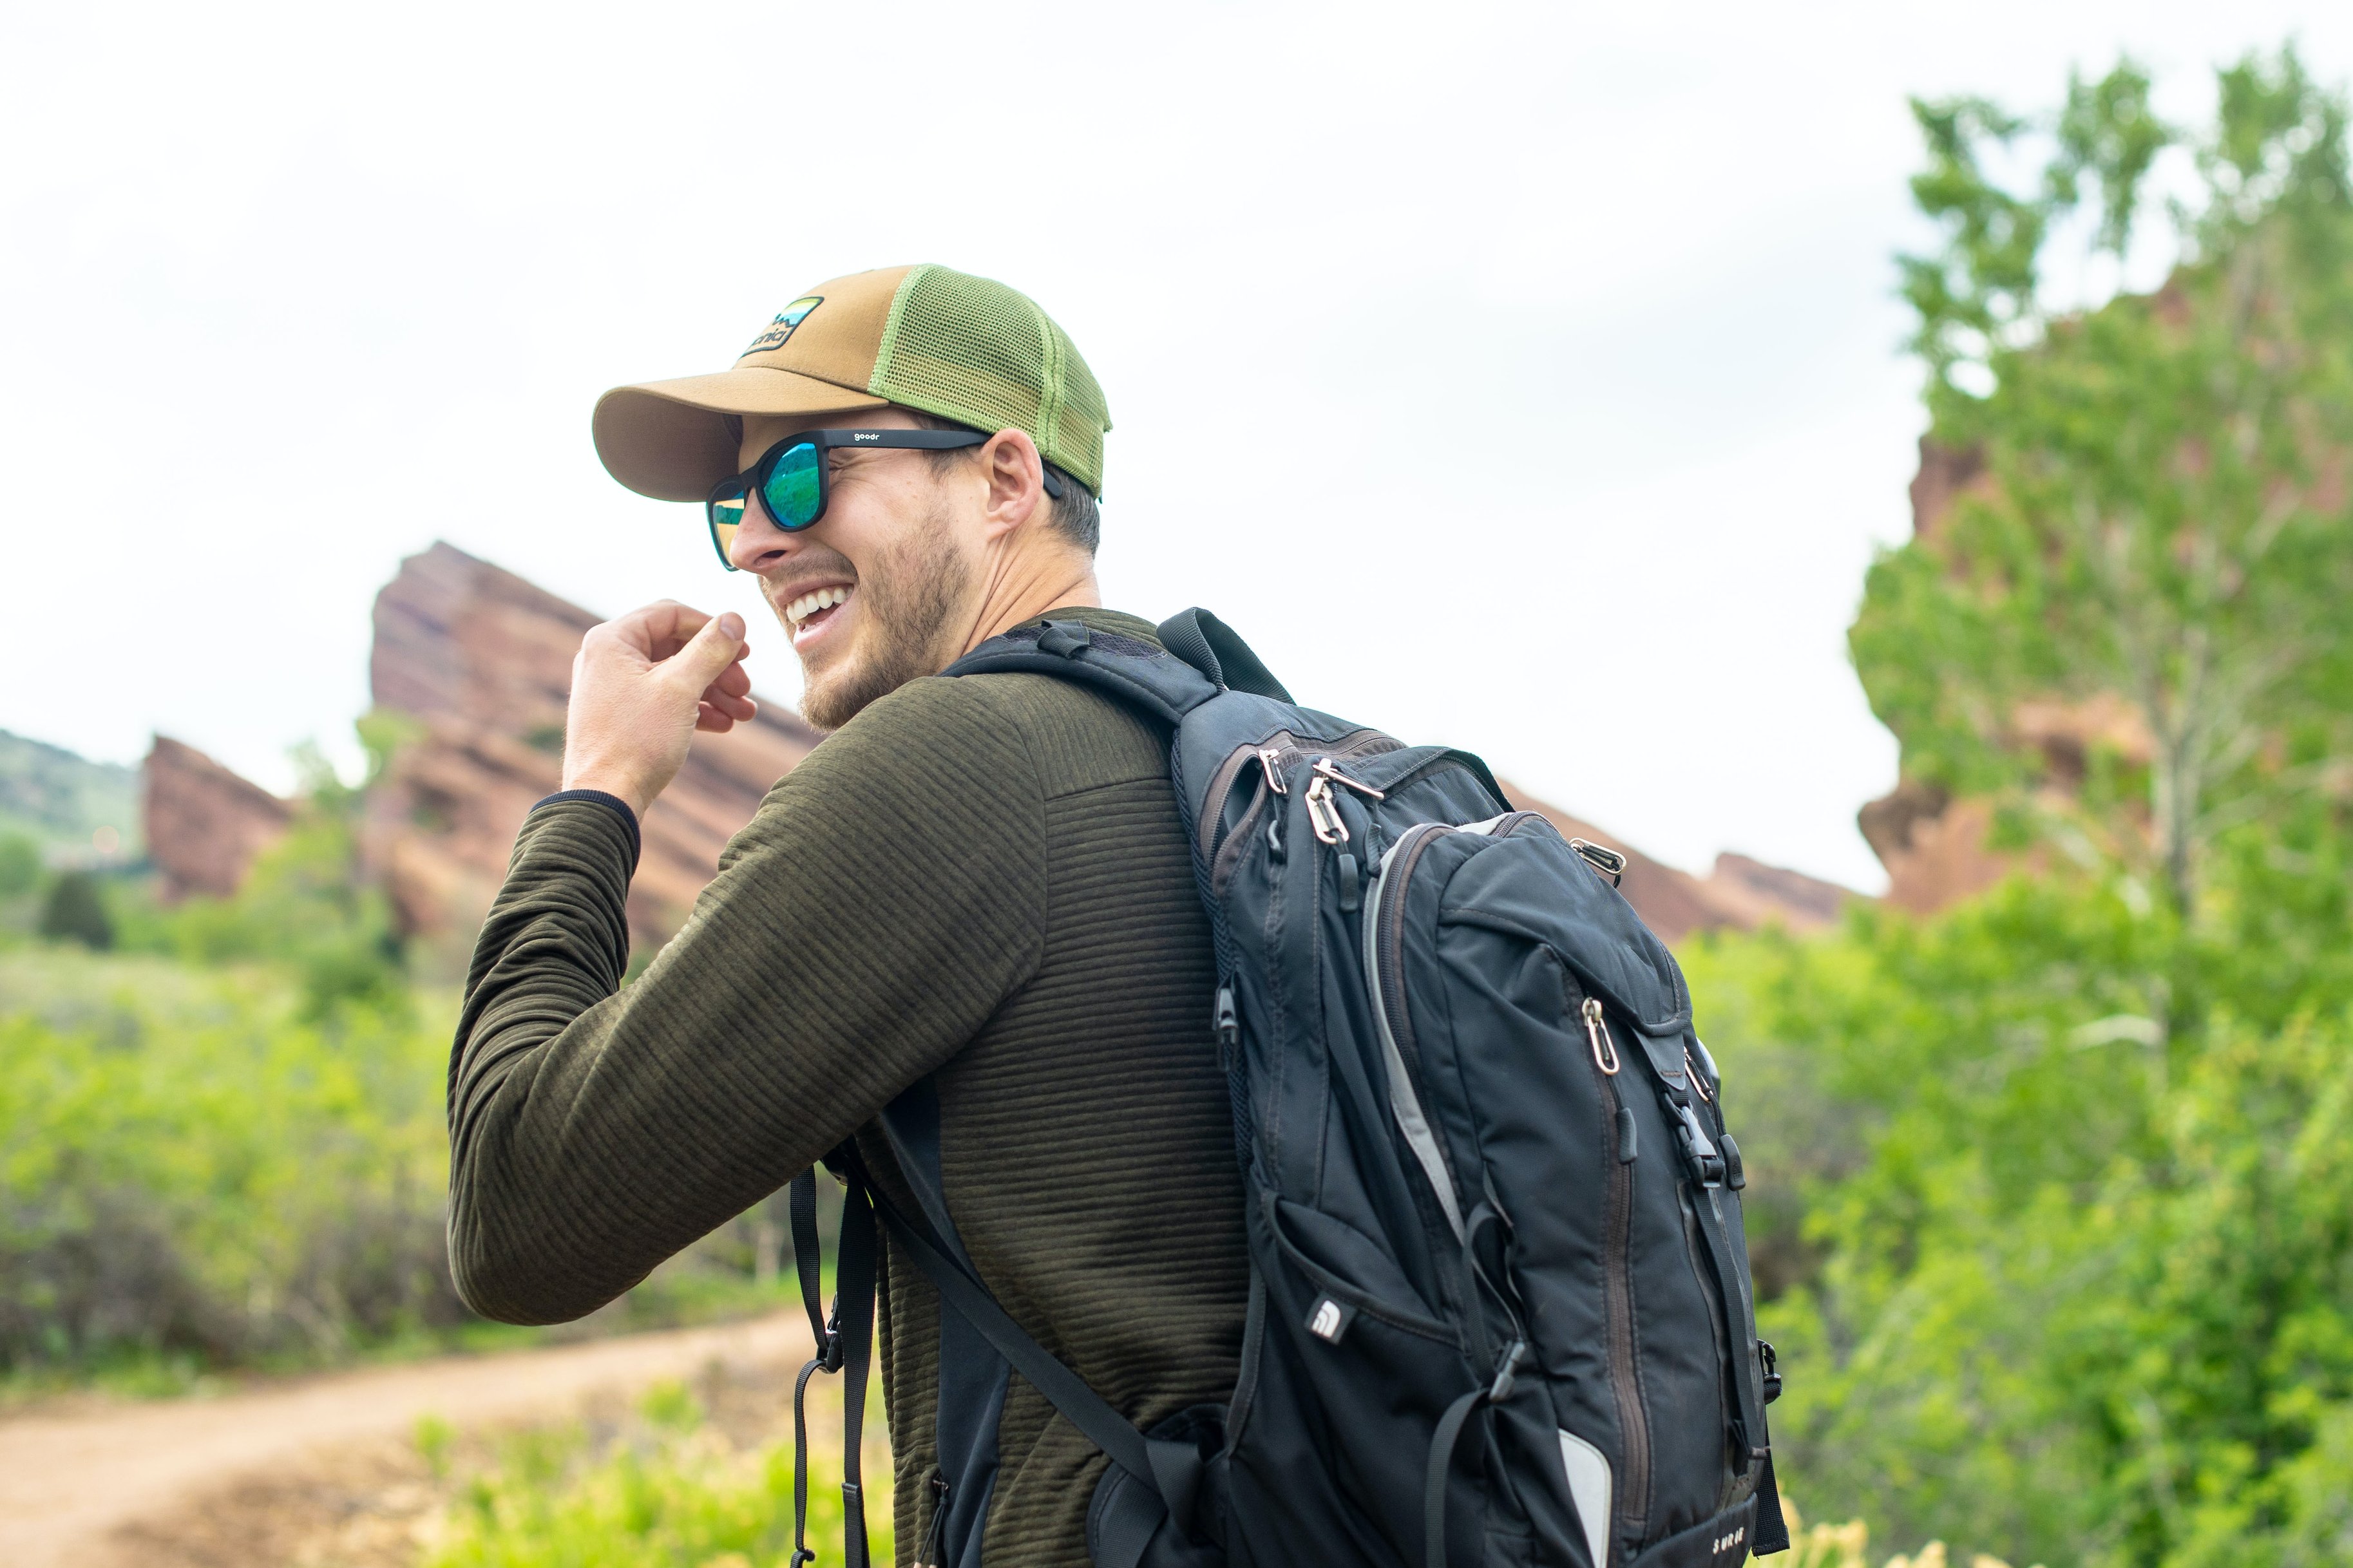
Many good adventure backpacks also have metal or fabric gear loops, which serve the same purpose as a lash point. The photo below, which you've already seen, shows the hiker with her thumb hooked on a metal gear loop.
A gear loop on a shoulder strap
Some backpacks also have shock cord (which is an elastic or bungee cord) zigzagged across the outside of the main compartment (like the one shown below).
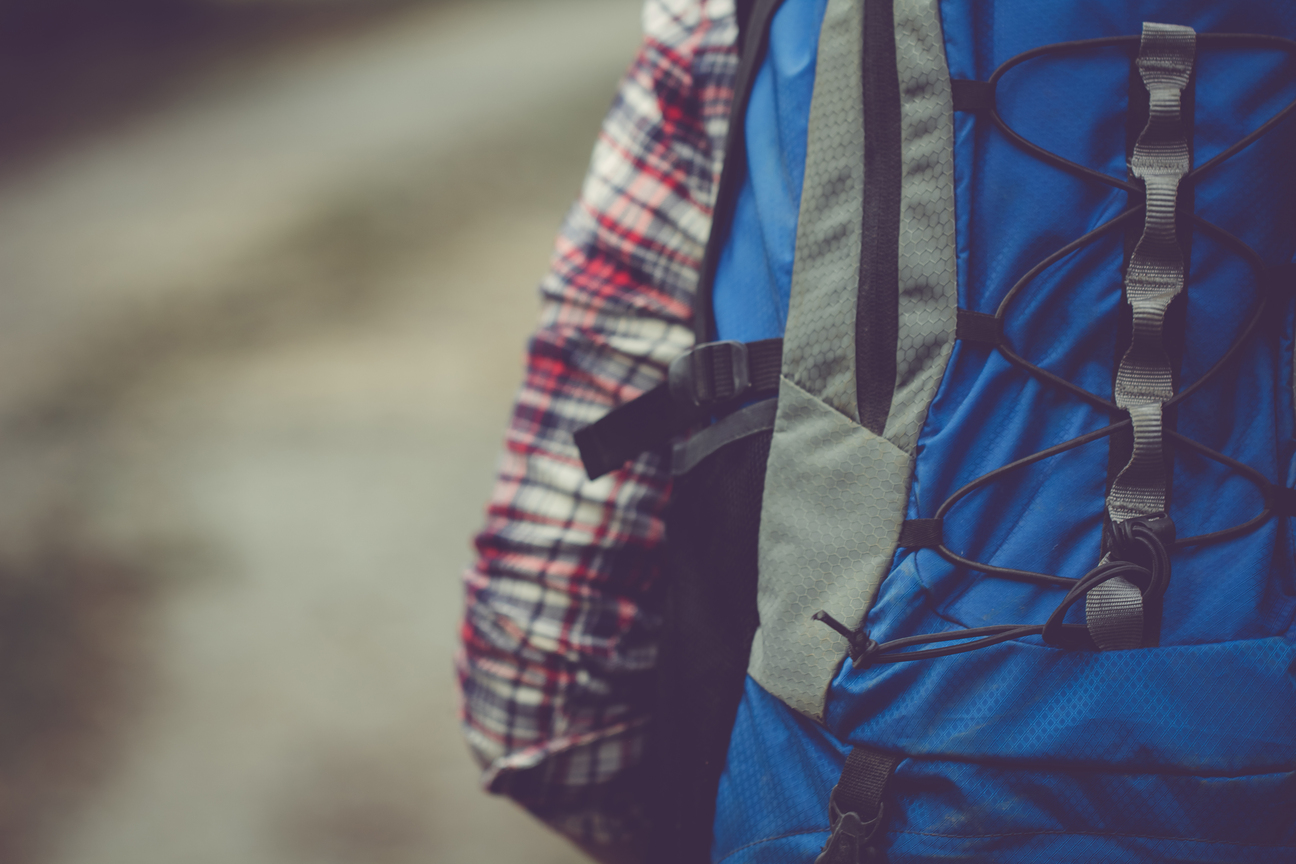
Close up of a zigzagged shock cord
A shock cord is nice for stashing something like a sunhat when you want to keep on the move. They can also be used for attaching damp clothes that you want to dry while you walk. If you want, they can even be stretched to hold something larger like a sleeping bag.
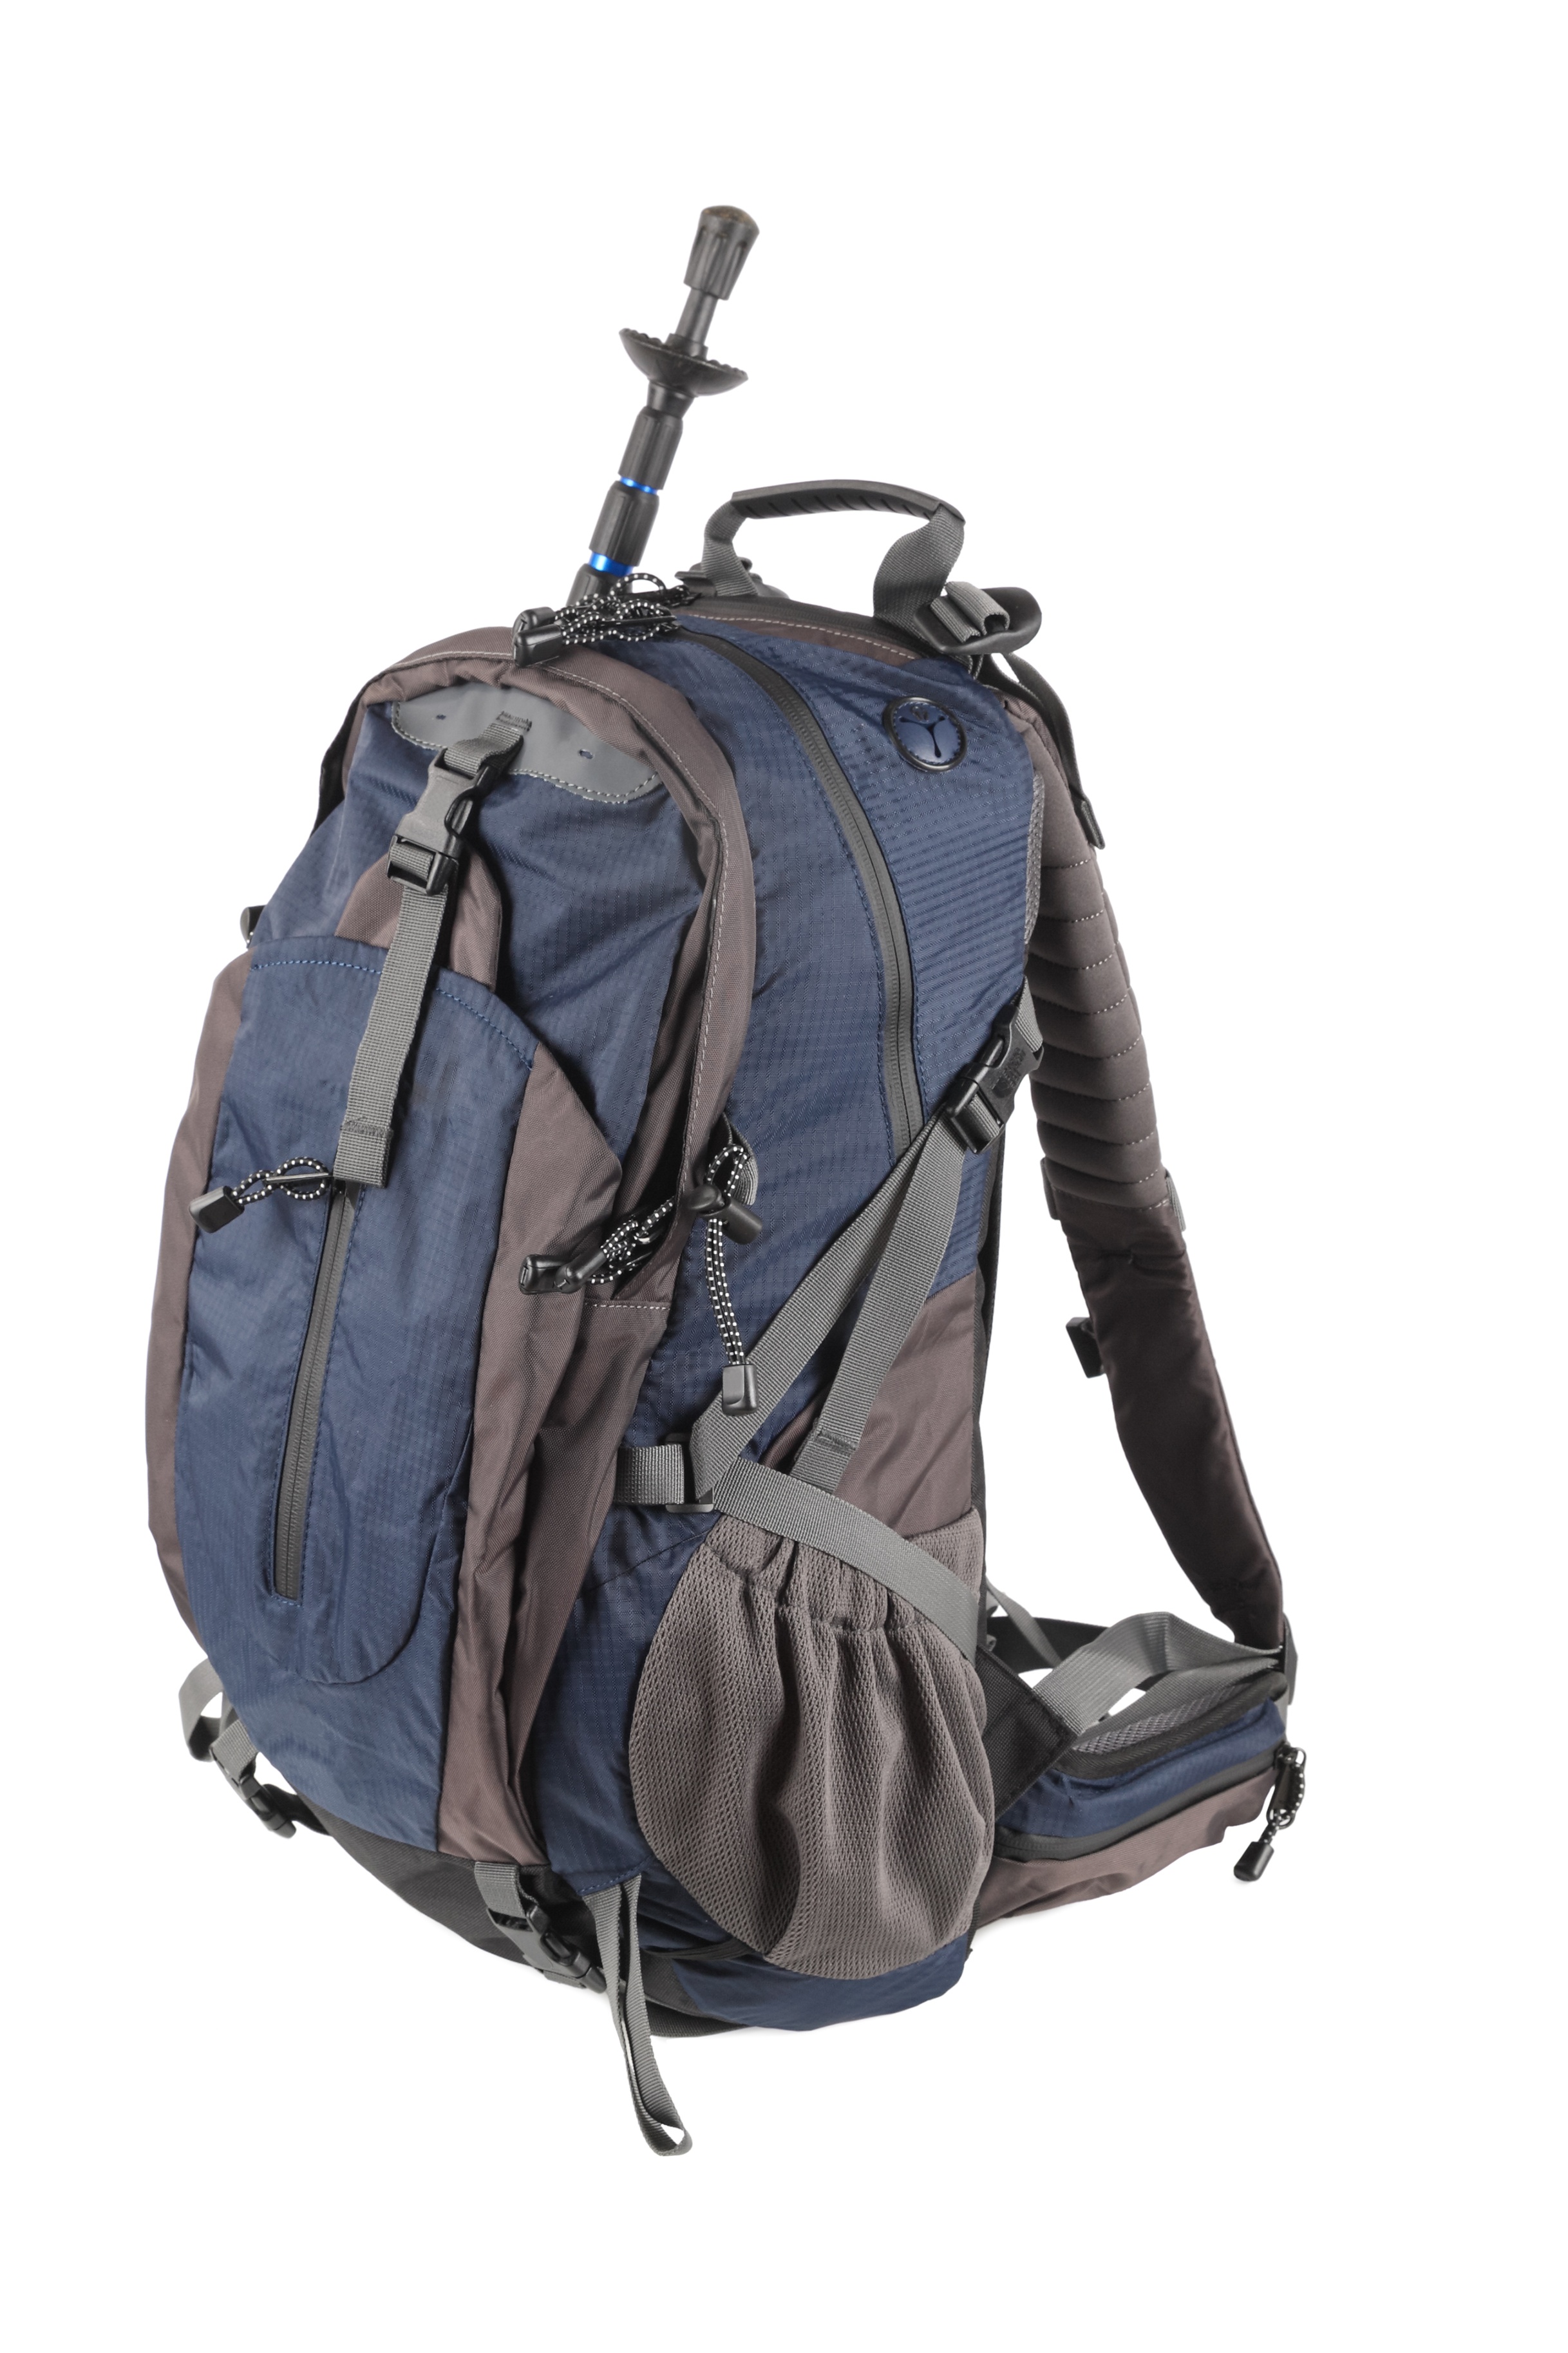
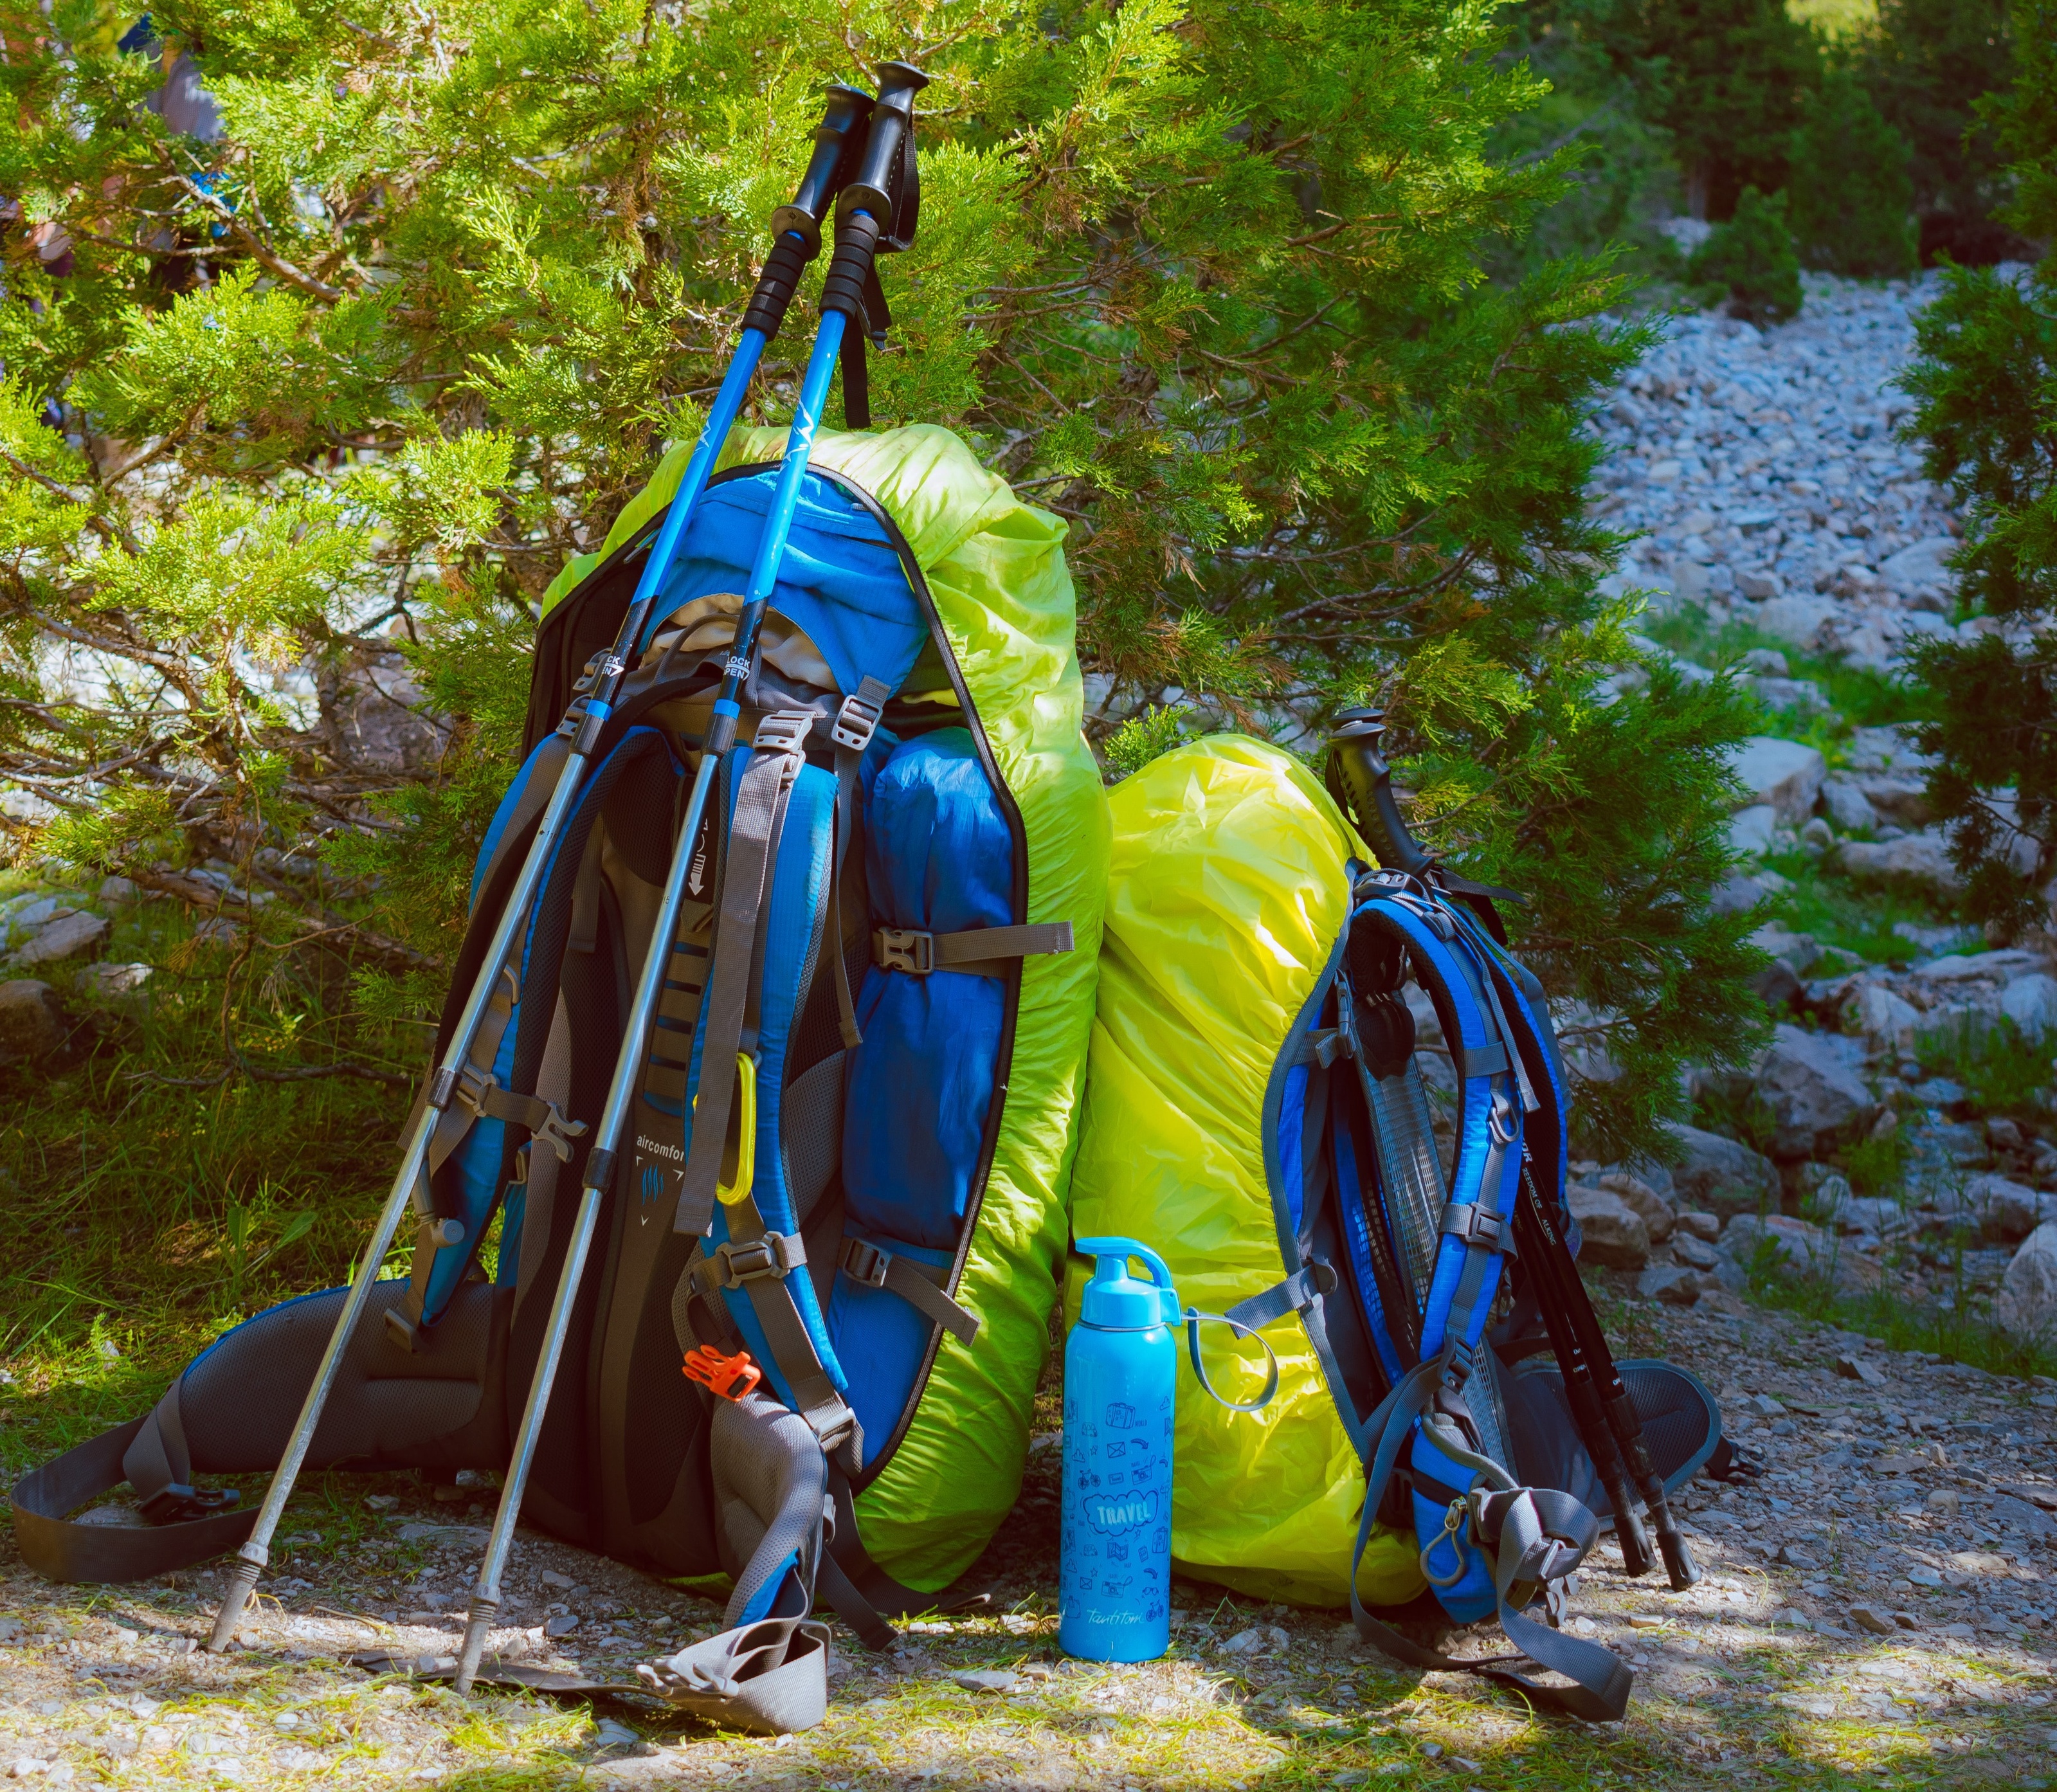
If you use trekking poles, look to see if there are specially designated trekking pole loops.
Straps for stowing your trekking poles are very useful
Note that some backpacks even have hidden lash points and daisy chains (fabric loops). These are also nice to have. You can attach a carabiner to one and then use that for hooking on anything you like.
Zips vs drawstrings
You want to consider which opening and closing mechanism will suit your high-altitude trekking needs best.
Most modern backpacks come with zips (or zippers) as these are very fast to open and close. But zips do have the potential danger of sticking or breaking. So be sure to buy a quality backpack that has good zips that aren't likely to break. Also, don't overstuff your backpack and add unnecessary strain to the zip and its fabric.
Smaller backpacks tend to have zips rather than drawstrings
A central zip on the outward-facing side of your backpack can be very useful as it allows you to access the gear even at the bottom of your backpack quite easily without having to dig through all of the things on top.
Remember that you may well have fat gloves on your hands, so anything too small or finicky could be a pain.
Side access zips are a treat when they let you swing your backpack off just one shoulder and gain access to your gear from the other side.
Some shoulder and hip straps also have small zipped compartments, which can be very useful.
A small top loader, drawstring backpack
Drawstrings are popular with very large trekking backpacks, but they're also sometimes used on smaller ones. Drawstrings are popular because they allow you to open your backpack widely. They're also hard to break, and relatively easy to use even with a gloved hand.
Hydration pack
A hydration pack – also called a water bladder – is a malleable water pouch that sits inside of your backpack and has a hose with a mouthpiece that you can drink from. A hydration pack is an important part of a any high-altitude trek. It encourages you to take sips of water while still walking as you can keep your hands free.

The mouthpiece of this water bladder hose is held in place against the chest strap
On treks at particularly high altitude, the reduced exertion involved in taking a sip from a hose as opposed to accessing your bottle water can be a real win. Water helps to reduce the symptoms of altitude sickness, so you want to be sipping on it often.
Built-in hydration packs
Many outdoor backpacks come with built-in hydration packs. These are great, as the hose usually has a special slot coming out of the main compartment and a loop (or loops) to hold it in place along the shoulder strap.
That said, if the backpack you really like doesn't have a hydration pack, just check to see that it will be able to accommodate a separate one.
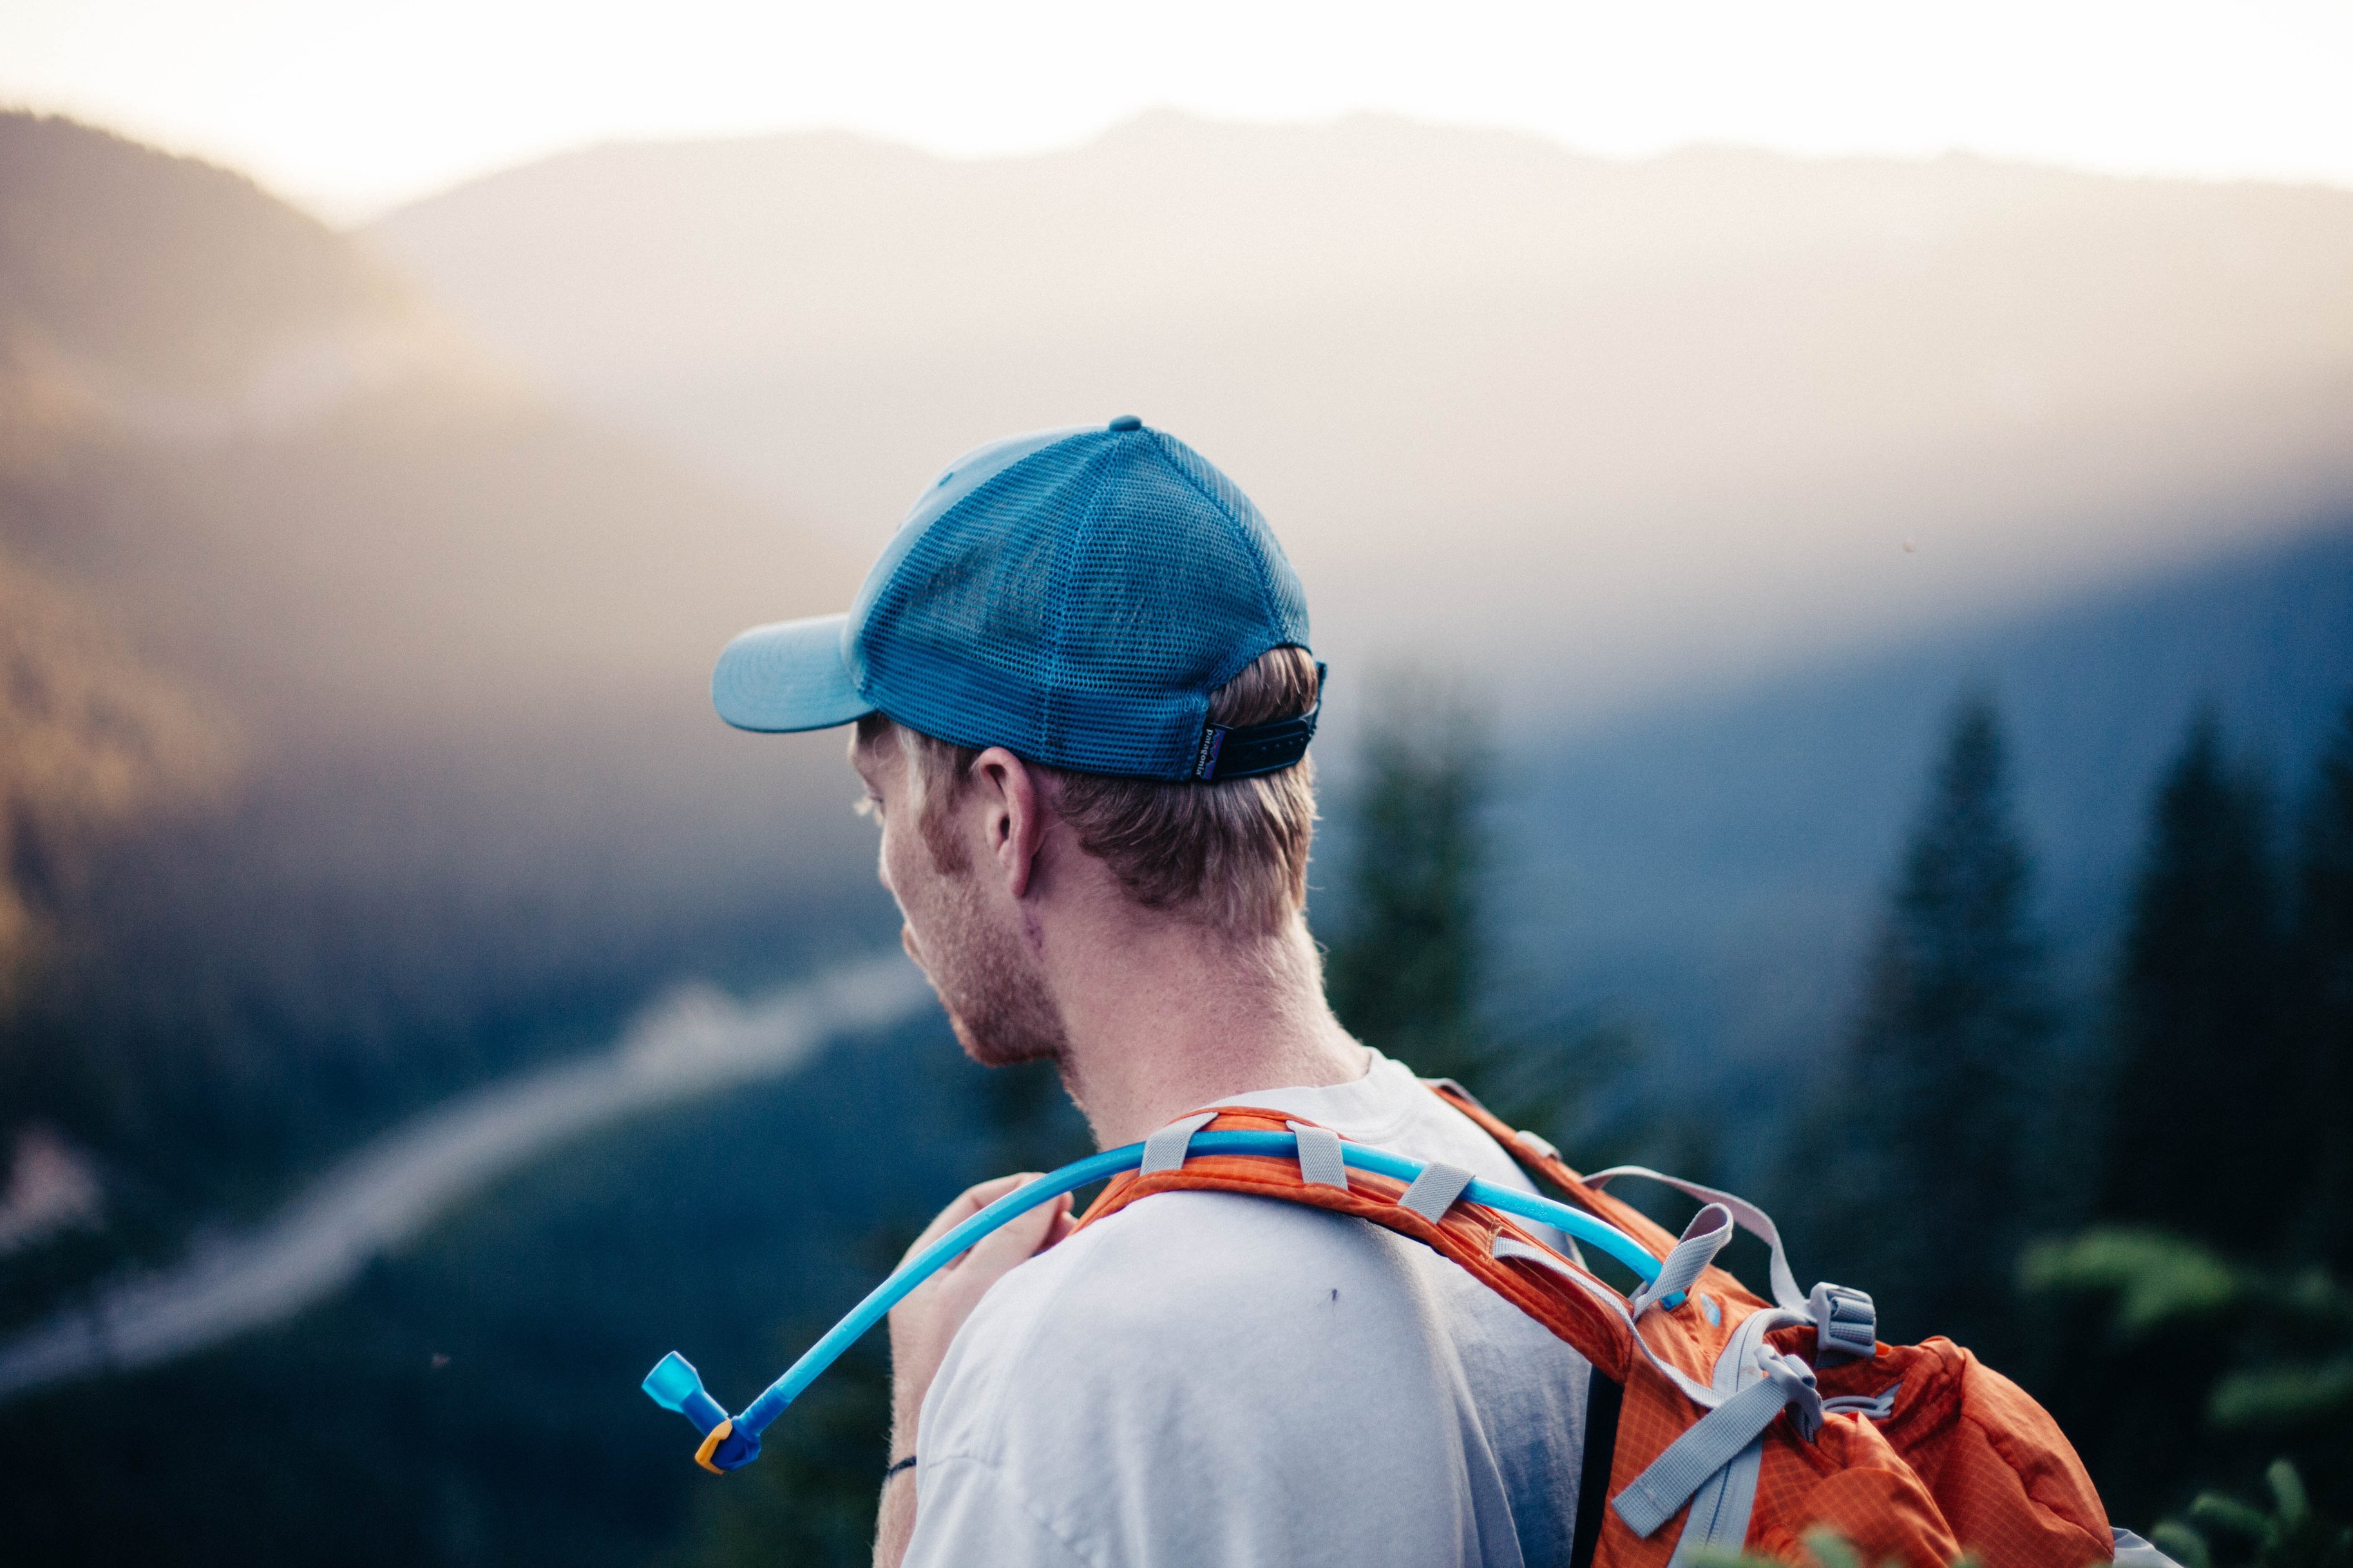
The blue drinking hose here links to a hydration pack fitted within the backpack
Don't go small
Bigger is better when it comes to the volume of your hydration pack. You need to carry a lot of water when trekking. And in certain areas you'll want to carry more than you should need, just to be safe.
A hydration pack of 4 litres or more is ideal for high-altitude trekking. We don't recommend you go smaller than 3 litres.
Cleaning your hydration pack
Check to see if the hydration pack you plan to buy – or the one that comes with the backpack you're looking into – is easy to take out and clean. A hydration pack that isn't regularly and properly cleaned can develop mildew and mould. Ew. 😖
Hydration packs should ideally be cleaned every day after use, and then hung up to dry. This isn't always possible on multiday high-altitude treks, of course. Try then to clean (or at least rinse) it as often as possible. Certainly after each trek. And at least clean or rinse the mouthpiece every evening. These are detachable, so it's easy to give them a rinse under a splash of water even if you don't have access to running water.
If you're going on a long trek, consider packing a small bottle of fragrance-free washing liquid that you can use to clean your hydration pack in the evenings.
You should preferably hand wash your hydration pack in warm water in the evening with a scent-free detergent, and then hang it up overnight to dry. We say scent-free detergent because at high altitude you don't want to risk aggravating your skin, which is likely already sensitive from the cold, dry air. Be sure to detach the hose and mouthpiece before cleaning each part separately.
To dry the pack, turn it inside out and hang it over something, or hang it upside down. The drying part is especially critical before packing the hydration pack away between treks!
Note that many hydration pack brands sell specialised cleaning kits. These often include special hydration pack cleaning tablets. You pop one tablet into the bladder along with some warm water, and then let it fizz away for the designated time. This is a great option for a thorough, post-trek clean.
Why you still need a water bottle
Note that you want to carry at least one water bottle even with a hydration pack. This is so you have backup water should your hydration pack or hose break. It's also essential in very cold weather to have a water bottle that you keep insulated inside a sock should the water in your hose freeze.

Always carry a water bottle even when you have a hydration pack
A water bottle can also be a nice place to have water flavoured with an energy sachet while your hydration pack contains just pure water.
Insulating your hydration pack
If you're going to be hiking at extreme altitude, like you do when in trekking in Nepal, then you need to insulate your hydration pack or the water in it will freeze, starting with any water sitting in the hose.
To prevent this happening, you want to do the following:
- Firstly, purchase a hose insulation sleeve (like the one shown below).
- Secondly, position the hydration pack within the backpack so that it's as close to your body as possible. Your body heat will help to keep the water from freezing too quickly. Built-in hydration packs should be placed in the correct position already.
- Finally, pour hot water (not boiling!) into the hydration pack in the mornings. This will help to slow down the freezing process.
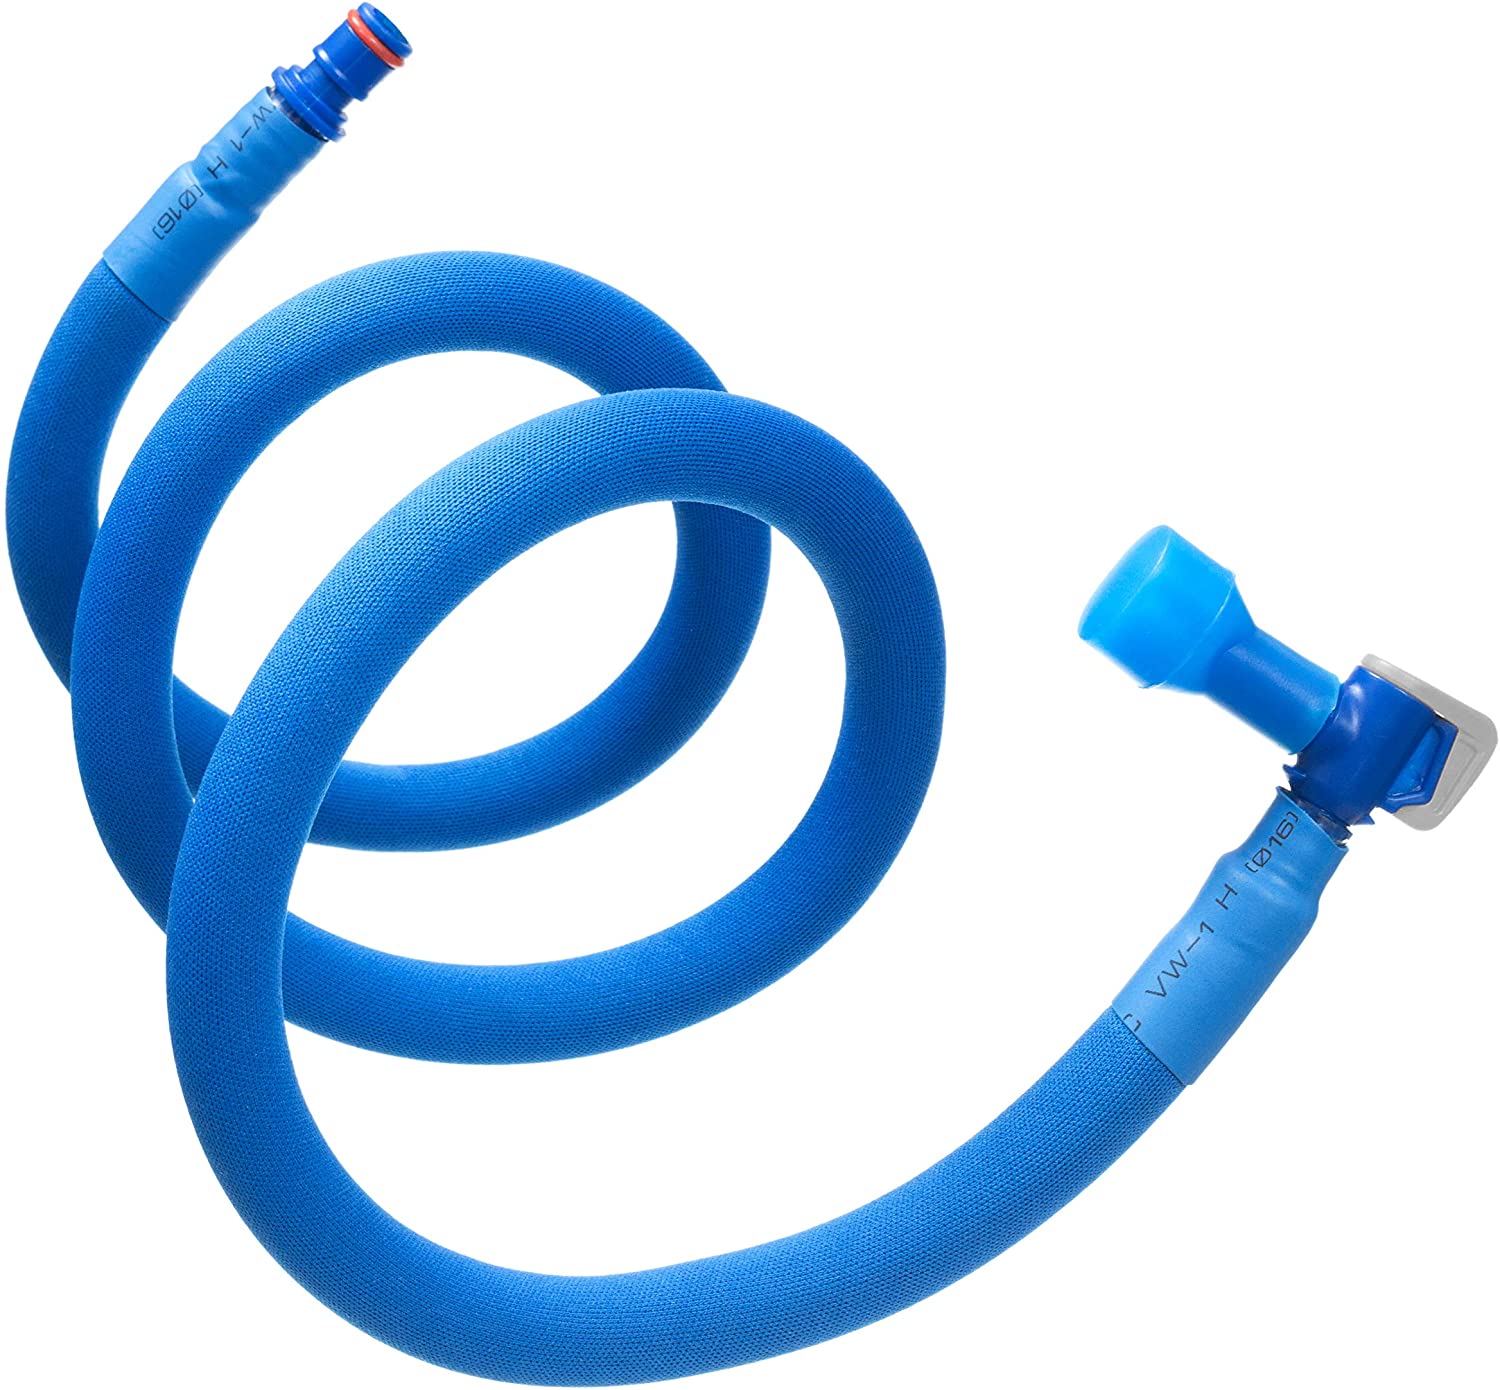
A water hose encased in an insulated sleeve
Ventilation
Your back gets sweaty when you hike – that's a fact of life! But your backpack's ventilation system plays an important role in just how sweaty, and whether your backpack gets damp too. You also don't want your backpack itself to get and stay damp for too long.
Standard mesh panelling on a backpack
Mesh panelling vs a suspended-mesh back
While many backpacks have mesh panelling on the section that sits against your back, as seen in the photo above, not all have a structured frame that can support a suspended-mesh back.
A suspended-mesh back is where the back of the backpack is a little bit arched (or concave) while a taut mesh panel runs in a straight line to connect the top and bottom of this arch. When the backpack is put on, only the mesh panel sits flush against your back, as there's a cavity between your back and the bulk of the backpack. This air gap gives perspiration a chance to evaporate and keeps the main section of the backpack dry too.
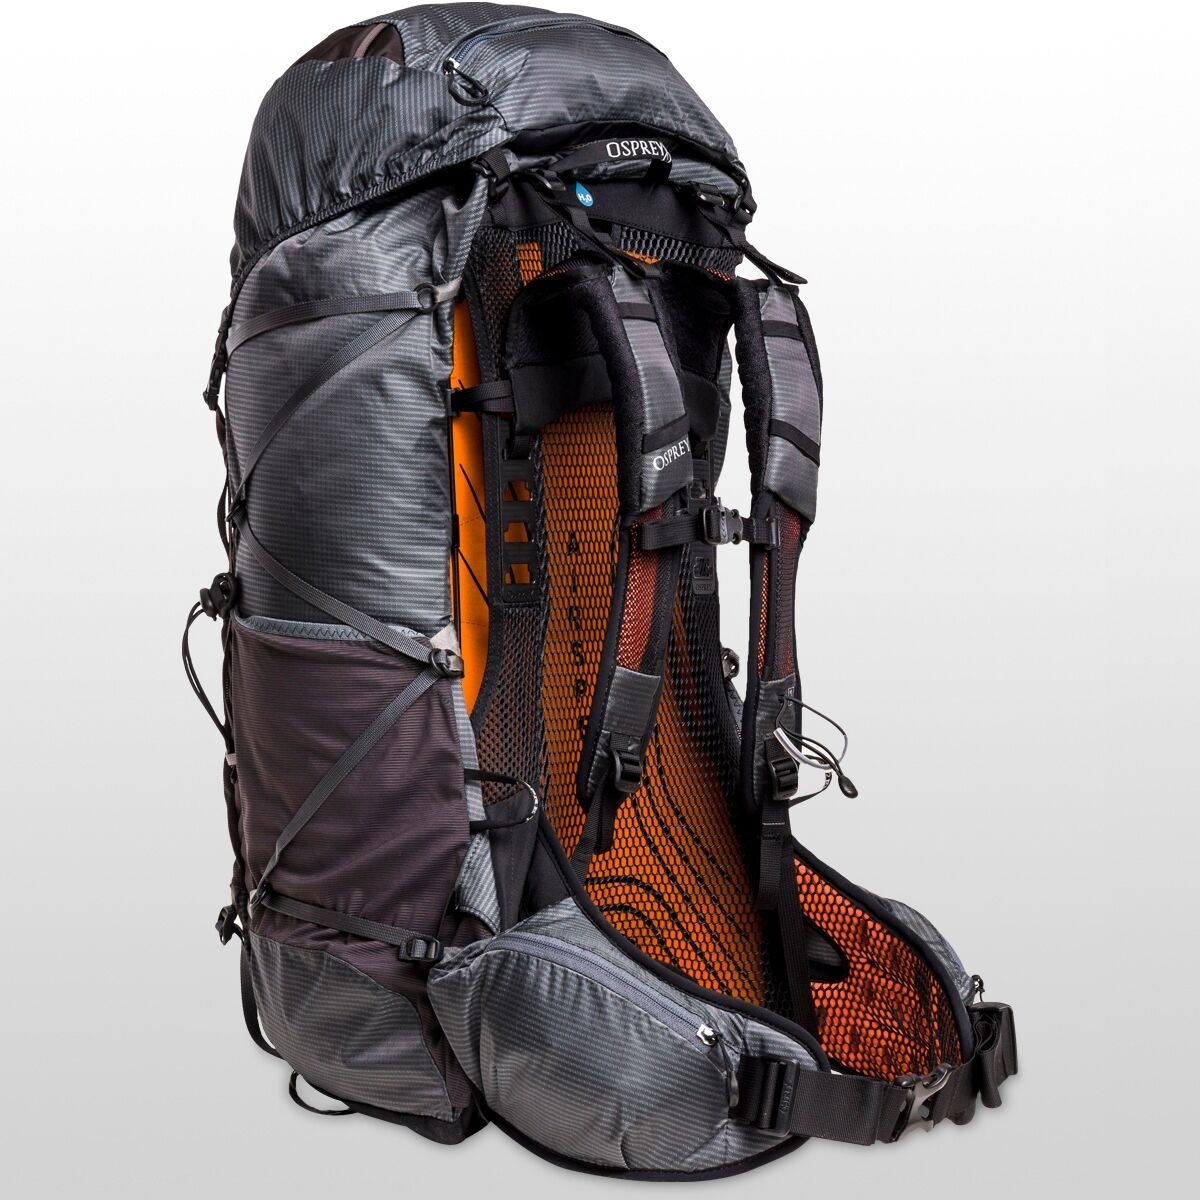
When it comes to a sweaty enterprise like trekking, you need a suspended mesh back
Suspended-mesh backpacks allow for better airflow, so your sweaty back is able to dry more quickly.
We recommend investing in a suspended-mesh backpack if you're going to be engaging in high-altitude trekking.
Fabric
Right, fabric. This is an important topic.
Fabric choice can make or break a backpack – sometimes quite literally
When it comes to choosing the right fabric for your backpack, the two main concerns are:
- Is it lightweight?
- Is it durable?
Fabric weight
You obviously don't want a fabric that adds too much to the overall weight that you're going to be carrying on your back, especially if you have quite a bit to carry already.
Fabric durability
Fabric durability can be measured in a number of ways. You want a backpack that:
- doesn't tear easily and is puncture-resistant
- doesn't crack in extreme cold
- is rot-resistant
- doesn't scuff at the sight of a rough surface
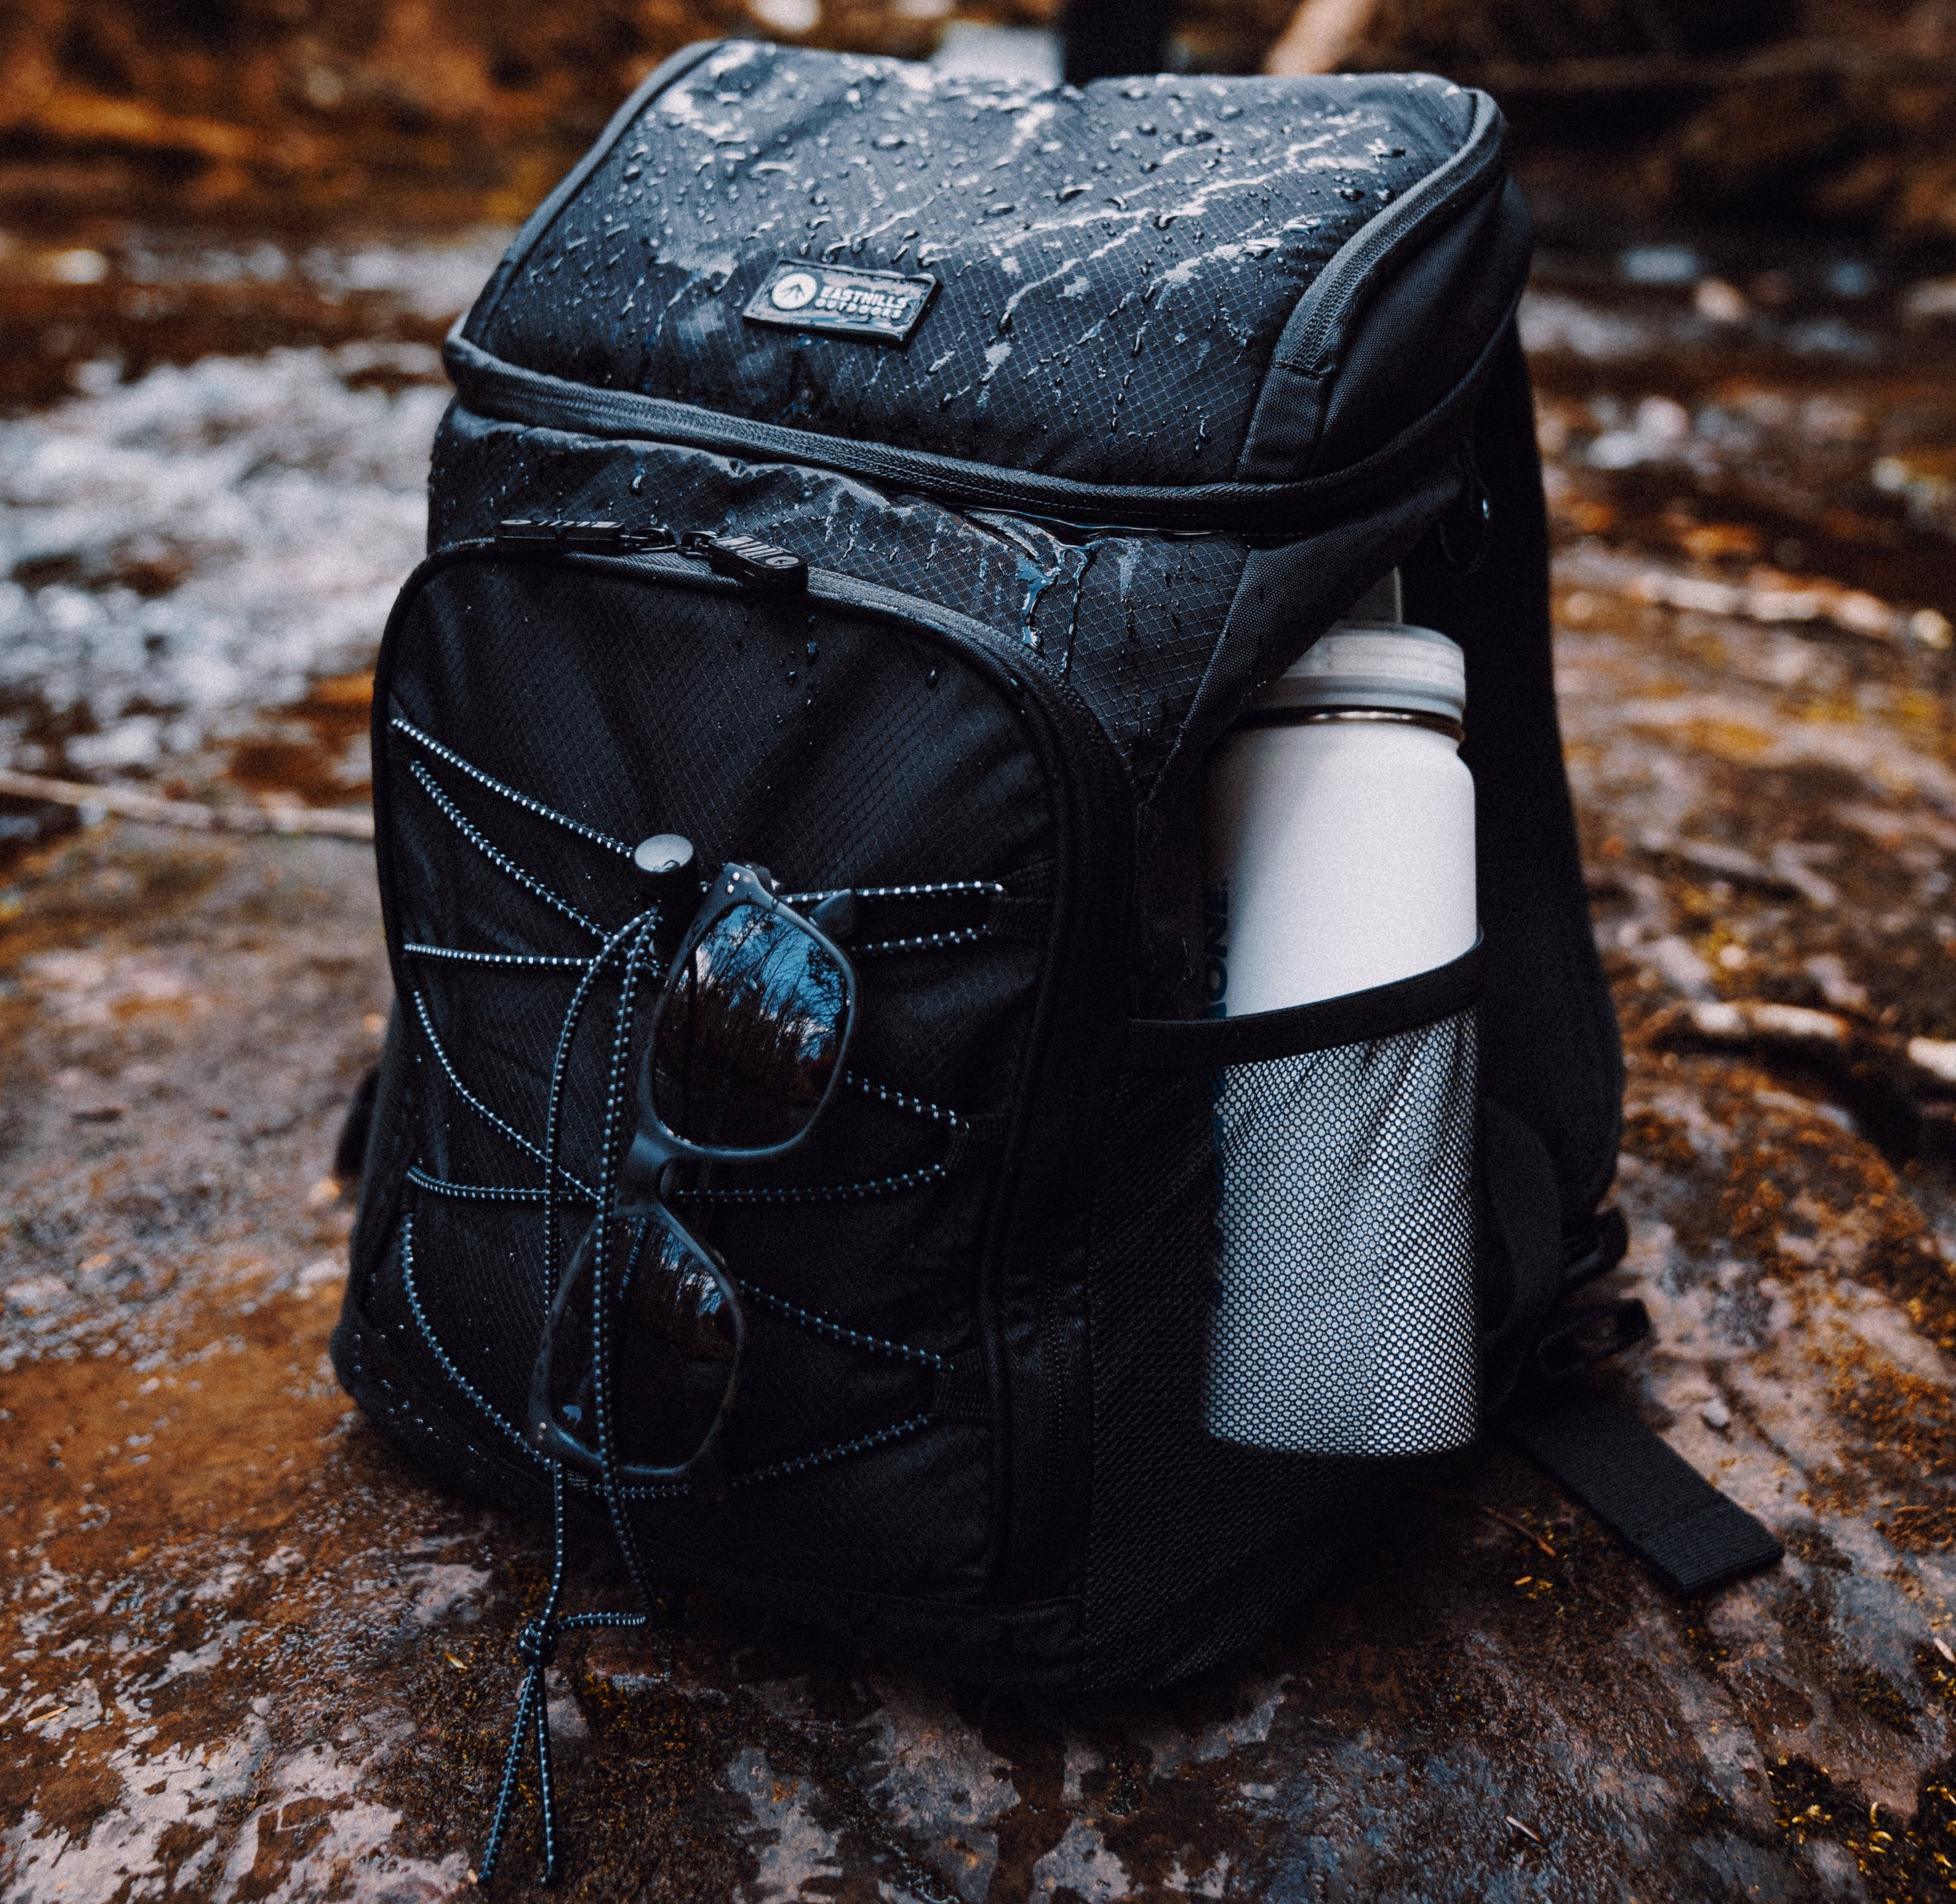
A waterproof backpack (with its shock cord being put to use as a sunglasses hook)
So let's look at some popular backpack fabrics. Note that we don't discuss certain commonly used backpack fabrics like cotton, leather, faux leather and tarpaulin, as we don't feel these are in the running for the best materials for trekking backpacks. Instead, here are the few fabrics (some branded) that we do feel you could consider for your high-altitude backpack:
- polyester
- nylon
- pack cloth
- waxed canvas
- Cordura
- Dyneema
- X-Pac
Here's a summary of the pros and cons of each.
Polyester
Polyester, which was developed in the 1940s, is widely used in backpack manufacturing. A major plus is that it has a high UV-resistance, so it won't weaken or fade with exposure to the sun. (Remember, UV rays are particularly harsh at high altitude.)
You can also get 100% recycled polyester backpacks, so those interested in being sustainable travellers should take note. Polyester backpacks are also among the most affordable. And they're nicely lightweight too. So there are many pluses to polyester backpacks.
On the downside, polyester isn't quite as durable as certain other fabrics. So the longevity of polyester backpacks can't match that of those made from sturdier fabrics.
Nylon
This tough fabric has been around since the 1970s. It's weather-resistant, lightweight, and rot-resistant.
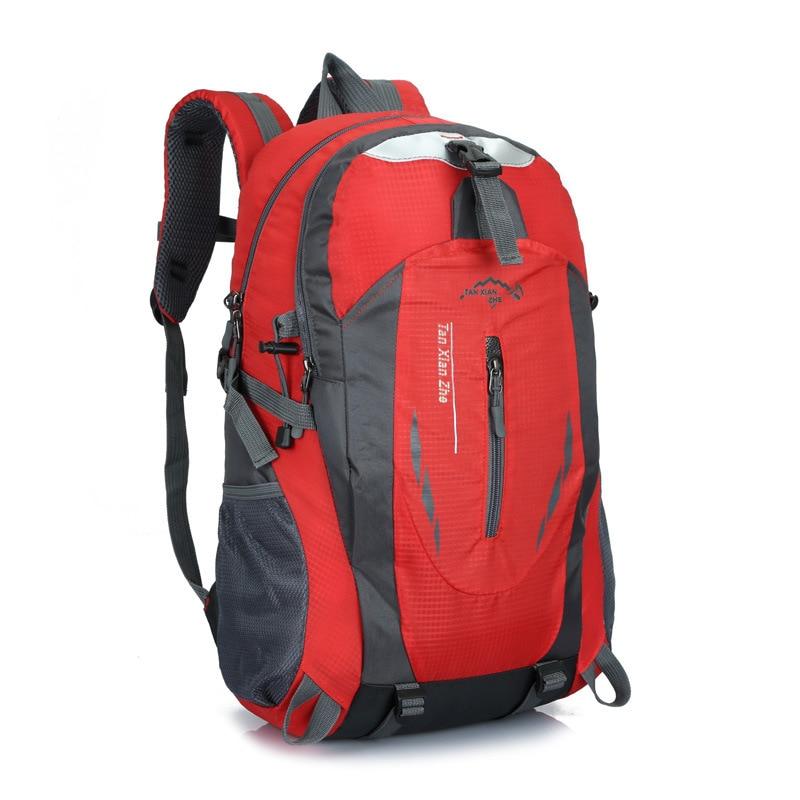
An example of a nylon outdoor backpack
Nylon is a very commonly used and popular fabric for adventure backpacks, as it's great in terms of its strength-to-weight ratio.
You'll find there are plenty of options of nylon backpacks out there to choose from. But we advise you to look for one with a higher denier (fibre thickness) like 1000D. Those with a low denier like 200D are too flimsy for adventure backpacking. You'll find this figure in a backpack's specs.
We suggest you opt for nylon if you want a backpack that's lightweight, durable, and not too expensive.
On the downside, nylon isn't very breathable. It also has less UV-resistance than other fabrics, which means it will fade and start to break down after being exposed to the sun for a long period of time. Finally, it's more expensive than polyester.
Pack cloth
Pack cloth backpacks are lightweight and very durable. It's a coated fabric, so it offers good water-resistance.
Pack cloth is nylon that's been coated with a very thin layer of polyethylene. This makes it nicely water-resistant, which is especially important if you're carrying expensive tech gadgets in it. It's also lightweight and easy to clean.
Note, however, that pack cloth backpacks have a lower denier than purely nylon ones, and so aren't quite as durable. They also scuff easily.
Waxed canvas
A water-resistant and durable fabric, waxed canvas backpacks are popular among those who like a rugged, back-to-basics look, as such backpacks accrue character with every sign of ageing. This is the sort of backpack that an avid Instagrammer would take a shine to.
An important fact to note here is that waxed canvas backpacks need to be re-waxed every two or so years to maintain their water-resistance.
Cordura Ⓡ
Cordura is a collection of fabrics that's used to make some really good, durable backpacks. Cordura backpacks are usually made of nylon blended with another fabric. They have a really rugged look, and are hard to tear or rip.
Close up of a backpack made from Cordura fabric
You can get 100% waterproof Cordura, and such backpacks don't then need a rain cover.
On the downside, Cordura is often heavier than other backpack fabrics. It can also be quite costly, as you're buying a branded fabric. If you're going to be trekking a lot, especially at extreme altitude where the sun's rays are harsh, cordura is a good option, as it's incredibly durable and also sun-resistant.
Dyneema Ⓡ
Another branded, composite fabric that includes a polyester film, Dyneema is ideal for those wanting a super lightweight backpack that's really strong and durable.
Dyneema is marketed as the strongest fibre in the world, and is 15 times stronger than steel when compared by weight!
Dyneema is marketed as the strongest fibre in the world, and is 15 times stronger than steel when compared by weight!On the down side, it makes a crinkly noise, and has almost no stretch. But it's a good option for anyone doing intense high-altitude treks who needs an indestructible backpack.
X-Pac Ⓡ
X-Pac started life as a sail cloth, but has since been used in the making of backpacks as well. It's another branded, composite fabric. Some X-Pac backpacks are made by joining together as many as four layers of fabrics.
X-Pac fabric is strong, lightweight and weather-resistant, making it a good choice for use in high-altitude backpacks. Like Dyneema, X-Pac fabric makes a bit of a crinkly noise – which isn't for some.
A note about polyurethane
Finally, we recommend avoiding any cordura or other fabric backpack with a polyurethane coating. This is done to increase the backpack's water-resistance, but after a few years the coating usually disintegrates into a sticky mess.
Padding
When buying an adventure backpack, you want one with good padding to ensure it doesn't rub, dig and in other ways become a nuisance.

A well-padded backpack is vital for a comfortable high-altitude trek
If you've chosen a backpack with a suspended-mesh back (as discussed above), then the main places where you want padding are the shoulder and hip straps. This is especially if you're on the skinnier or bonier side of things. If your backpack just has standard mesh panelling, then be sure the back of the main compartment also has good padding.
Remember that what may be comfortable in the shop is not a good indication of what's going to be comfortable when loaded up and worn for many hours!
It's all in the foam
Open-cell foam is a soft, compressible and comfy foam that's often used for backpack padding. It's often used in the back panel of backpacks that sit flush against your back. But because it compresses so easily, it's not ideal when you're carrying a heavy load.
For this reason, the padding used in backpack shoulder straps is usually a closed-cell foam, also called Ensolite. It's flexible, doesn't compress easily, and isn't affected by moisture. So it's ideal for its purpose – shouldering a heavy load. (Apologies, we had to. 🙃)

It's vital to have good padding in your shoulder straps
Some backpacks make use of dual-density foam in their straps to enjoy the benefits of both closed- and open-cell foam. This can work well, especially for hip straps.
EVA foam is the gold standard when it comes to backpack foam, as it's both durable and springy – just what you need. But not all backpacks use EVA foam, so be sure to check on this detail if you want it.
Rain cover
Rain covers are critical extras for non-waterproof backpacks. While you can buy a separate rain cover, a built-in one is a nice to have. Especially as you then know that it's the correct size.
Most backpacks aren't 100% waterproof and so need a rain cover
A rain cover should be elasticated or have a drawstring so that it can be made to fit the backpack snugly.
Built-in rain covers have their own little storage pockets near the base of the bag. When it starts to rain, you simply unzip it and pull it up and over the top of the backpack. It should fit snugly. And most come with adjustable drawcords too.
A note. As we just discussed, some backpacks have lash points that allow you to attach a sleeping bag or similar to the bottom of the backpack. When looking at backpacks with built-in rain overs, consider if this will work with any such extra item attached? Or do you perhaps need a bigger or more flexible rain cover?
Get help
Our parting thought ...
Given that there's so much to think about when it comes to outdoor backpacks, and high-altitude trekking can be an unpleasant (or even dangerous) enterprise if you're not well equipped, we really encourage you when possible to visit a store and seek help choosing a backpack. We think the ideal approach is to have done your own research, have a list of your backpack priorities and any questions, and then use this to help the sales clerk assist you in finding the perfect backpack for you.