


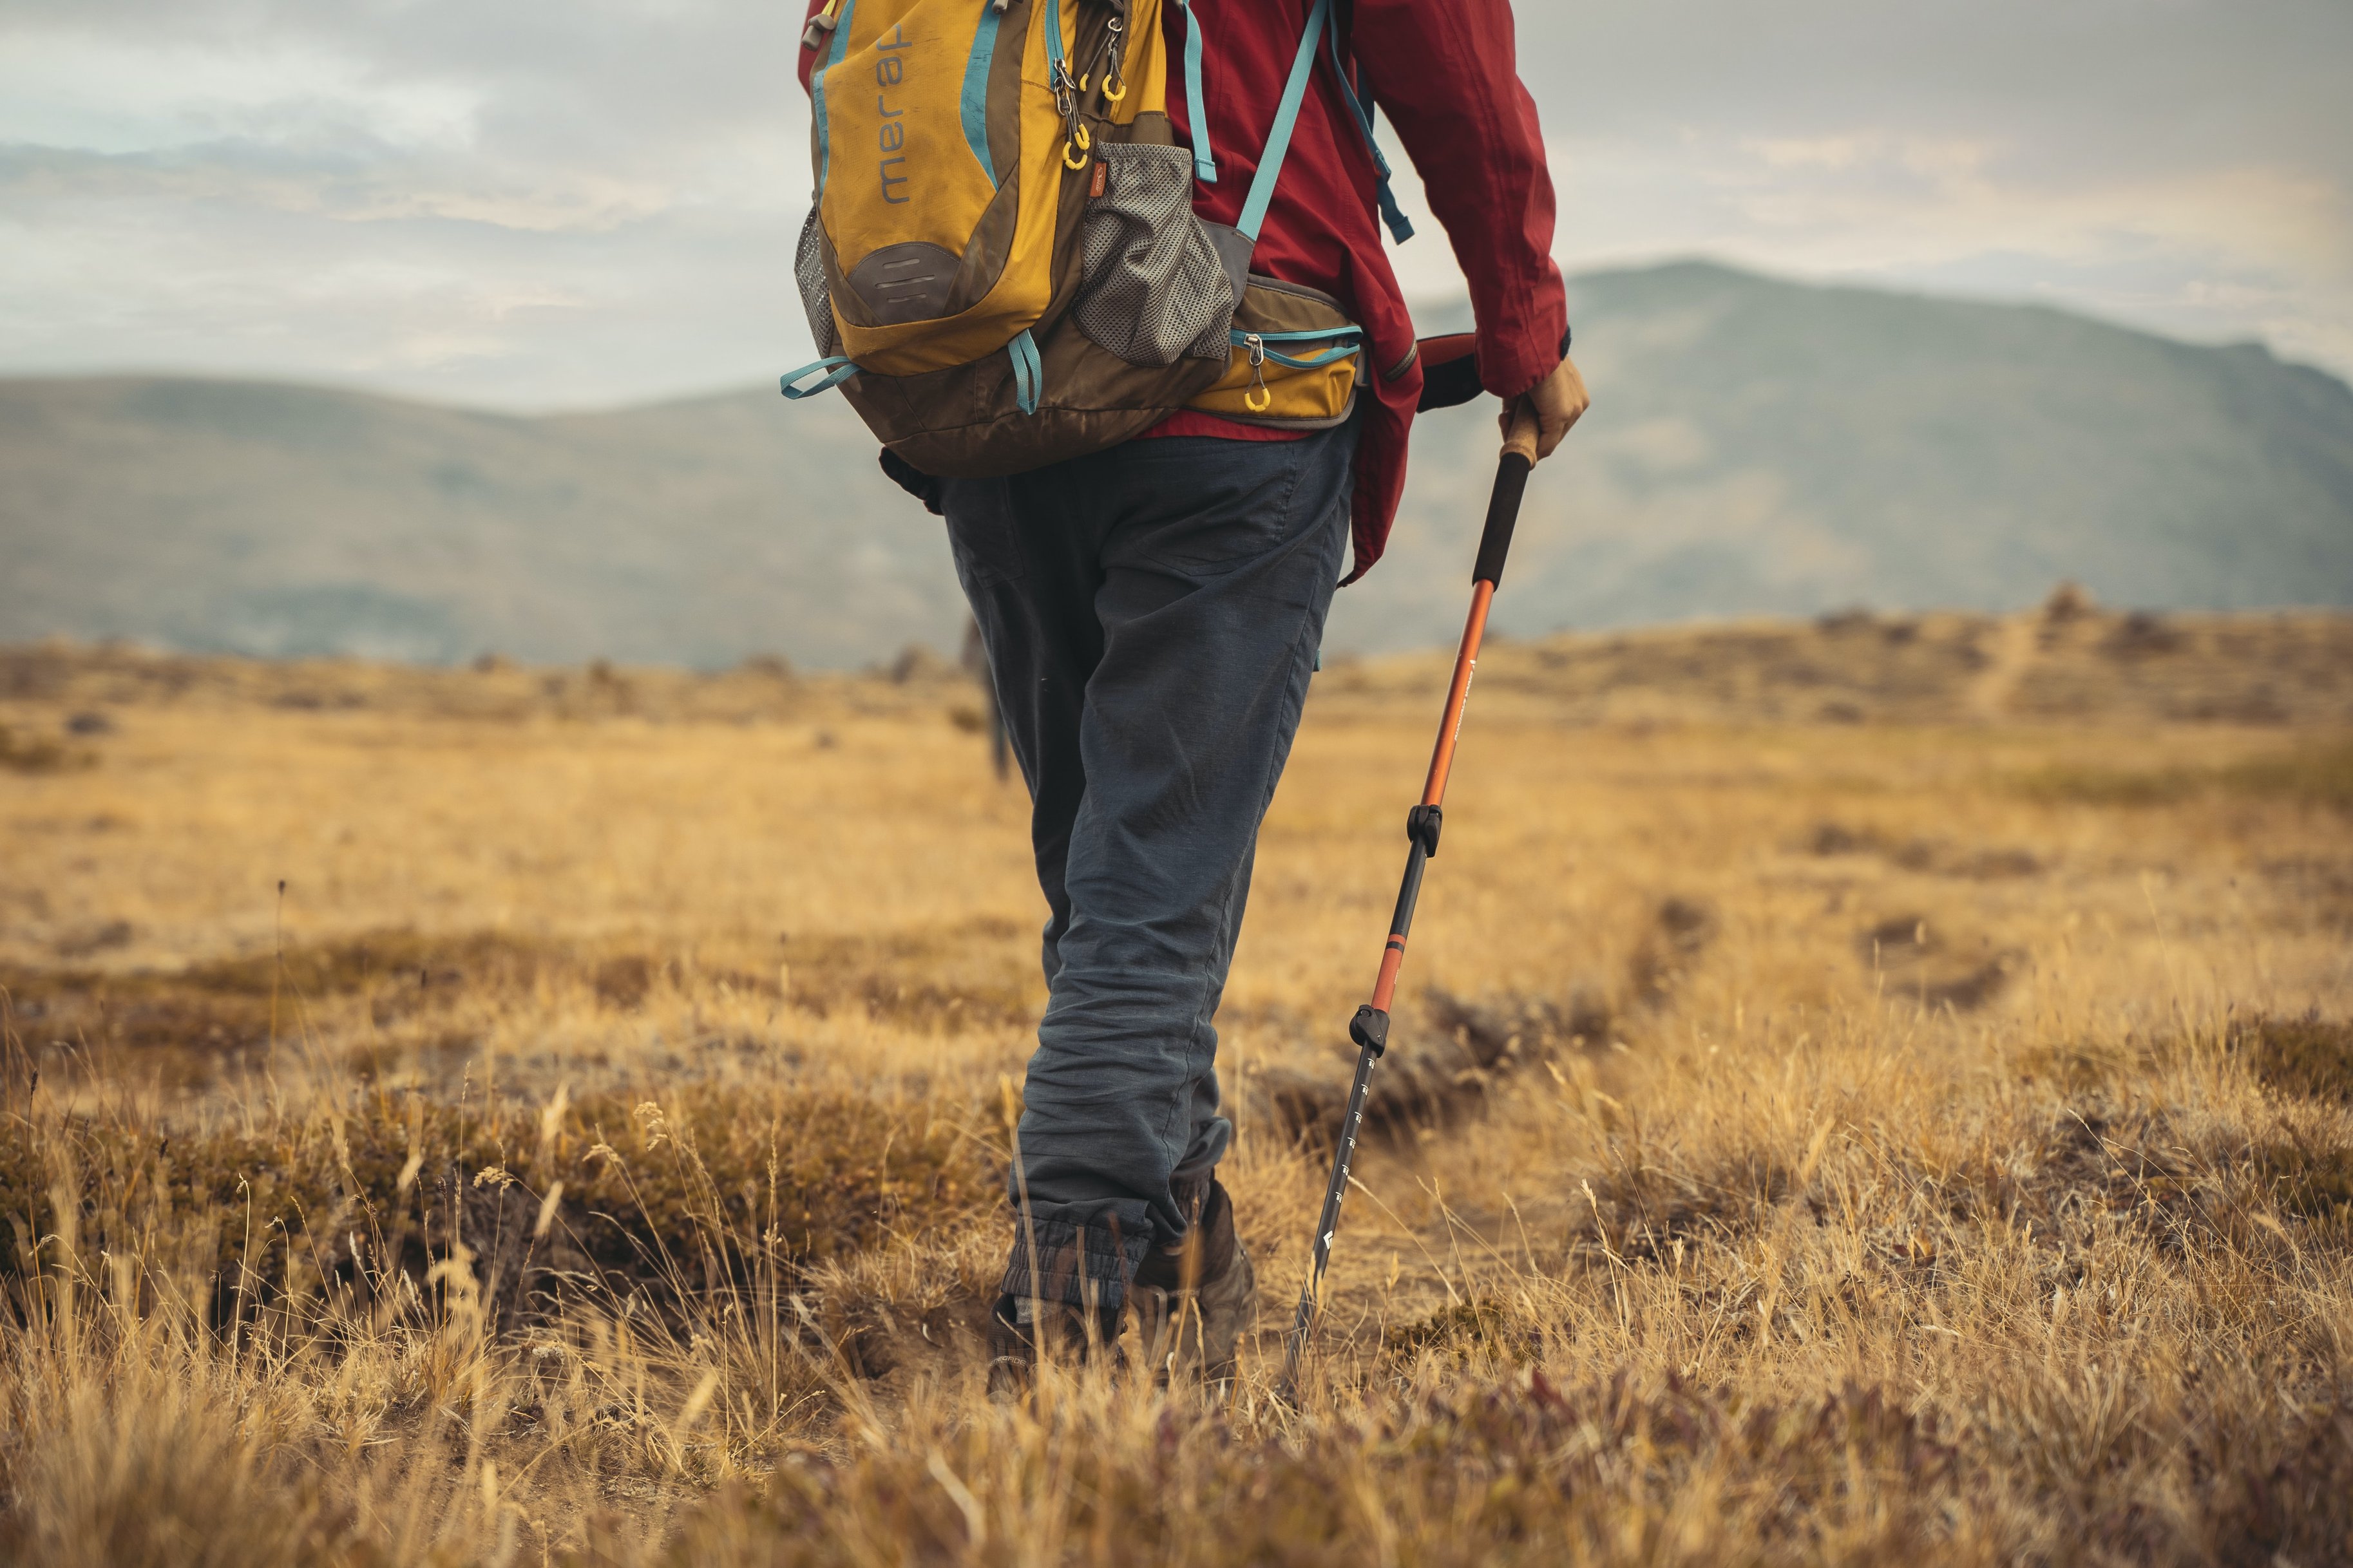
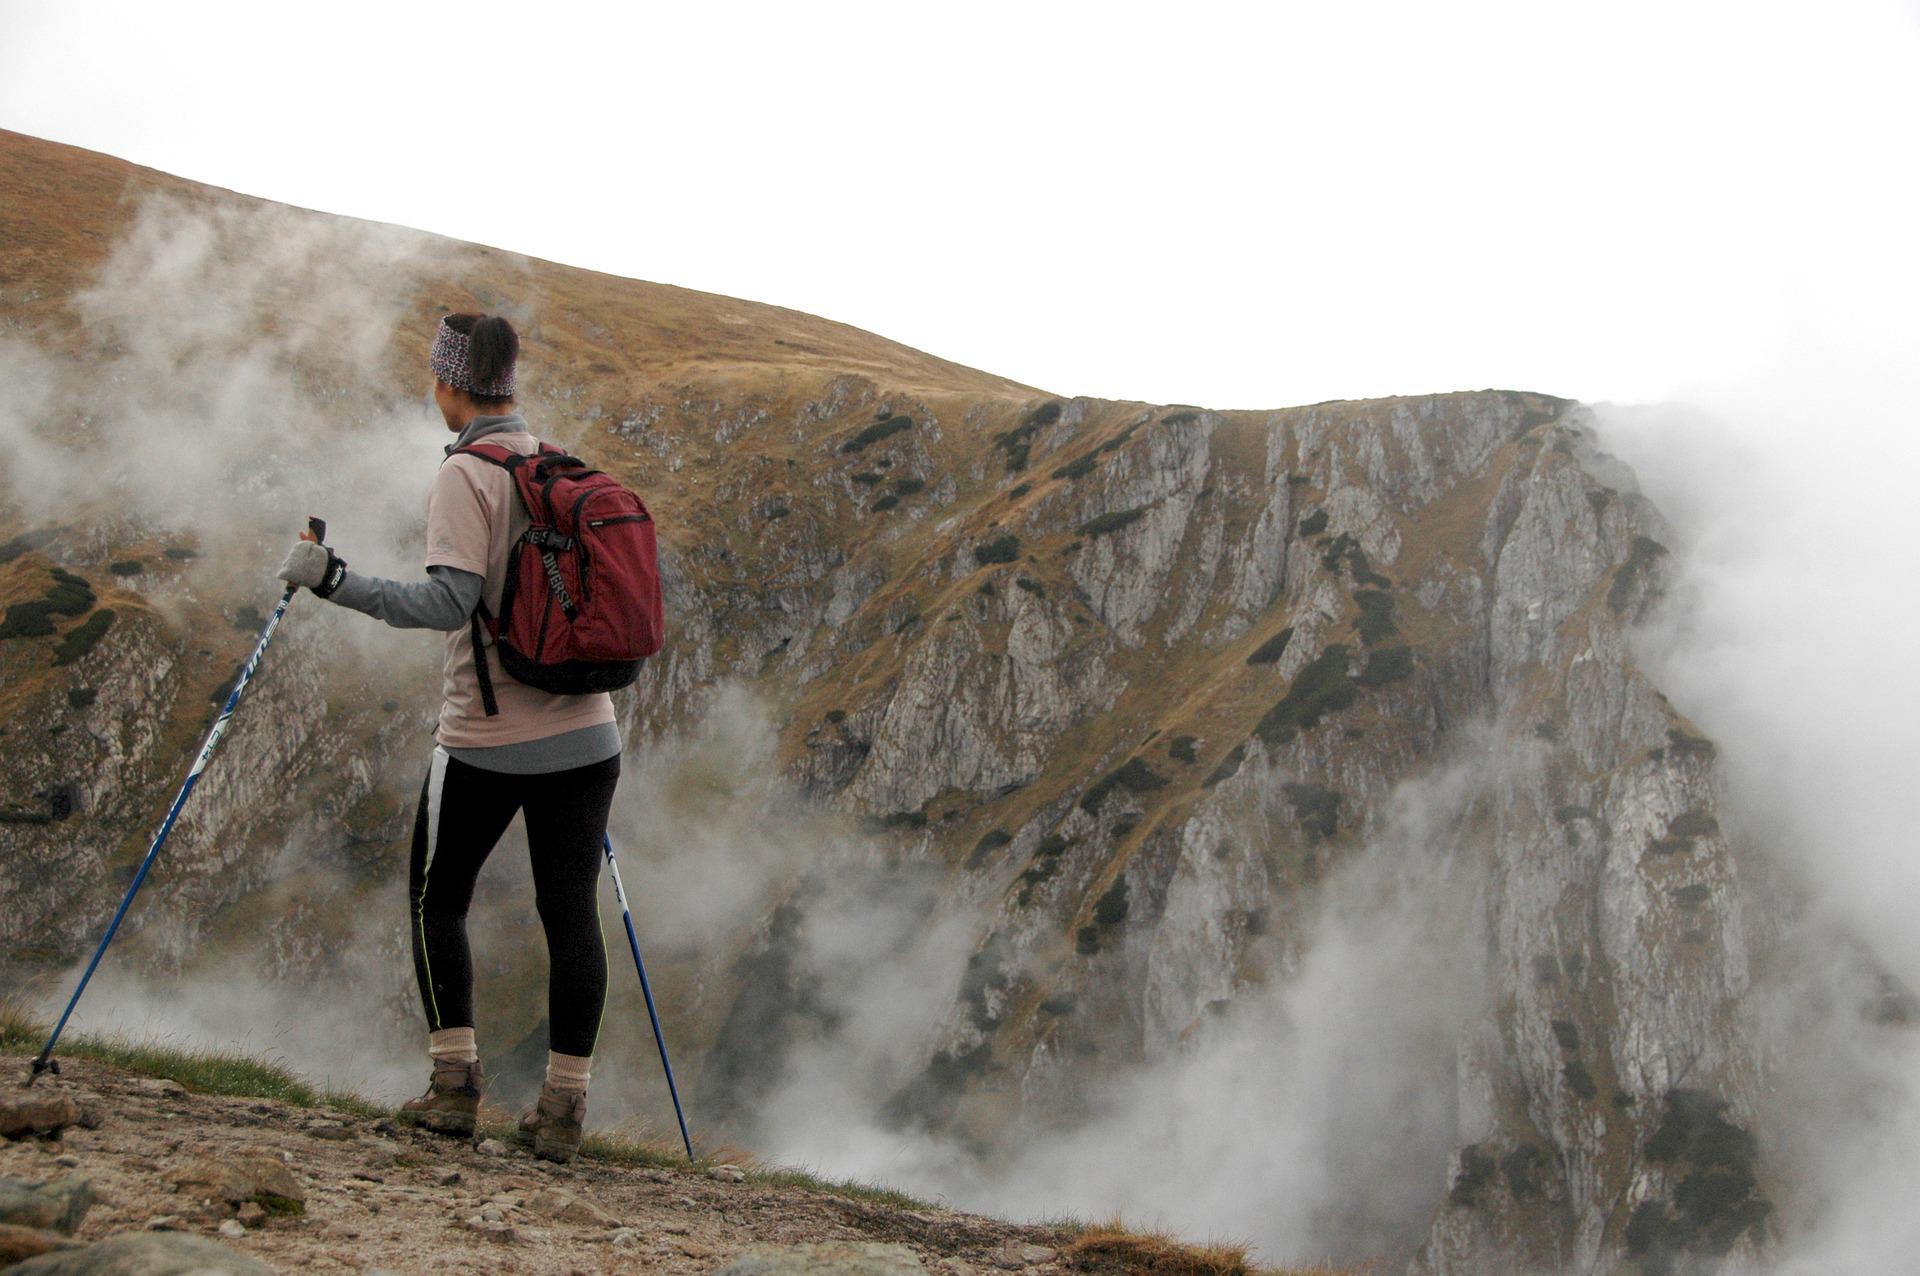
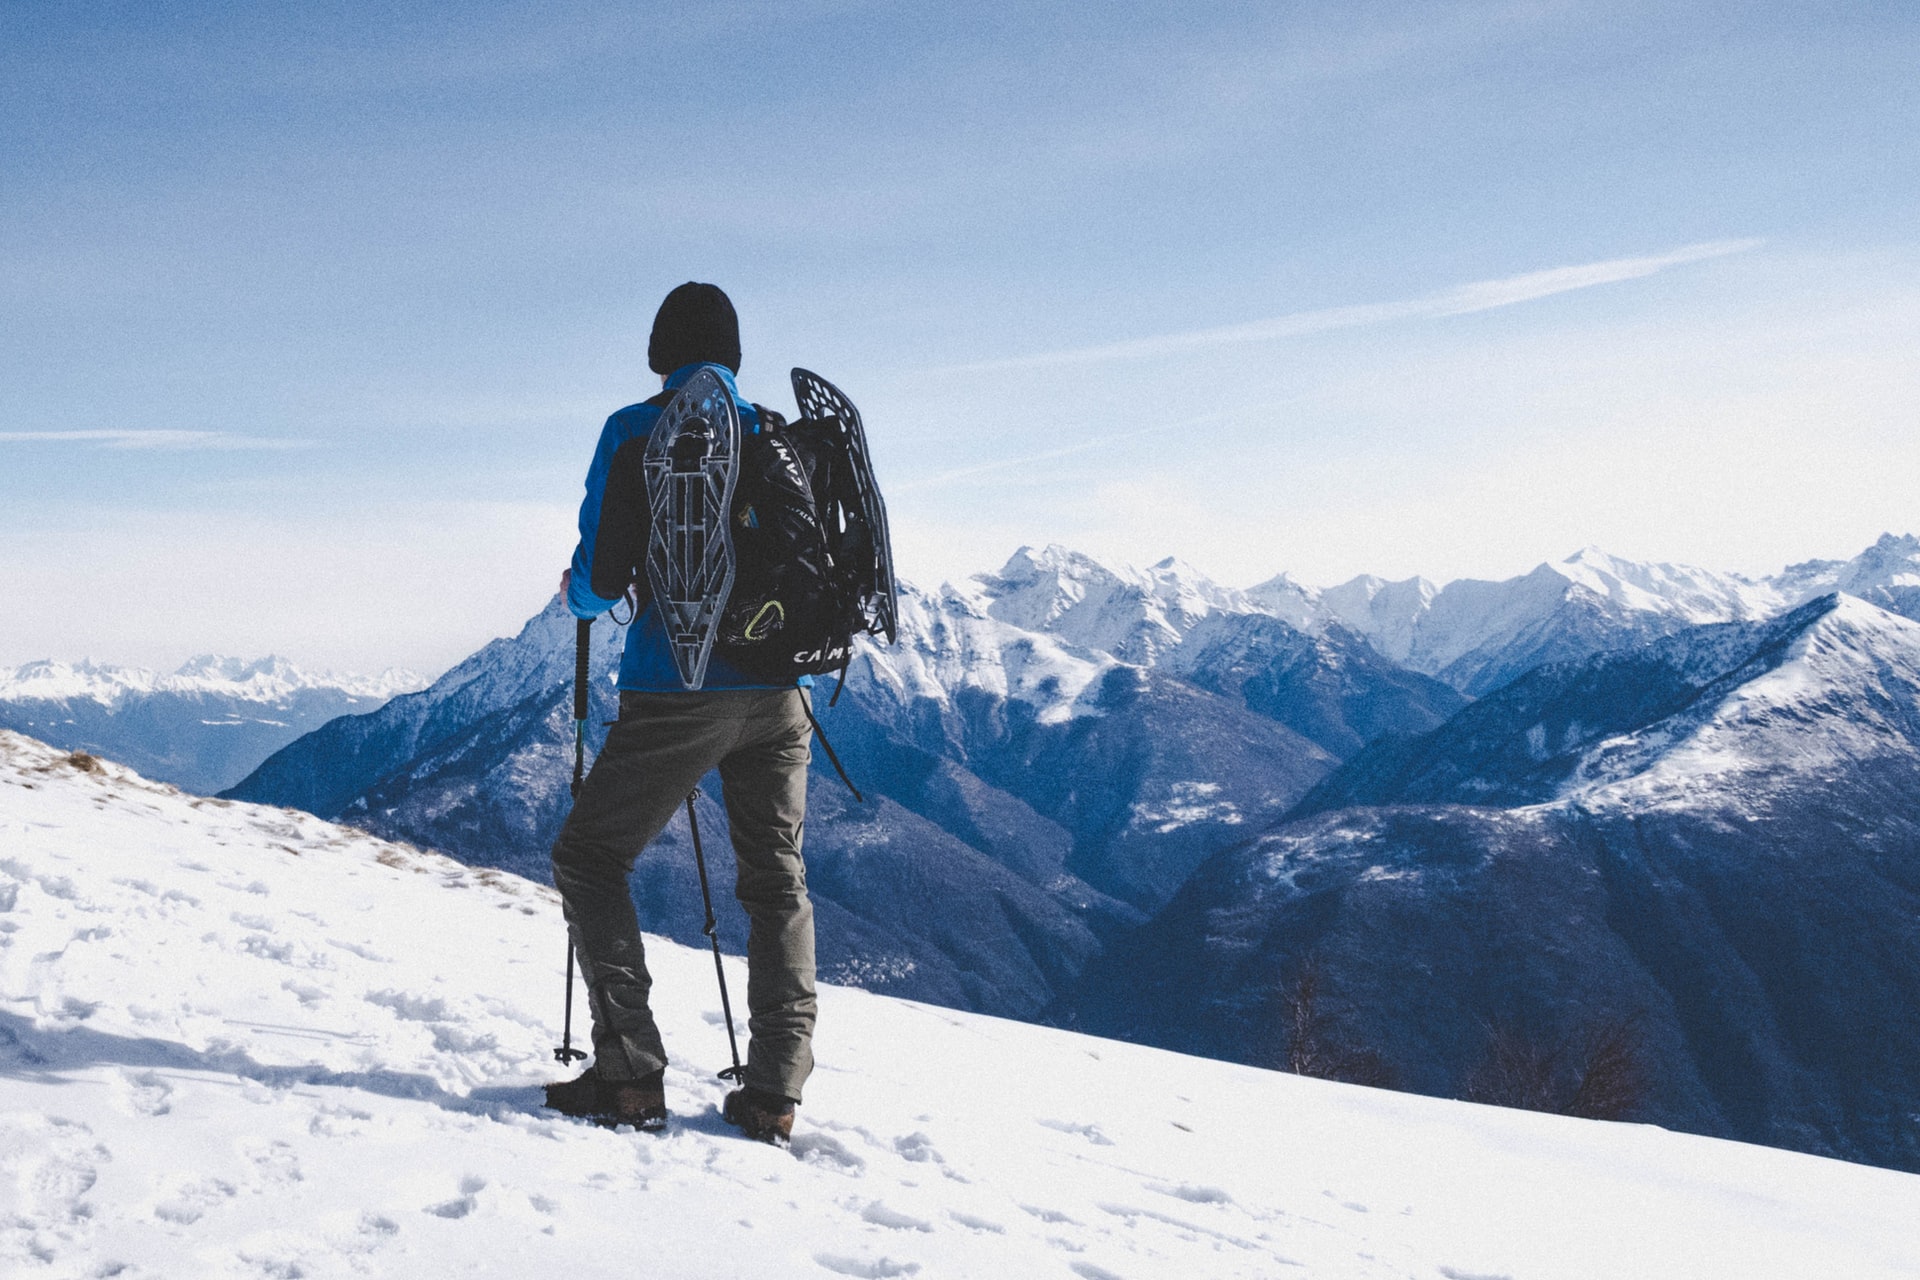
Trekking poles aren't just for the old. Oh no, no – walkers, hikers and trekkers everywhere are realising the value of a good and appropriate pair of trekking poles. This is because trekking poles help with stability and so encourage confidence and sure-footedness. Studies have shown that you actually walk and hike faster with trekking poles.

Trekking poles are at their most useful when you're navigating tricky surfaces
If you decide to give trekking poles a try, choosing the right pair for you and your type of walking is important. Further to this, knowing how to use them is also important. We have all the info for you below.
But first, let's look at the composition of the standard trekking pole, so you know the basic terminology used to discuss them.
Anatomy of the trekking pole
Here is a fairly standard trekking pole and the names of the different parts. We discuss each feature and its function below.
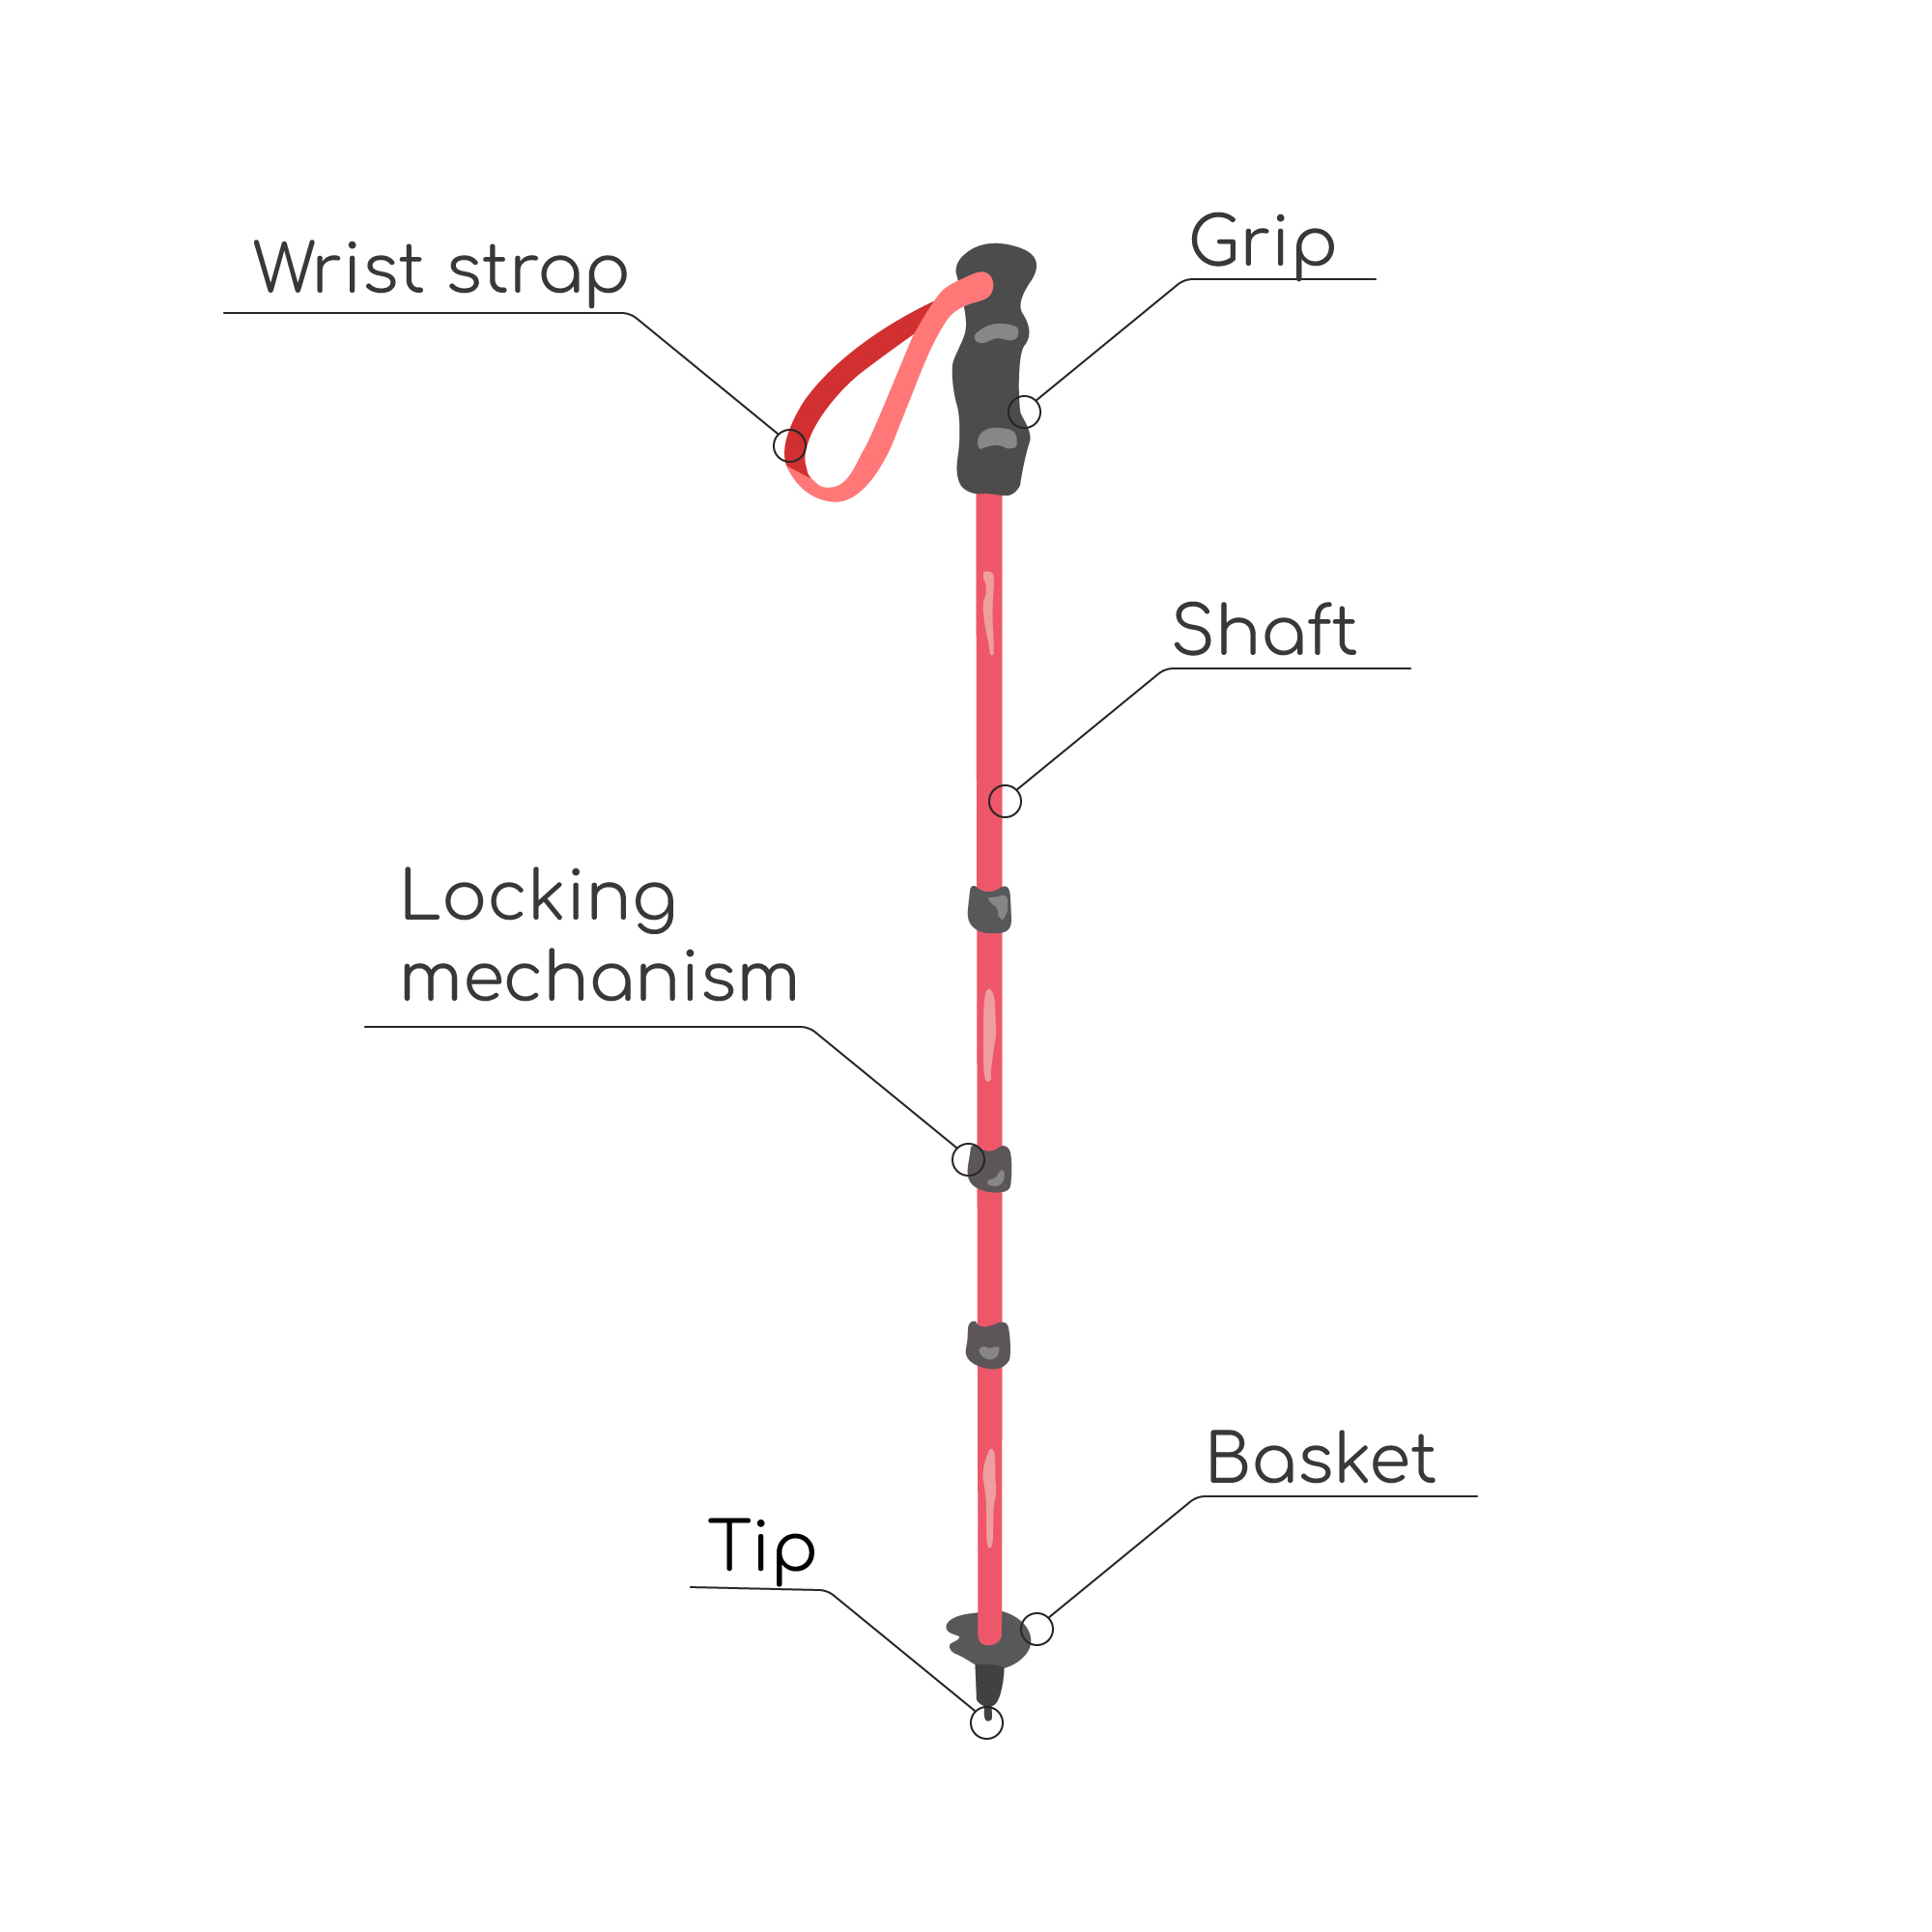
Infographic of the standard parts of a modern trekking pole
Trekking poles vs hiking staffs
Just a quick note about trekking poles and hiking staffs. What's the difference?
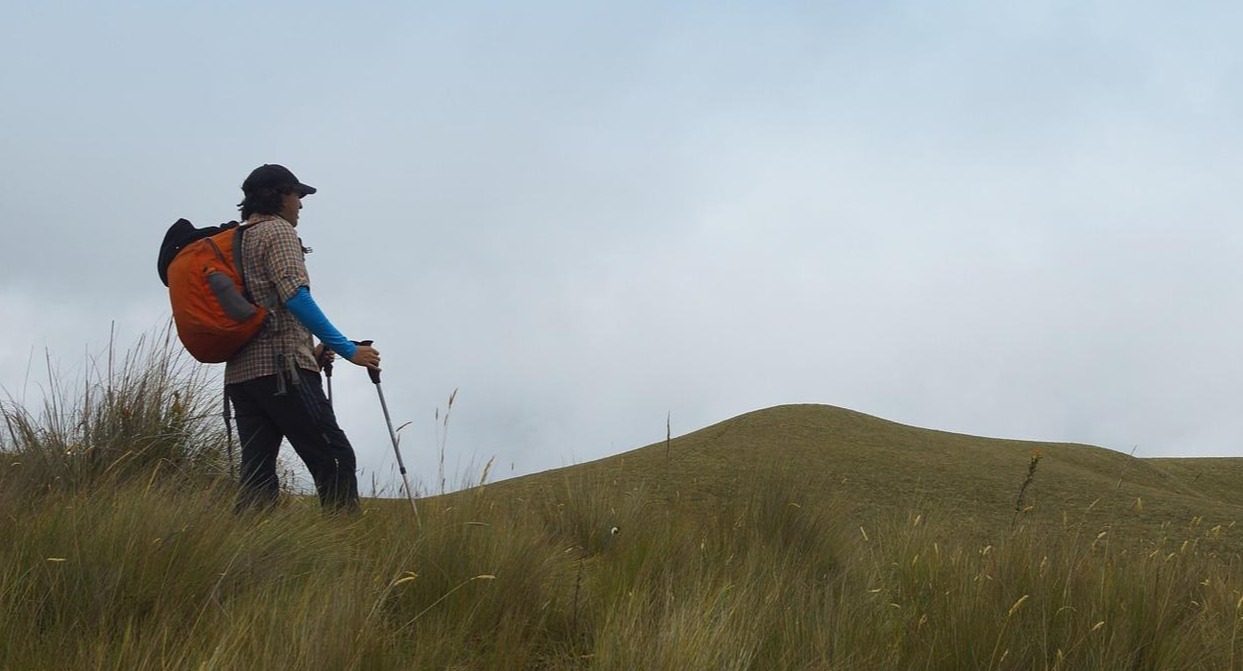
Well, a hiking staff is one pole that you use in either hand. With a staff, you always have one hand free. It's sometimes even just a good stick or branch found along the path that accompanies you for a single hike. At other times, though, it's a well-crafted, cherished companion that go with you on every walk or hike. Pilgrims and countryside walkers are well-known for favouring a hiking staff.

A pilgrim on the Way of St James using ahiking staff
Trekking poles can be thought of as the more seriously sporty cousin of the hiking staff. They ensure a more balanced movement and are preferred by trekkers. If you want the best stability and safety on offer, then you want trekking poles.
Things to consider when choosing poles
Right, so let's move on to the meat. You want to know what to look for to choose a good pair of trekking poles for you.
With this in mind, here are eight features of trekking poles to consider when choosing a pair.
1. Grip
The hand grips of trekking poles are usually made of one of three materials:
- rubber
- cork
- foam
A rubber-grip trekking pole
Rubber is a poor heat conductor, while being a good shock absorber. We strongly recommend poles with rubber grips for anyone doing a high-altitude trek or one in extreme cold, as rubber helps to insulate your hands from the cold. It's not a good option for warm-weather trekking, however, as it can cause your bare hands to blister. Rubber grips therefore go well with glove-clad hands.
Rubber grips are the best for high-altitude trekking, while cork grips are good for trekking in hot conditions.
Foam grips are nicely soft, but they do absorb moisture. Cork grips are a good option for trekking in hot conditions, as cork isn't absorbent. It also decreases vibration, and moulds to the shape of your hands. We therefore recommend cork grips if you trek mostly in hot conditions.
Most pole grips are ergonomically shaped these days. But they're not all designed the same way. Be sure to see which feels better in your hands before purchasing a pair.
Remember too that you don't want a fat grip – rather, you want to feel that your hands wrap around the grips comfortably and give you a really solid hold.
Choke-up extensions
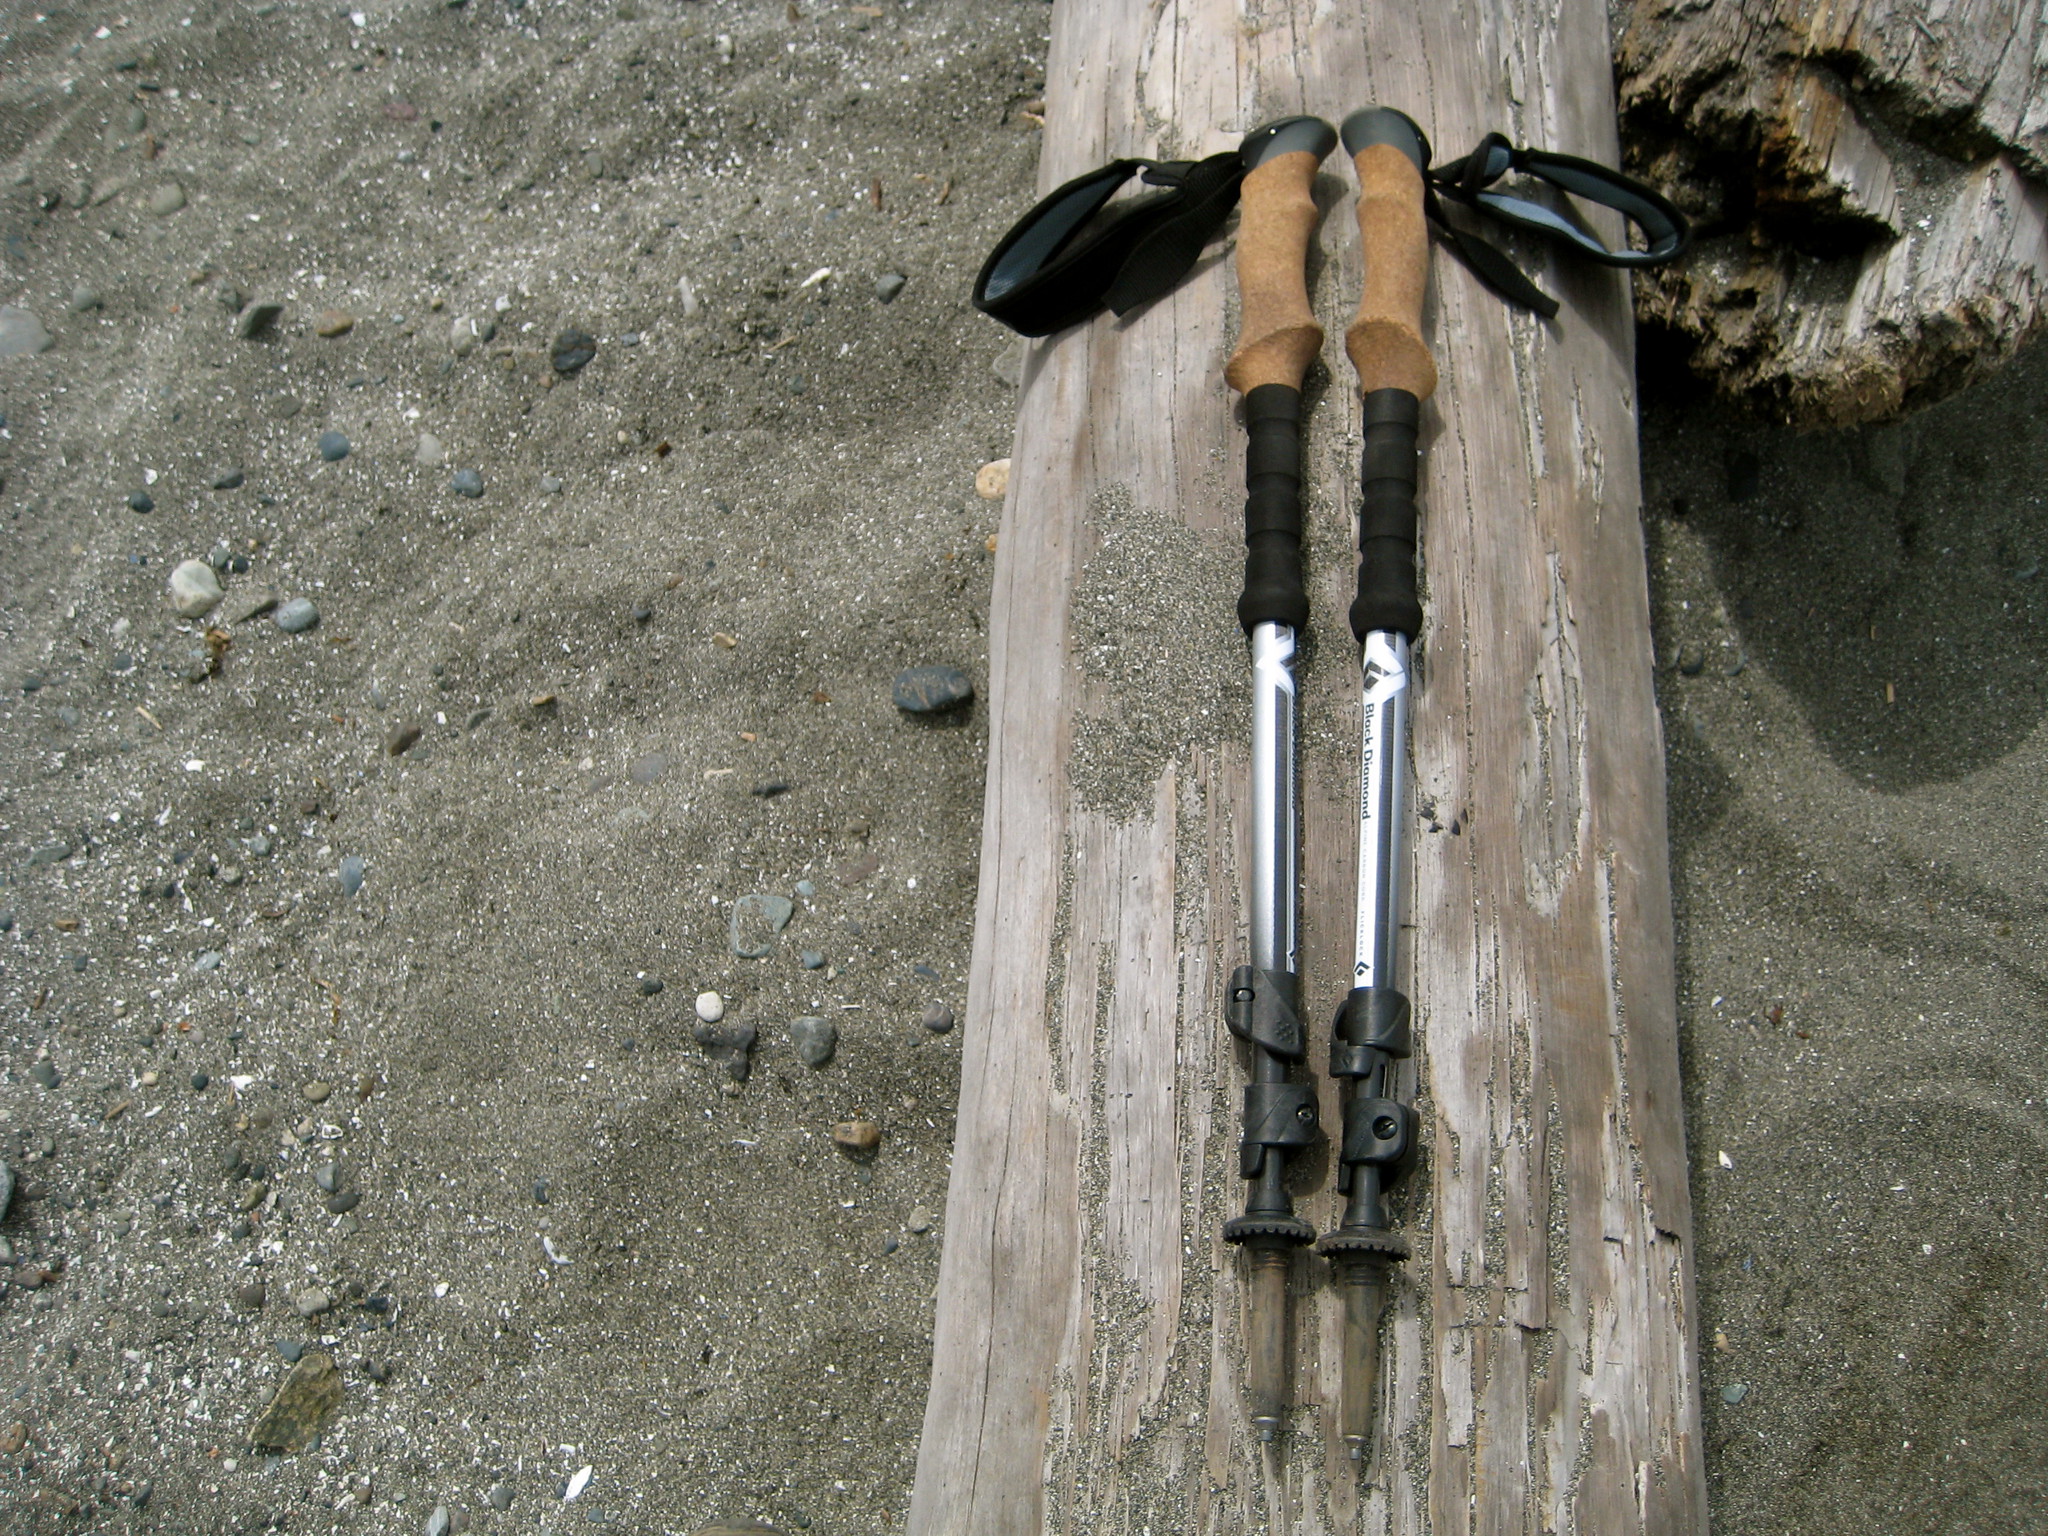
Cork-grip trekking poles with choke-up extensions | Image by Pig Monkey
Those who often climb really steep mountains might like to consider getting a choke up extension like the ones shown in the image above. These are basically additional hand grips below the normal hand grips. They're a nice function that allows you to simply slide your hands down when going up a steep section instead of adjusting your poles' length.
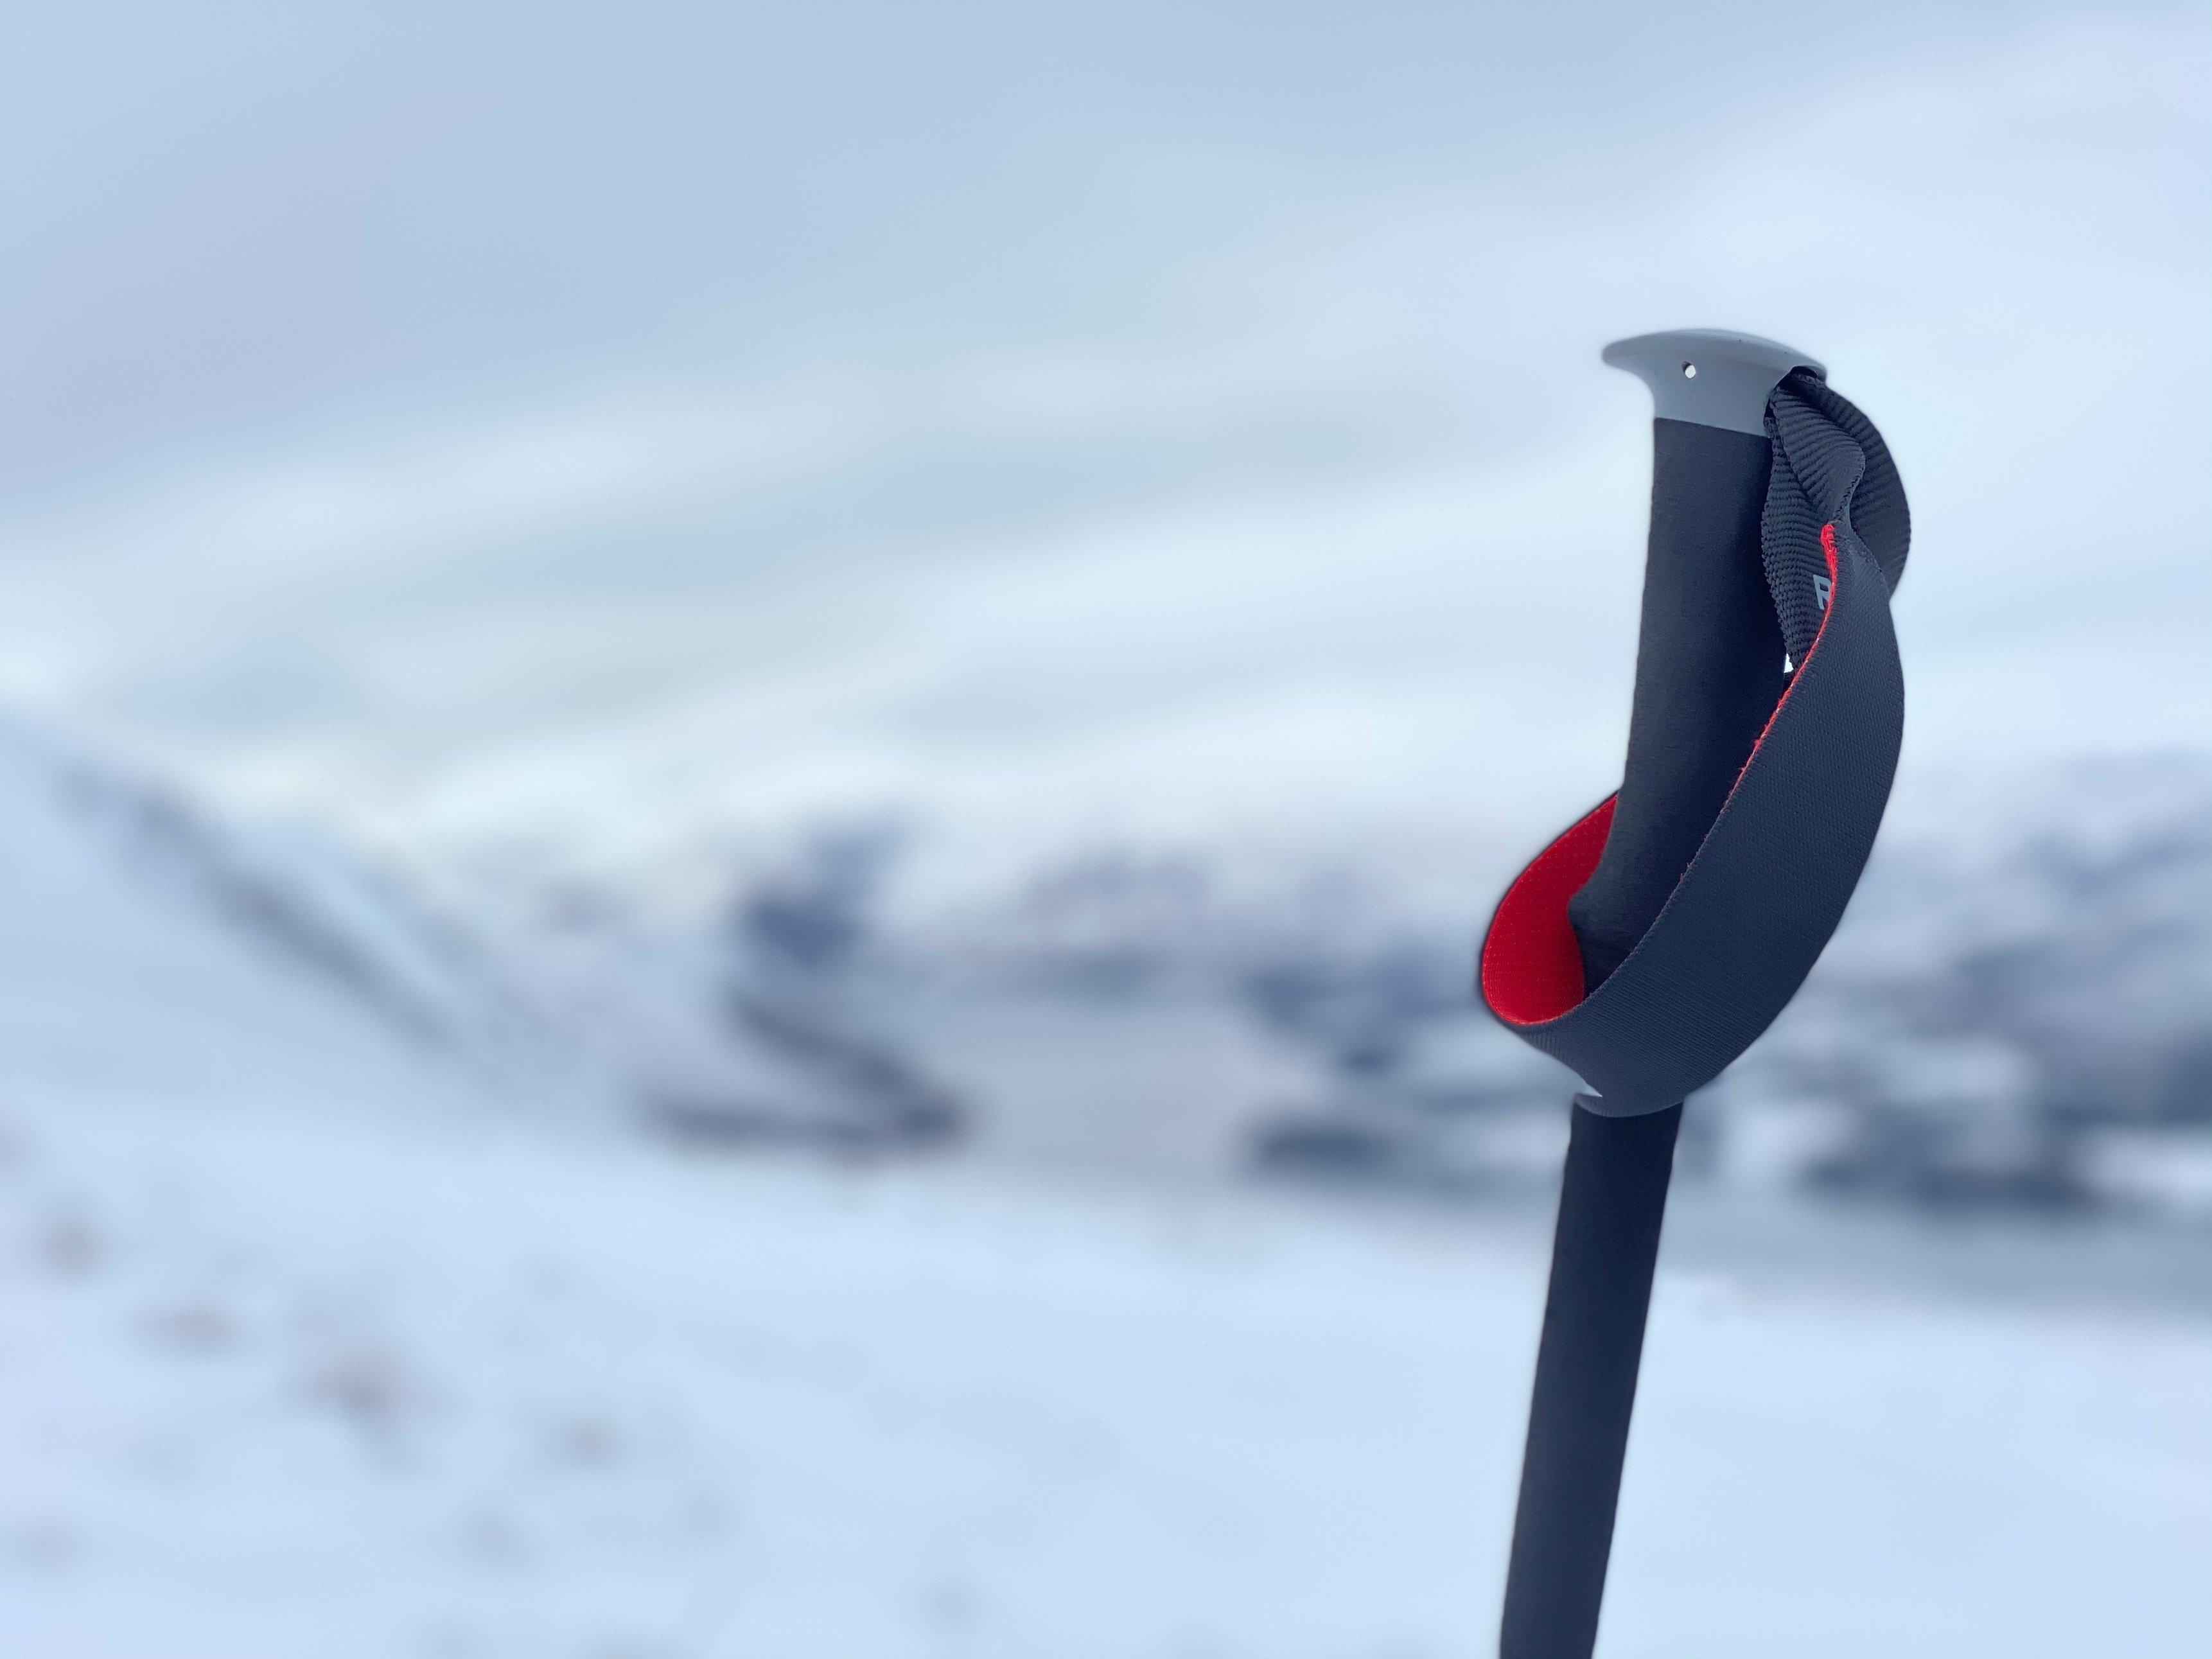
2. Wrist bands
Most trekking poles come with straps or bands for putting your wrists through. These are attached at the top of the grips. They're meant to sit loosely round your wrists, not be snug or tight. You don't want any chafing.
The main purpose of wrist straps is to allow you to release your hold without the poles falling to the ground.
If you're going to be trekking with gloves or mitts on, consider that the straps need to be large enough to slip on even with this extra padding. We recommend actually having your gloves with you when you test different trekking poles.

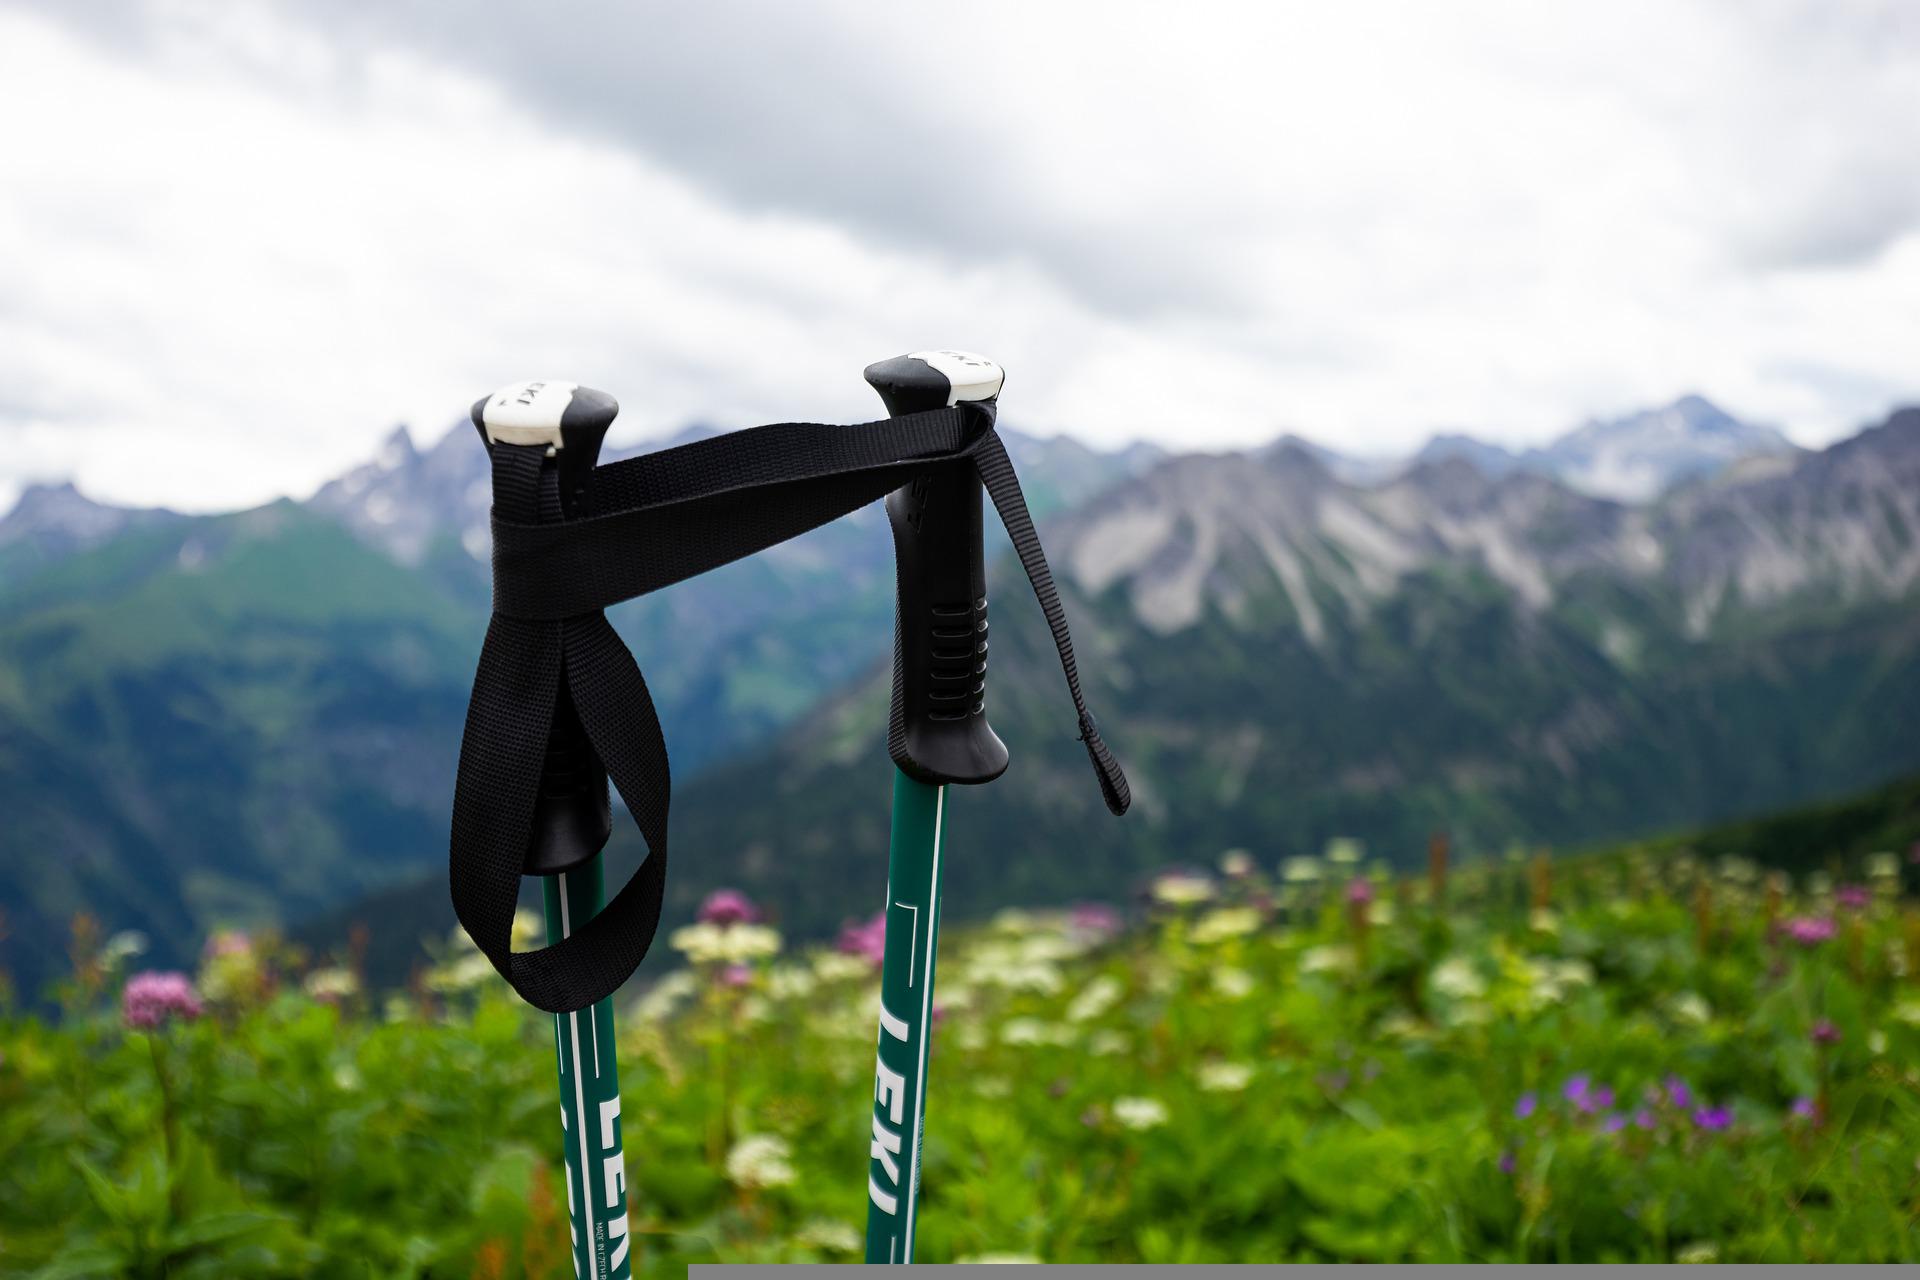
Wrist straps keep poles from dropping when you use your hands for something else
3. Foldable vs telescoping vs non-foldable
Trekking poles also vary in terms of foldability and adjustability. Let's look at the three different types of poles in this regard ...
Foldable trekking poles
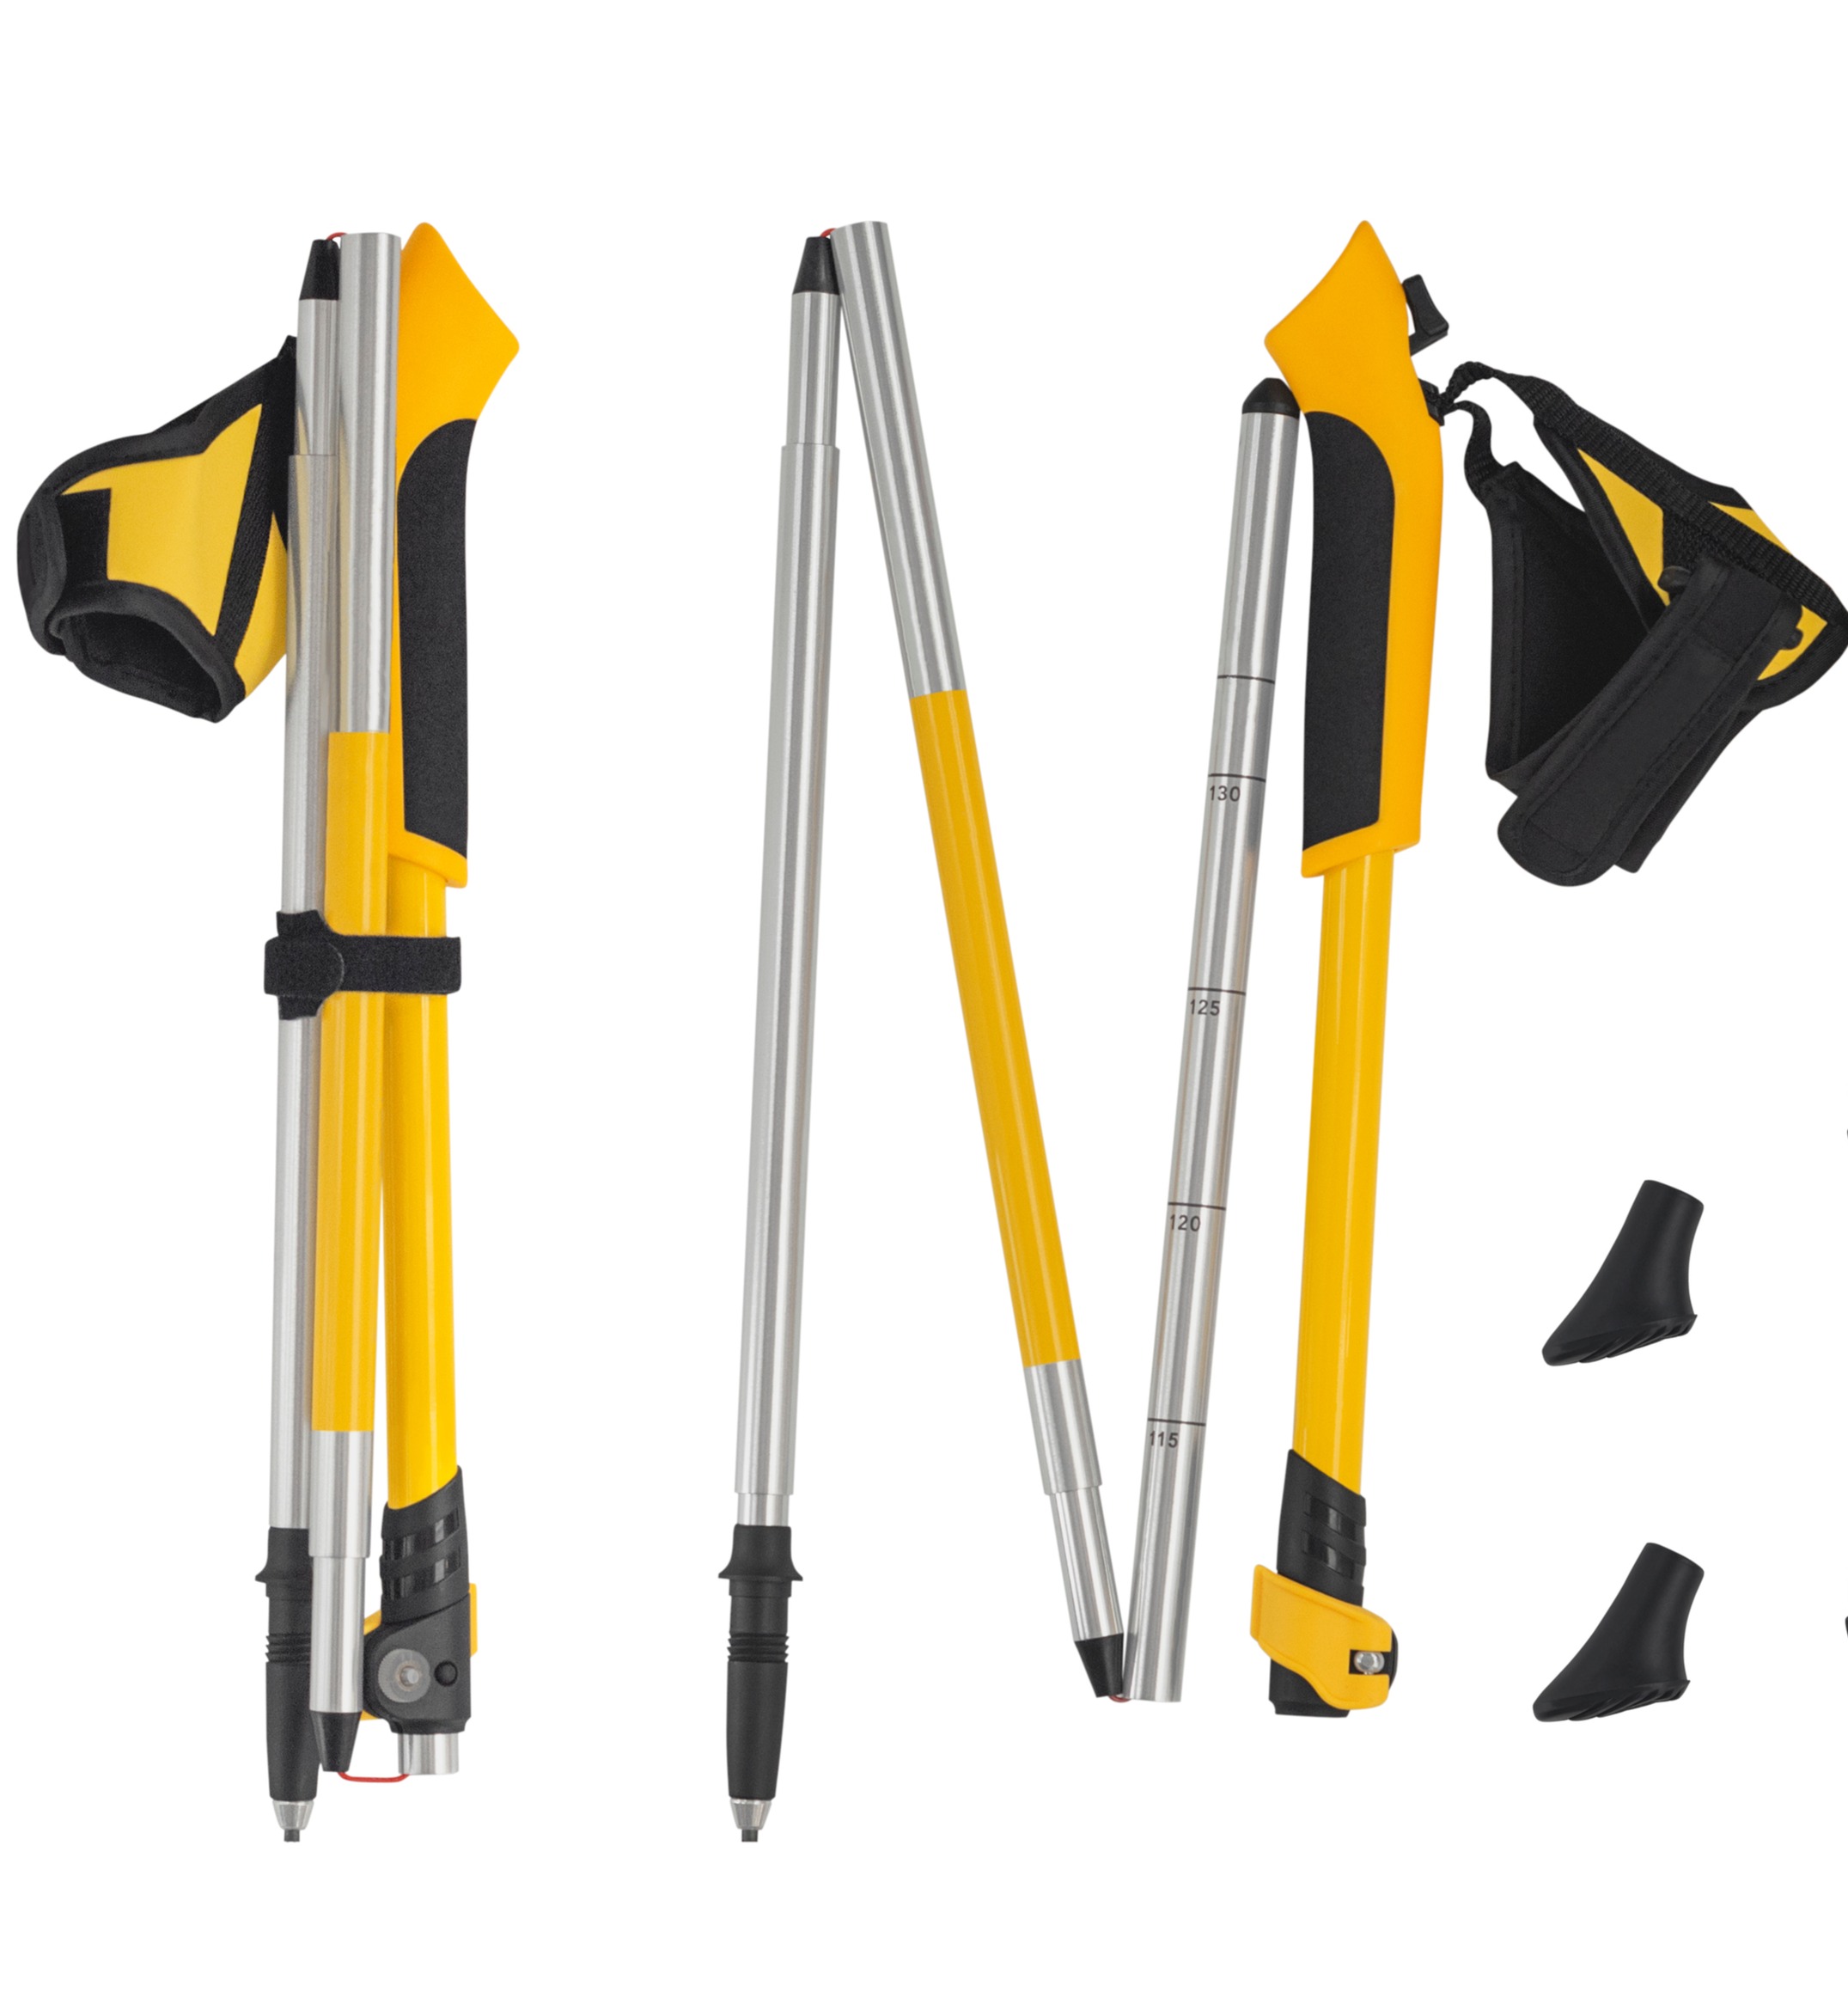
Collapsible or foldable trekking poles are easy to stow and transport. They're also quick to assemble.
As you can see in the above image, foldable trekking poles are held together in much the same way as modern tent poles.
Foldable trekking poles are food for those wanting ultralight poles that only need to be a fixed length.
Telescoping poles
A trekking pole with more than one shaft and a locking mechanism can be adjusted in length. A locking mechanism allows you to slide the the slightly narrower shaft up or down within the larger shaft. We call such poles telescoping poles.

Telescoping poles are those that slide into themselves
Telescoping poles can't be made as short as foldable poles, so they need a little more space for packing. Be they can be made relatively short for packing by sliding the inside shaft all the way into the outer shaft.
There are various times when trekking that you'll likely want a different length of pole. For example, when going down a steep hill, it's a good idea to lengthen your poles to help you place them before you. Mountain trekkers therefore tend to favour telescoping trekking poles.
There will likely be occasions when you're trekking and don't want to use your poles, so it's good to have poles that can telescope down and be attached to the back of your rucksack or backpack.
Telescoping (or adjustable) trekking poles are the better option for high-altitude trekkers.
Finally, if you're buy trekking poles before you're fully grown, you probably won't need new poles when you grow taller if you have adjustable ones (unless, of course, the grip becomes too narrow).
Types of adjustment devices
There are four types of adjustment devices to choose from when selecting a telescoping pole:
- External lever lock (or clasp lock). An external lever lock uses a clamp-like function at the intersection of the two shafts to lock the shafts in place. These are really easy to adjust, even when you're in a super cold environment and wearing gloves. Note that the locking mechanism adds a little weight to the trekking pole (which is or isn't a problem depending on the sort of activity you're doing – more on that in a moment).
- Push-button lock. Just as it sounds, a push-button lock requires you to push in a button and then slide the inside shaft up or down to lock it into place using a different hole. These can sometimes be a little difficult to manage when wearing thick gloves or mitts.
- Twist lock. With a twist lock, you simply twist the two shafts of the pole in opposite directions to tighten them in place. This locking mechanism is good for keeping the length secure.
- Combination lock. Think carefully about buying this lock as it will take longer to adjust when you are caught in a severe weather situation or lagging behind your trek mates.
An example of the external lever lock that's often used for adjustable trekking poles
Non-foldable trekking poles
Non-foldable trekking poles cannot be adjusted in length, nor can they be folded for stowage. They are ultralight. They're more niche trekking poles, favoured by runners and fast hikers.
Note that adjustable poles travel better
Note that if you want to travel (especially fly) with your trekking poles, then foldable or telescoping poles are nice as you'll be able to put them inside your luggage. If you do have to send them separately in the hold of a plane, for whatever reason, be sure to wrap them in lots of padding to help mitigate the risk of breakage. We all know that luggage gets tossed about, both by the the plane and by handlers.
4. Length
An appropriately long pole is important for optimal movement
Your investigations into trekking pole length will depend on whether you're buying a fixed-length pair of poles or adjustable ones. But for both kids, note that when standing still and holding your trekking poles on the ground with your arms against your sides, you want your forearms to rest at about 90° to your torso.
Non-adjustable trekking poles
If you're buying non-adjustable trekking poles, finding just the right length of pole is of maximum importance.
Here’s how to best match your height to the right pole length:
- If you're 1.55 m (5 ft 1 in) tall or just below, then you probably want poles that are about 100cm (39 in) long.
- If you're between 1.55 m and 1.7 m (5 ft 1 in and 5 ft 7 in), then you probably want a pair of poles that's 110 cm (43 in) long.
- If you're between 1.7 m and 1.8 m (5 ft 8 in and 5 ft 11 in), you should look at poles that are around 120 cm (47 in).
- Finally, if you're above 1.8 m (6 ft), then you'll likely need poles that are around 130 cm (51 in) in length.
Of course the above measurements are just guidelines, as legs-to-torso ratios vary per person. When possible, it's a good idea to go into a physical store with an experienced salesperson who can help you try out various lengths of poles and advise you on the right option for you.
Adjustable trekking poles
With adjustable trekking poles, that's obviously a little more wriggle room. So if you're gifted a pair of poles or find a secondhand pair, chances are you can work with them.

Adjustable trekking poles are the more popular choice than non-adjustable ones
But you can use the following measurements as a general guide when shopping for a pair of adjustable trekking poles:
- If you're taller than 1.8 m (6 ft), opt for poles with a maximum length of at least 51 inches.
- If you are shorter than 1.8 m (6 ft), the good news is that you'll be able to shorten most adjustable trekking poles to suit you. But since you don't want to carry the extra weight that comes with unnecessarily long poles, it's still best to choose shorter poles.
If you're particularly short, see if the poles marketed for children are more suited to you.
5. Shock absorption
Not all trekking poles have built-in shock absorbers, so this is something to research and consider when choosing poles. Shock absorption is achieved through internal springs. Most trekking poles with shock absorbers have an on and off function, so they don't need to be on all of the time.

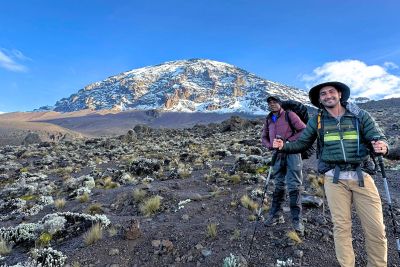
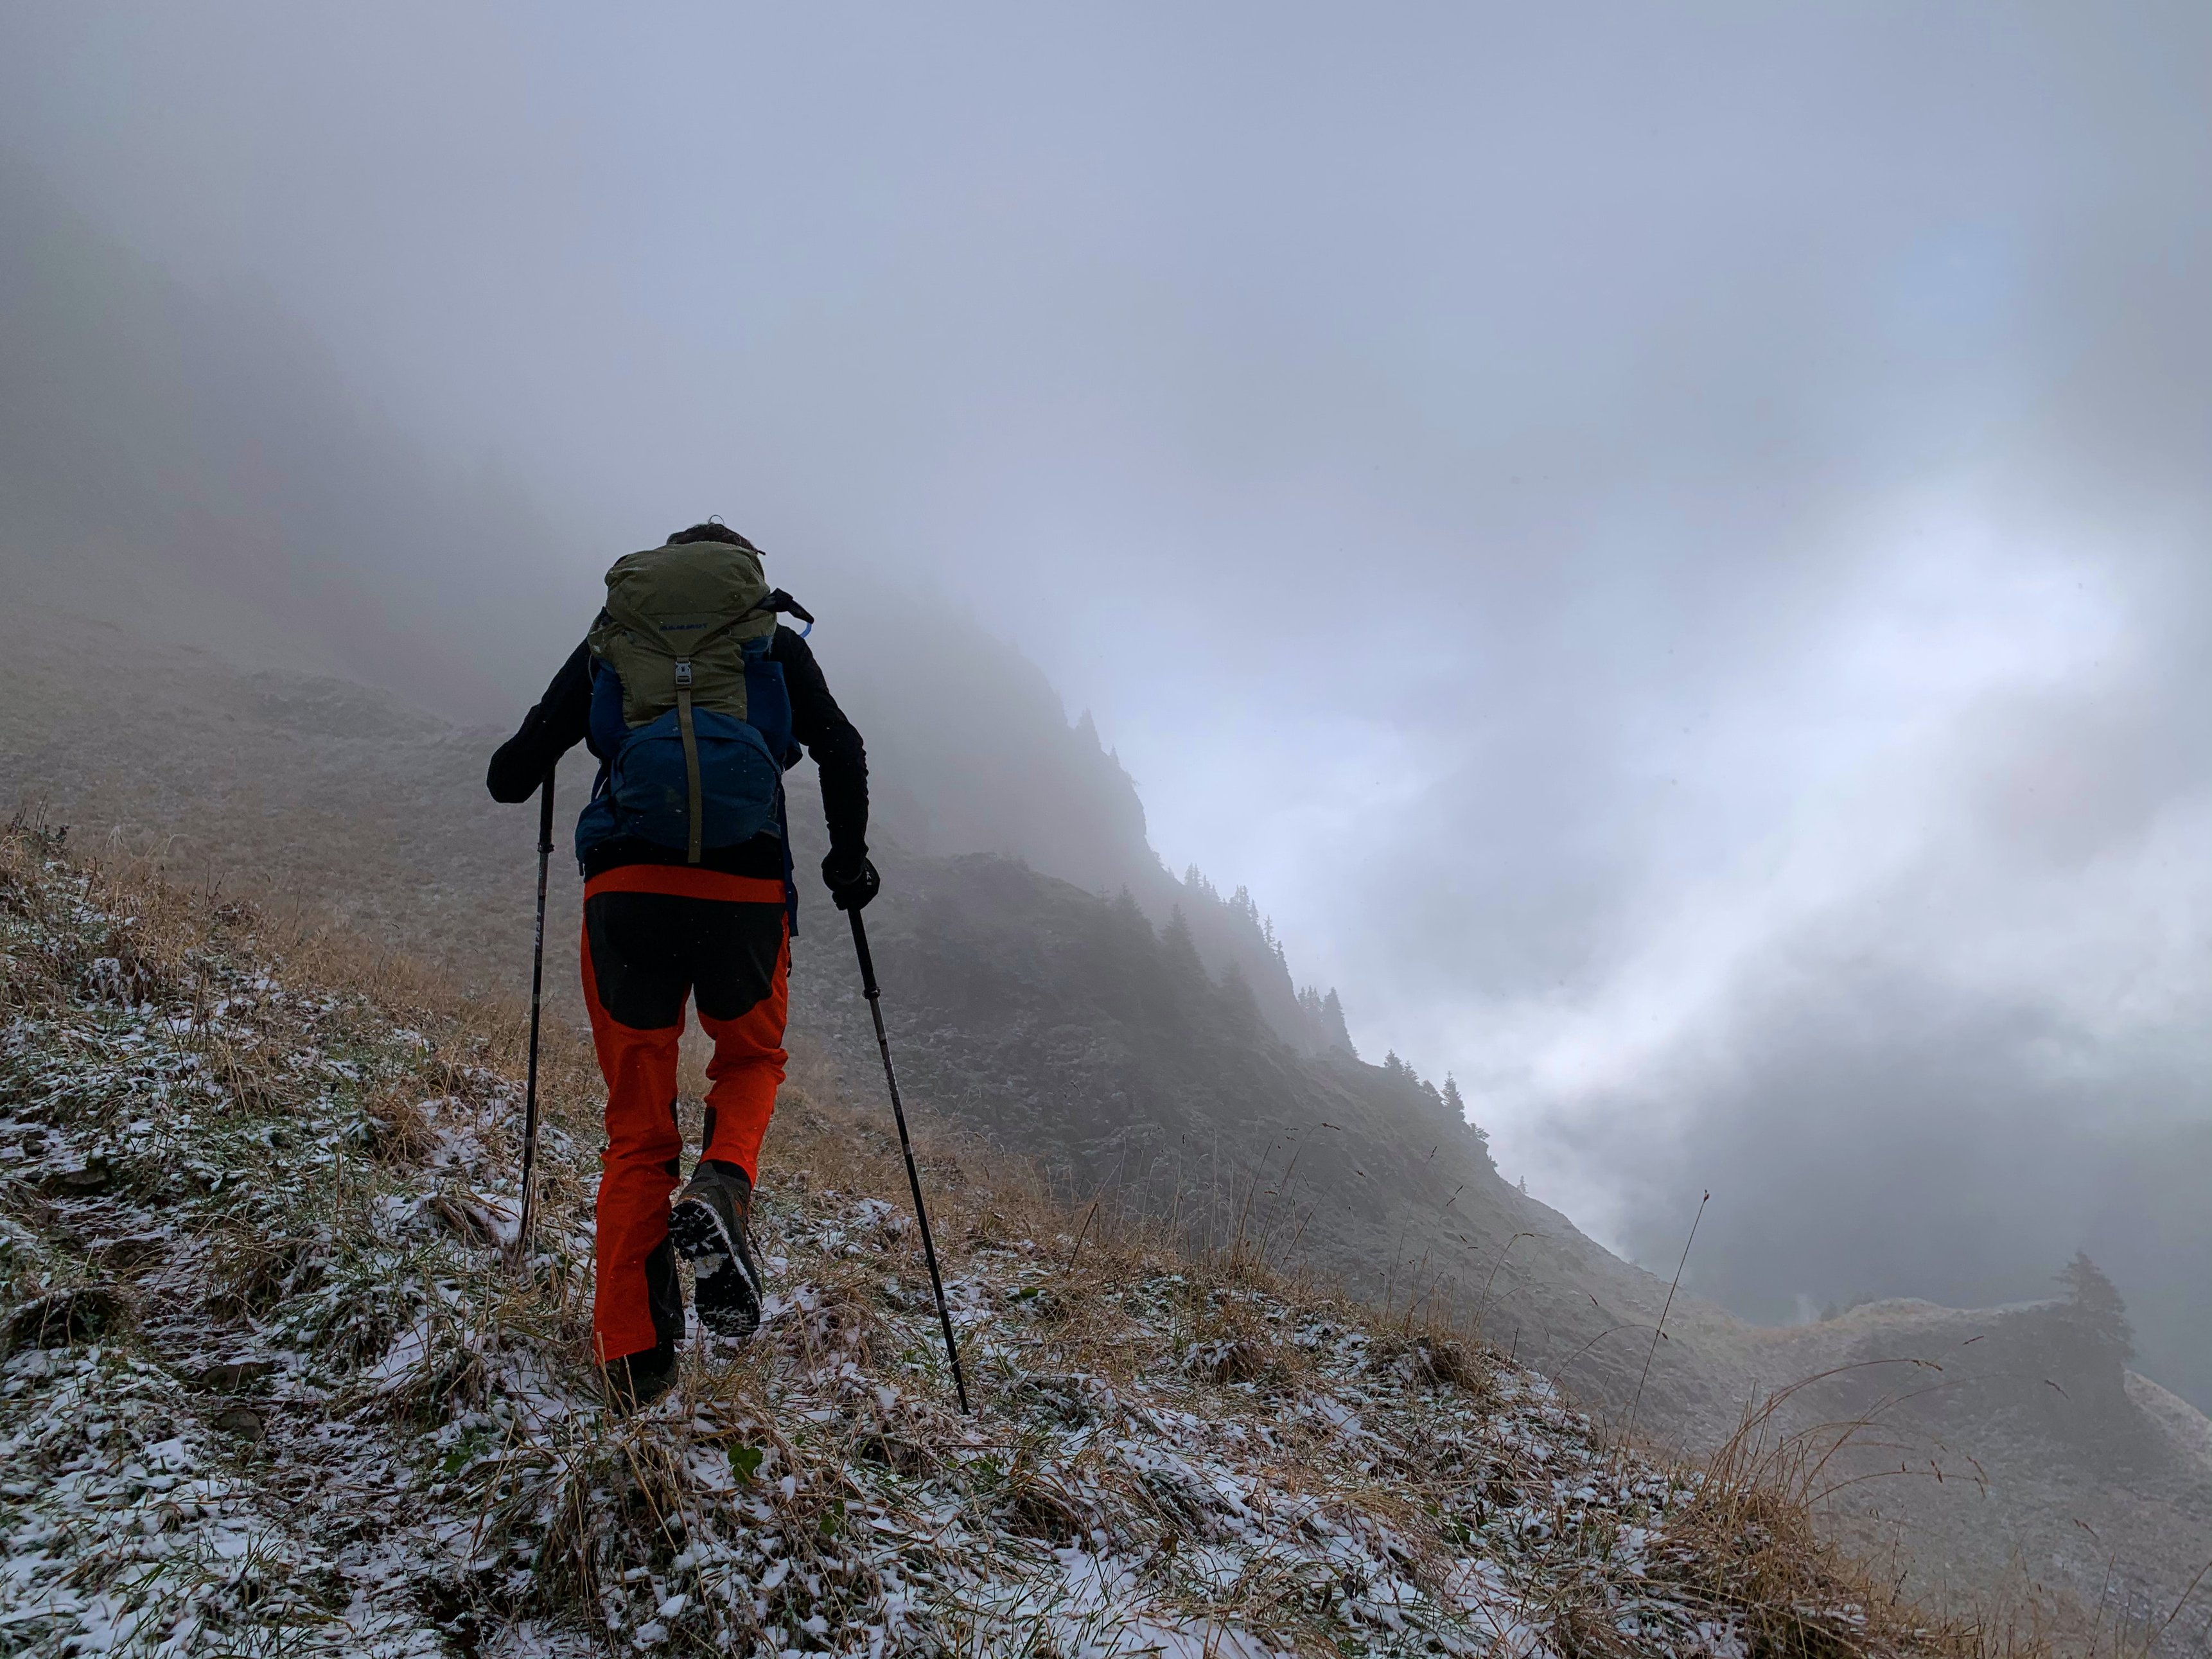
Shock absorbers are really valuable when you're trekking in mountains
Trekking poles with shock absorbers are a little heavier (and pricier) than those without. While it's easy for us to say – since we're not the ones spending your money – we do recommend going for shock absorbers if you have any past injuries, or have hip, ankle or knee issues, or are going to be trekking in really rough terrain.
6. Weight
Poles vary in weight depending on their makeup
The lighter your trekking poles, the better, as you can move them more easily and speedily. You'd be surprised how quickly one can become fatigued from poles. While almost all trekking poles will feel light when tested in the store, some can grow surprisingly heavy after being used for hours at a time or at high altitude.
Trekking pole weight is a very real consideration for anyone who treks at altitude or for long distances.
As just discussed, trekking poles with more than one shaft and adjustment systems like external level locks tend to weigh a little more than non-foldable poles or those with twist locks. Thinner poles are also lighter than fatter poles.
But another major element helping to determine a trekking pole's weight is its shaft material ...
Aluminium vs carbon trekking poles
The shafts of trekking poles are usually made of aluminium or carbon fibre (composite). Aluminium poles tend to be a little heavier, sturdier, and a little cheaper. They are thus more durable. Carbon poles are usually thinner, lighter, more expensive, and not quite as strong.
Aluminium poles are heavier than composite ones, but they're also stronger and thus more durable.
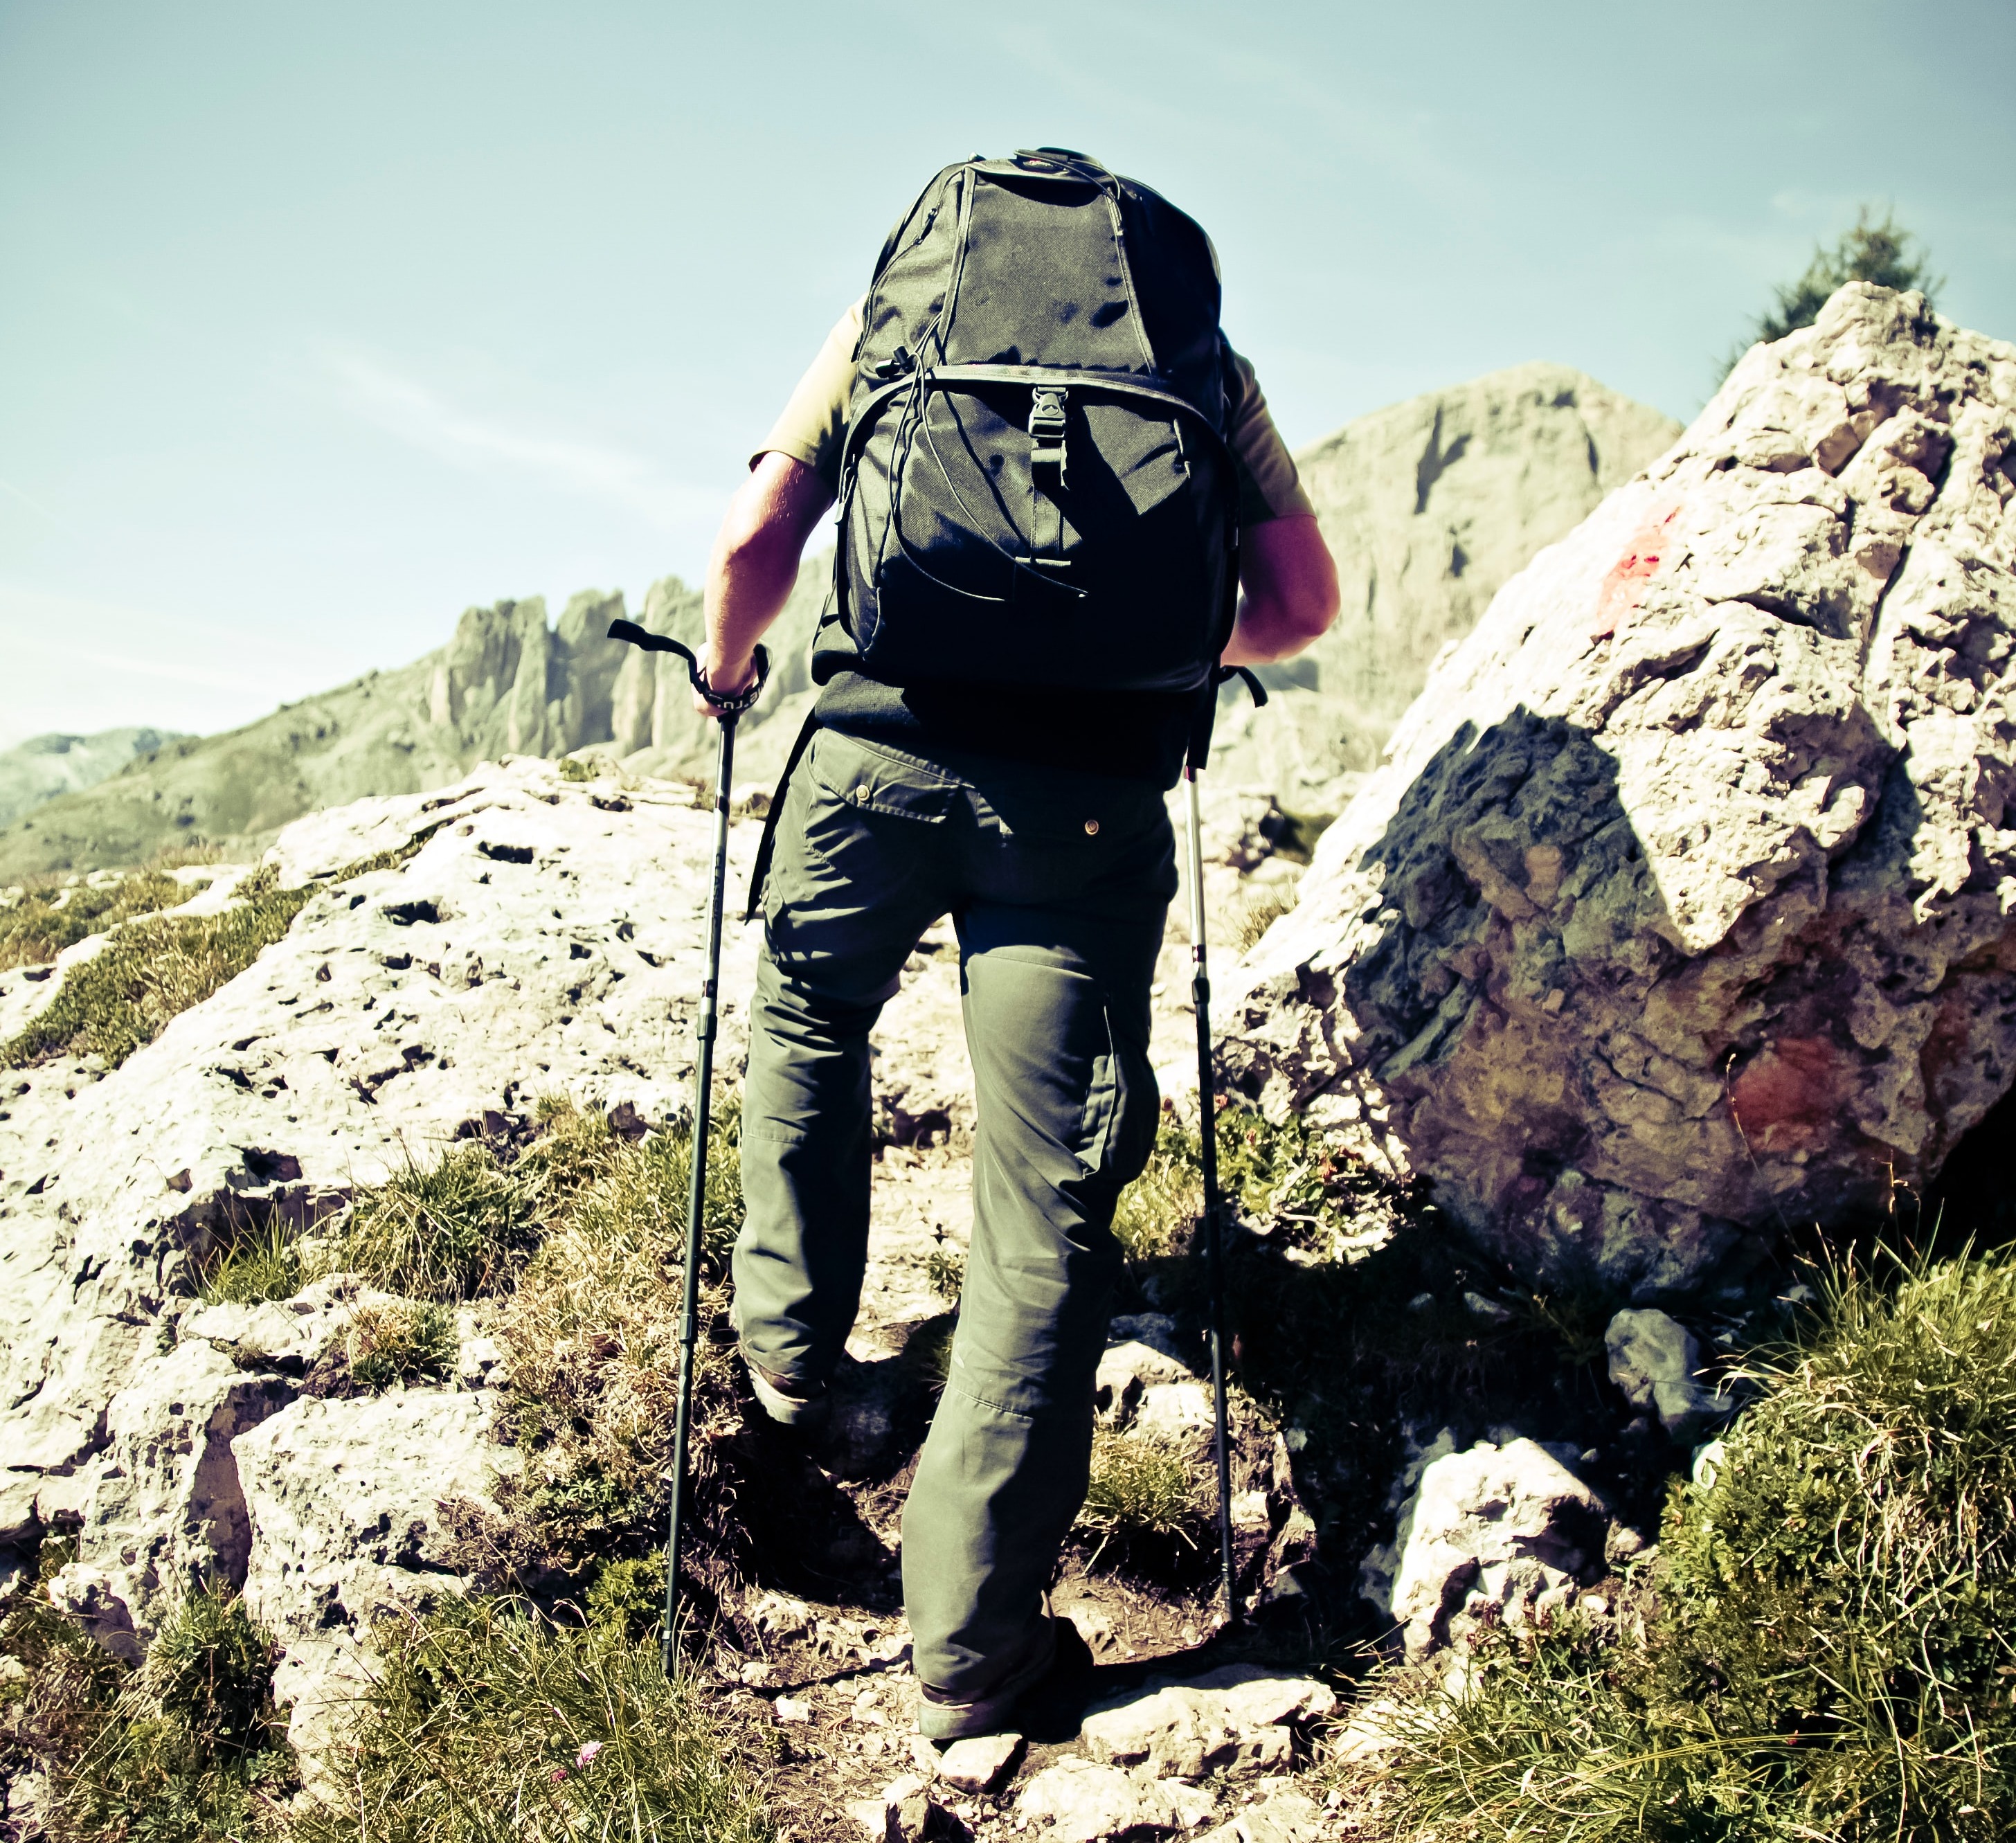
When navigating rocky and mountainous terrain, you want strong and durable trekking poles
Ultralight trekking poles live up to their name; you can get a single trekking pole that's as light as 170 g (6.8 oz)! To get an ultralight pair of trekking poles, you'll be buying ones made of a composite material like carbon. Most aluminium trekking poles weigh over 500 g (17.5 oz) each.
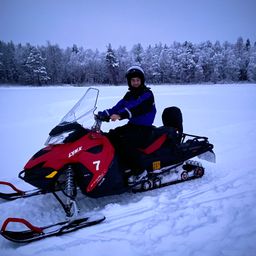
Note that aluminium poles aren't sensitive to temperatures and so can be used in frigid locations like at high altitude. Carbon trekking poles become brittle in extreme cold.

Aluminium poles can handle the cold better than carbon poles
We recommend aluminium poles for anyone planning to trek in rough terrain, as well as those who will lean quite heavily on the poles (such as those with some sort of joint tenderness). But shop around within the aluminium poles on sale to find one on the lighter side that also meets your other requirements.
If you're fairly gazelle-footed and only intend to use your trekking poles lightly as backup for uncertain moments, or your main activity is going to be fast walking or hiking, then you'd be better off going with an ultralight pair of carbon trekking poles.
Note that you can sometimes purchase just one trekking pole, but most companies don't offer this option. Trail runners, for instance, might like to have just one pole so that they can keep a hand free for holding onto rocks, roots and so on on technical runs.
7. Tips
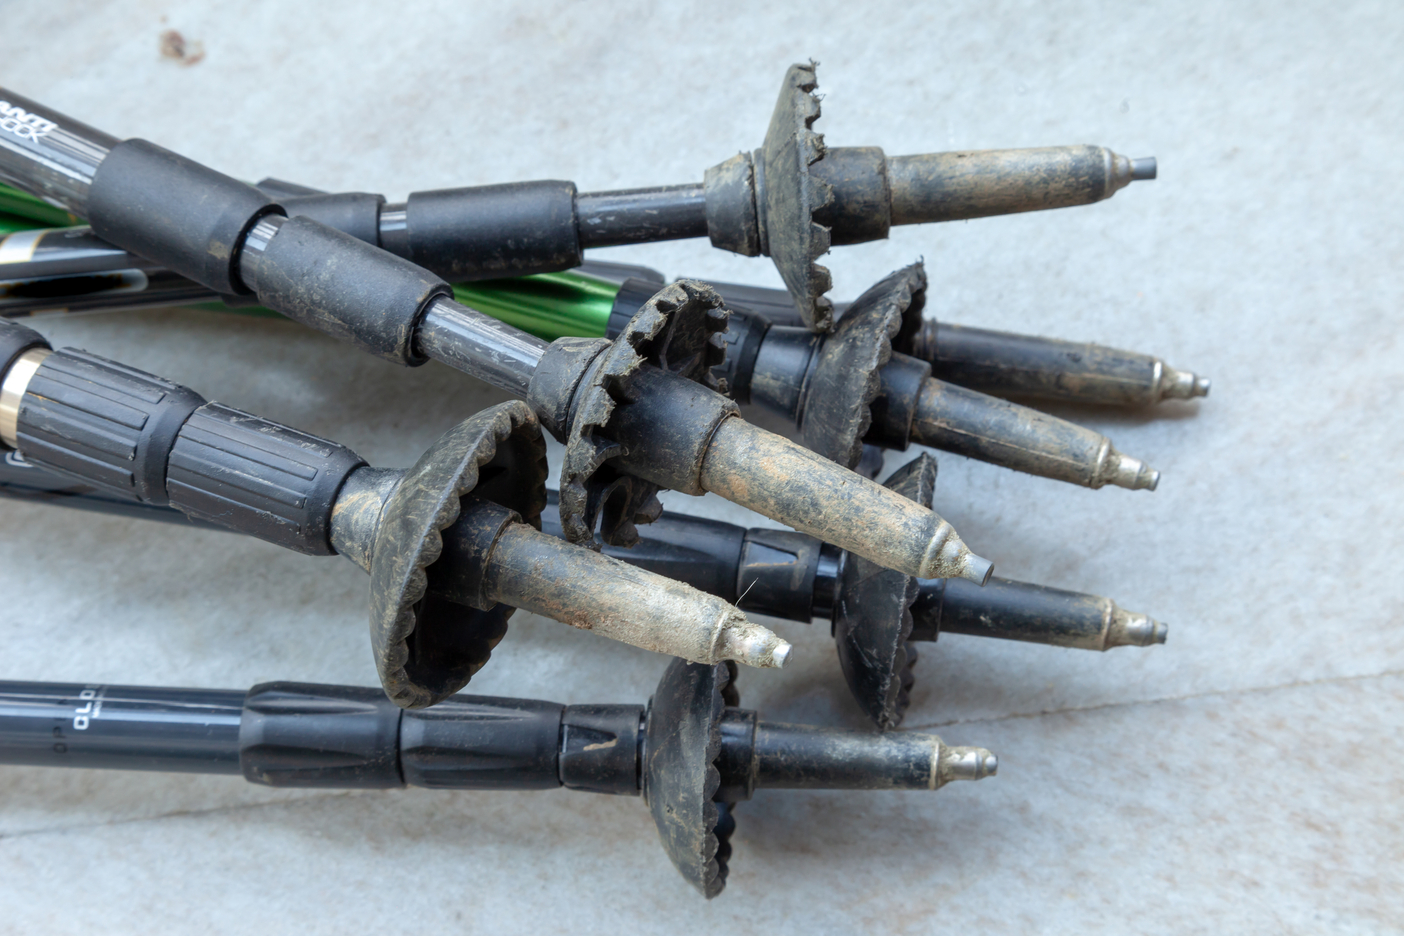
A stack of trekking poles with their tips on display
The tips of trekking poles are often made of carbide or steel. This makes them durable and gives you a good grip when placed in the ground. They're especially helpful for getting traction on ice and snow.
Rubber guards

Trekking poles have sharp tips that can be covered with rubber caps
Using the rubber guards when appropriate helps to prolong the life of your metal or carbide tips.
Most tips also come with round, flat-bottomed rubber guards or caps, and these are a great addition. Firstly, they make packing your poles easier. Secondly, they can be used when trekking in fragile environments (such as sensitive soil) as they make less impact on the ground.
Treks often start in more urban areas, and then move into the wild. On such excursions it's advisable to start with the rubber caps on, and then remove them when you reach natural ground. Note that rubber tips are shock absorbers, and so are useful when walking with trekking poles on hard, manmade surfaces like cement, asphalt or tarmac.
Rubber boots
You can actually find wide, angled rubber caps that look a bit like a boot (and are sometimes even called rubber boots). They're designed to to provide a stable, no-skid 'rolling forward' motion that's helpful when walking in urban environments. These are usually sold separately as a trekking pole accessory.

Rubber boots can be placed on pole tips when walking in urban environments
8. Baskets
Baskets are the round discs that sit just above the tips of trekking poles, as seen below. They prevent your poles from sinking too far into soft ground.
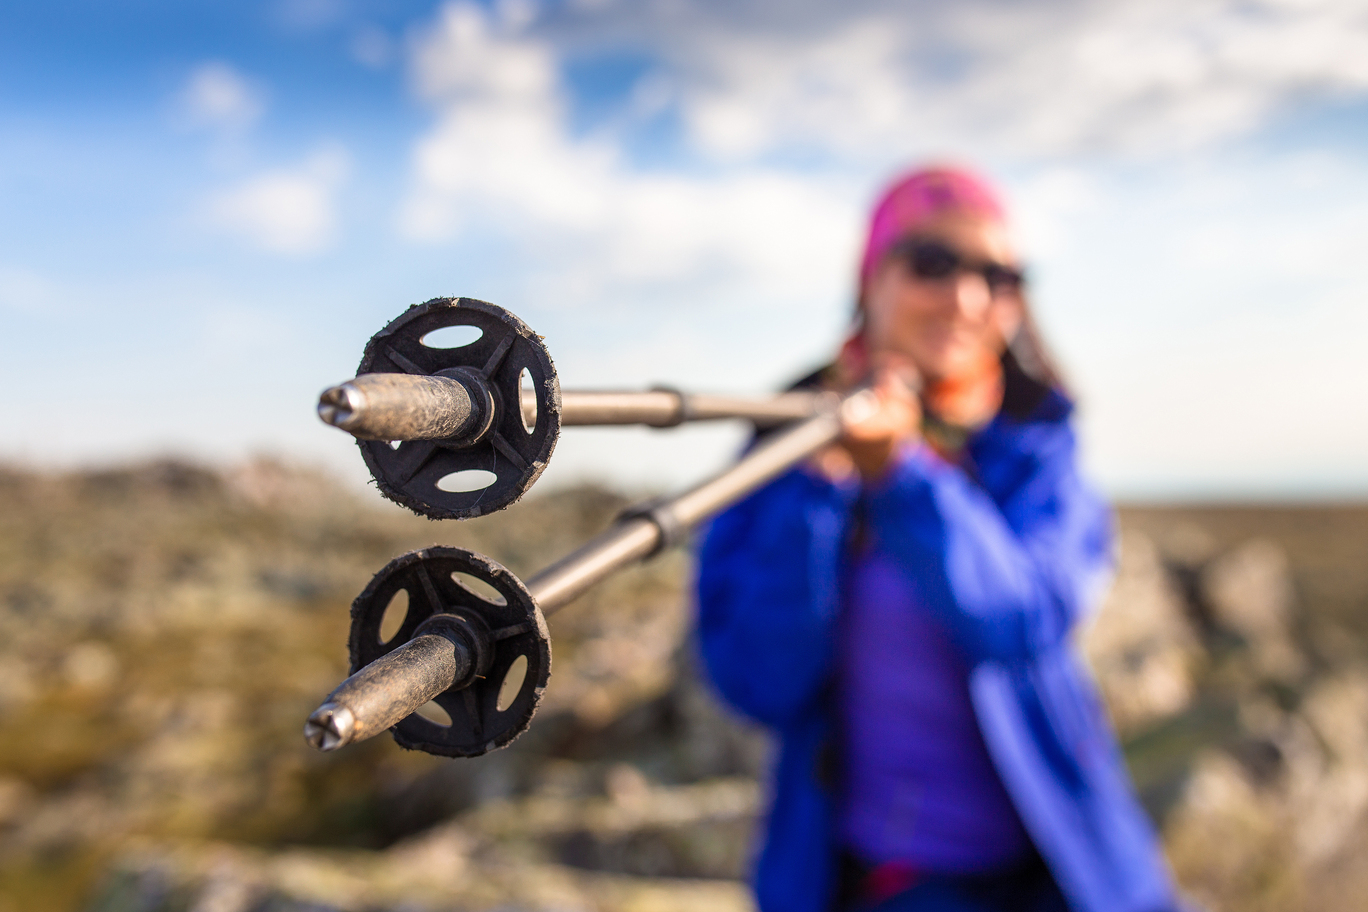
The round features above the tips of poles are called baskets
Most trekking poles come with small baskets already attached. Being between 1 and 1.5 inches in diameter, they're usually enough to prevent your poles sinking into mud.
Some baskets are detachable, others fixed. If you're going to use your trekking poles in snowy conditions, you'll want to purchase poles with detachable baskets so that you can put snow baskets in their place. Snow baskets are wider than standard baskets to help ensure your poles don't sink too far into the snow after the tips have found grip.
Finally, you can even buy powder baskets, which are even wider than snow baskets. These are designed to help your poles from sinking into powdery snow.

Here you can see how much baskets can vary in diameter
Note that you don't want to keep large baskets – or sometimes even any baskets at all – on your poles when trekking in dry conditions where the baskets could snag on items like brush and roots. There are occasions when the ground is hard enough that no baskets is the better option.
Finally, your baskets need to be wide enough that they actually stay above the mud or snow, otherwise you'll be using your arms muscles to yank them out when they've sunk below the surface. Trial and error will help you to figure out when baskets are a good option and when you're better off without them. You also don't want to carry the extra weight when it's unnecessary.
How to use your trekking poles
Here's our advice on learning how to actually walk and trek with your poles.
1. Get your grip right
Grasping tightly onto your grips will only tire your wrists and hands. Keep your grip relaxed and you'll be able to easily flick the poles forward while walking. It's mostly just your thumb and index finger that are doing the work. The other three fingers should just sit loosely on the grip.
2. Use the wrist straps correctly

This is the correct way to put your hands into trekking pole wrist straps
Many folks actually use the wrist straps (or bands) wrongly.
Note that you should put your hand up through the hole created by the strap and then hold onto the pole. The strap will as such be 'caught' between the base of your hand and the grip. This is the correct way to use the strap.
Your instinct, however, might be to put your hand down through the hole. But this isn't the best way. The correct placement of the strap enables to you release your grip and have the pole drop straight down. Your hand is then immediately freed up to do other things.
3. Adjust the poles to the correct height
As mentioned, your trekking poles should usually be at a height that has your elbows bent at a right angle when held at your sides. But with adjustable poles, there'll be occasions when you want to adjust the length – hence why they have this function!
For an uphill climb, shorten the length of your poles by around five to 10 cm. Also lengthen them by the five to 10 cm when going downhill. If you're walking along a narrow contour path, you may need to shorten the uphill pole and lengthen the downhill pole.
The wrong pole length can lead to bad posture and less stability.
Adjust your poles' length for inclines, declines and contour paths
4. Learn the motions
When trekking with poles, keep your elbows close to your sides and use an opposite leg and arm motion. That means bringing your right leg down when your left arm juts ahead, and vice versa.
Plant your poles slightly ahead of your body when you want some braking action. For moving uphill, keep your poles closer to your sides. When going downhill, it's best to keep your knees soft and your poles planted ahead of your body.
Using trekking poles correctly takes time and practice.
Getting your arm motions and gait to match will take some time and practice. Start practising on a nicely flat and easy walking route so that you can just focus on the motions.
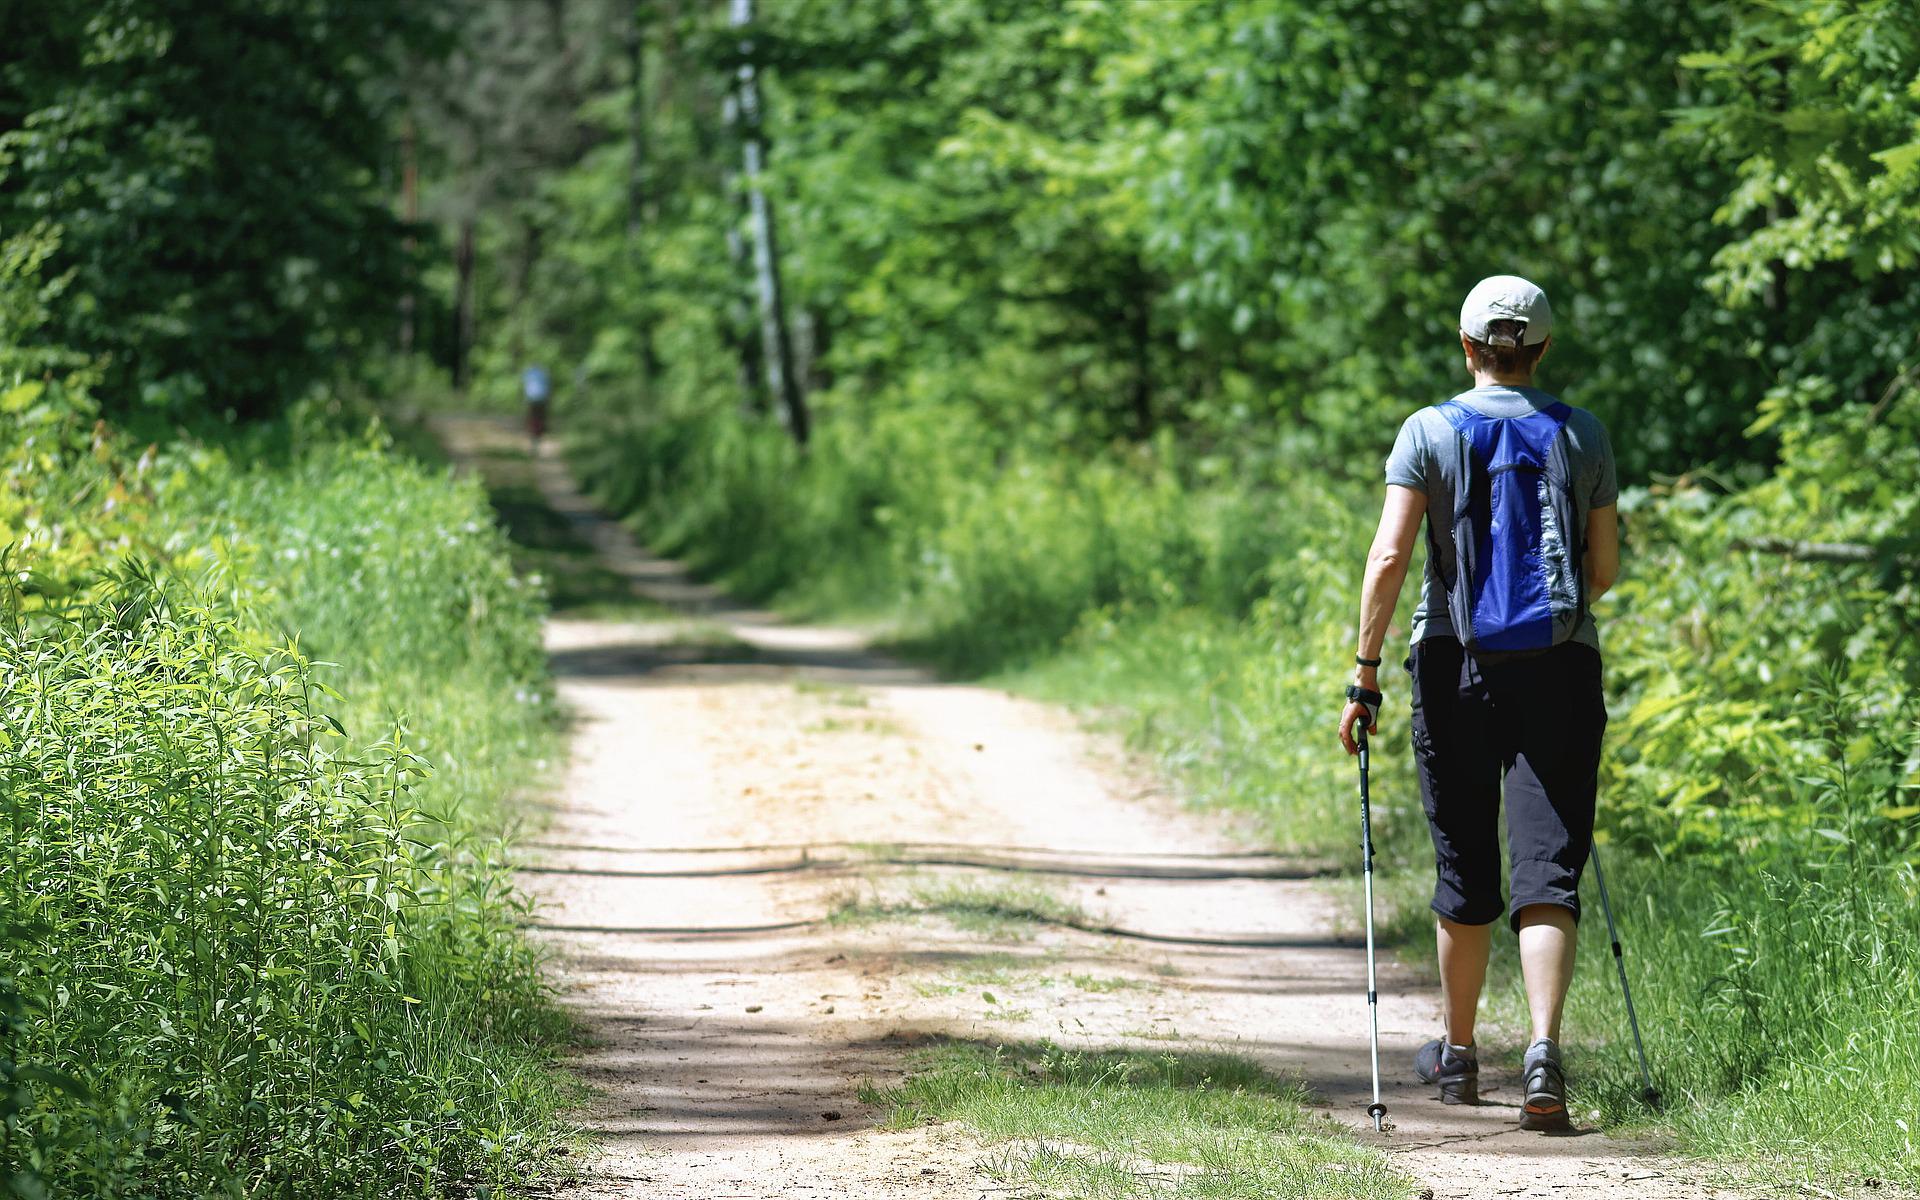
Your poles should move naturally and almost effortlessly alongside you as you walk
Double planting
On the odd occasion you might want to plant both poles in the ground ahead of you and opposite each other. This might well be the case on a steep section of downhill or uphill, where you want the added stability of both poles being fixed in place. On a steep downhill, you might even take two steps with the poles planted in one spot.
5. Check ahead for obstacles
Checking ahead for obstacles will help you know where to plant your poles – and where not to plant them. Don't put them in a puddle of unknown depth if it can be avoided, for instance. But if you must, don't put pressure on that pole until you've established how far down it's going to go.

If you can't see where the tips of your poles are going, check they're securely planted before relying on them
Also, when possible, don't put the tips of your poles on top of a log or loose stone that could easily move. Ideally you want to plant them on ground that's level with your feet. You also want to avoid moss, slick rocks and other slippery surfaces where possible. Often, however, this is unavoidable, and that's why you have poles anyways – to provide extra stability while navigating slick terrain. The more you trek with your poles, the more choosing the just right spots of the tips will become second nature to you.
Once you're mastered the technique, you'll never look back!
Now that you know how to choose and use your trekking poles, let’s talk about how to travel with them.
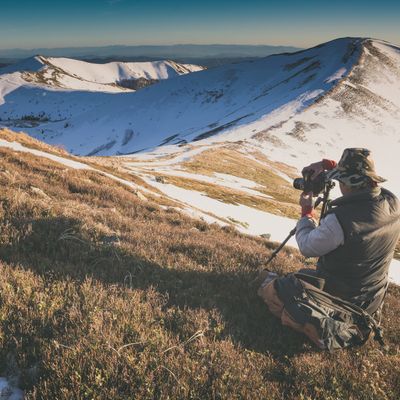
Using a trekking pole as a camera mount
There are lots of ingenious ways to use a trekking pole to help you take photos. Firstly, there are some trekking poles that are sold with a built-in camera mount, so consider this when purchasing your poles if you'd like this feature.
Alternatively, you can buy a clip mount and attach it to your pole. Buy stabbing your pole into the ground, you then have a monopod of sorts that can help you to steady your camera for pictures.
There are also plenty of DIY videos on YouTube (like this one) showing you how to modify your trekking pole to include a camera mount.
Some even use a small camera mount to turn their trekking pole into a selfie stick (as shown here)!
Want to mount your cellphone onto a trekking pole? Simply turn it sideways and attach to your pole's grip with two elastic bands, as shown here!
Travelling with trekking poles
You can't take many trekking poles on an airplane as hand luggage, as the metal tips won't fly with airport security (pun intended). We suggest that you pack them into your checked luggage.
There a good chance you're going to want to take your poles on a flight with you
As mentioned above, foldable or telescoping trekking poles are nice-to-haves in such moments as they'll fit easily into your luggage. If they're not foldable, you may well need to wrap them and send them through as a separate luggage item. These may incur an additional cost. And you should package them carefully to help ensure they won't be damaged or even broken.
Note that in many trekking hotspots around the world you can actually rent poles. This has its advantages. But if you've found and grown comfortable with a really nice pair of poles, then the chances are that you'll want to stick with your own.
And there you have it! If you have any other questions, please feel free to reach out to us and our trekking pole experts will gladly offer you further advice. 🤓