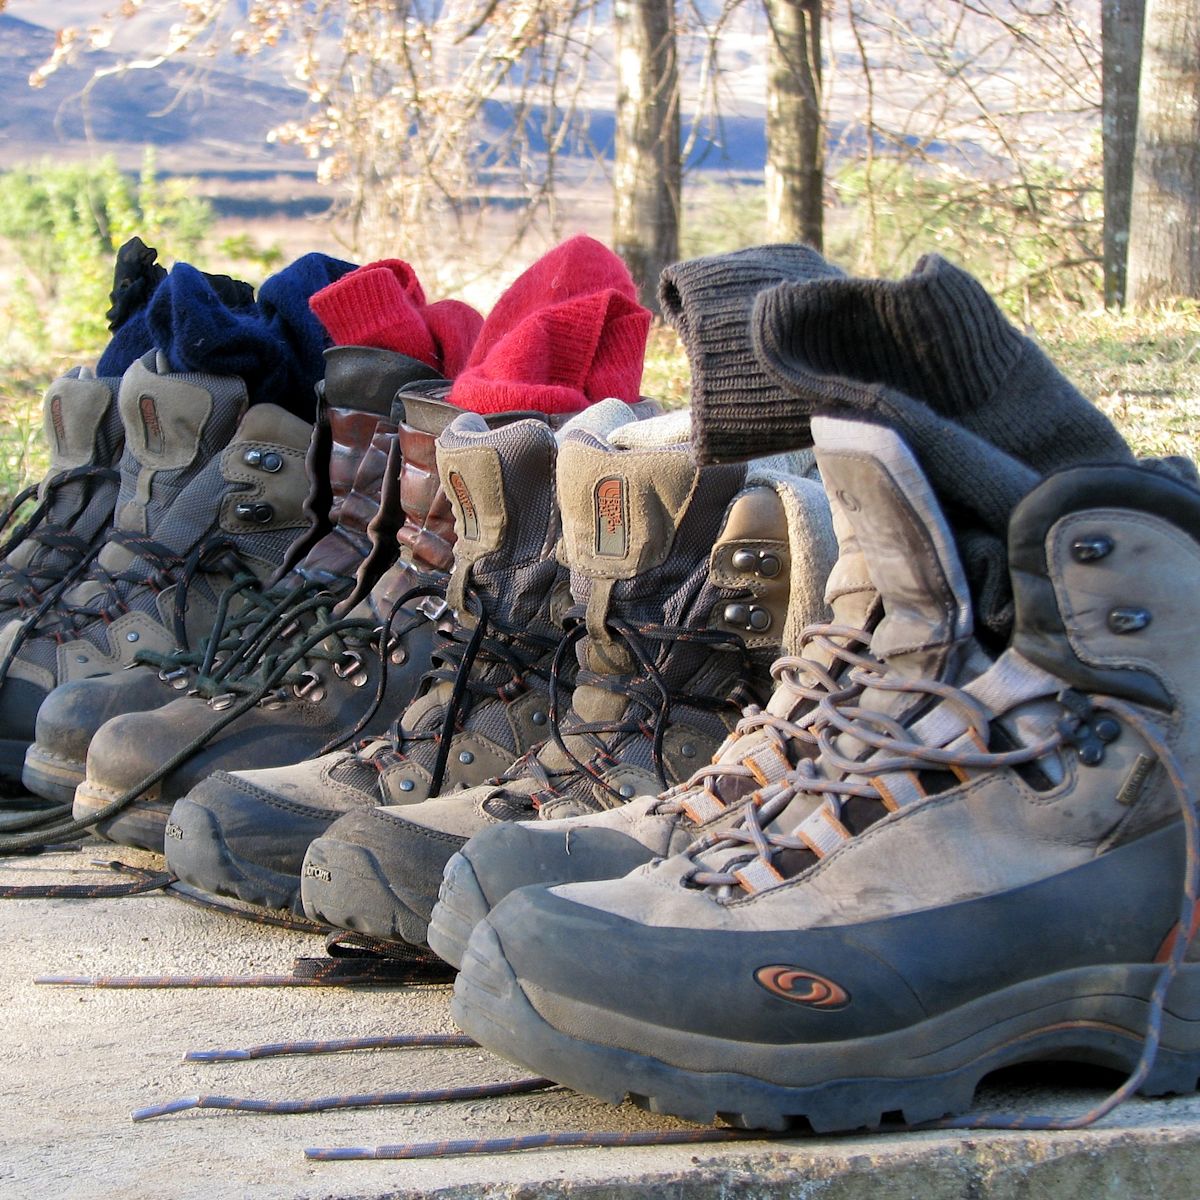
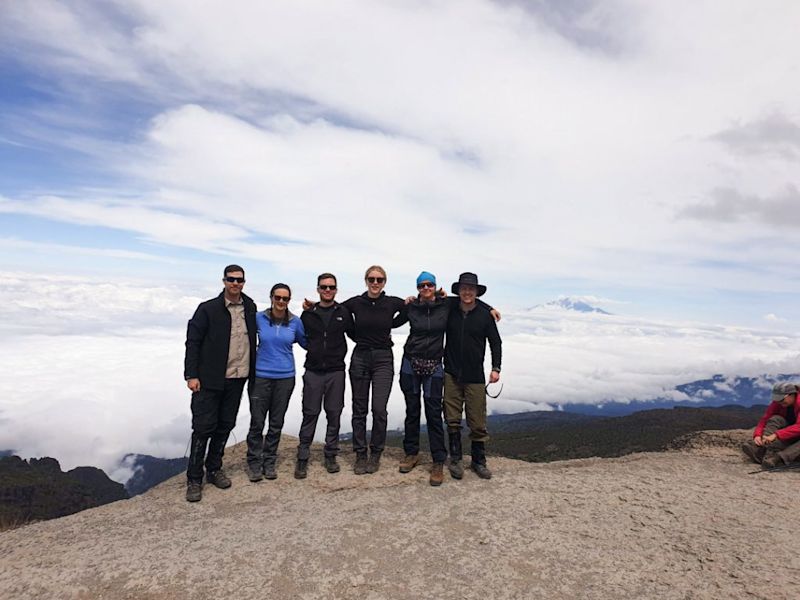
You need warm, comfortable, durable and water-resistant hiking boots to successfully and safely climb Kilimanjaro. We discuss what to look for in hiking boots in detail so you can find a pair that's right for you and will serve you well on Kilimanjaro!
byPaul Kelly
Jun 5, 2025
23 min read
Choosing a good pair of hiking boots isn’t about choosing a brand, as there are many excellent brands out there. Instead, it’s about two things:
Looking for boots that can handle the conditions you’ll experience on Kilimanjaro.
Knowing what to look for in a boot to suit your feet.
We answer the first question below, where we discuss why you need hiking boots – not hiking shoes – to climb Kilimanjaro.
We then answer the second question when we discuss the anatomy and characteristics of good hiking boots.
Finally, we also address whether or not you need crampons, and the types of bootlaces that are best for trekking. If you are still unsure, book a call with our team today.
You’re doing a great thing by thoroughly researching your hiking boots – please read on as you need to find a pair early and wear them in before your trek!
Why do you need hiking boots, not shoes
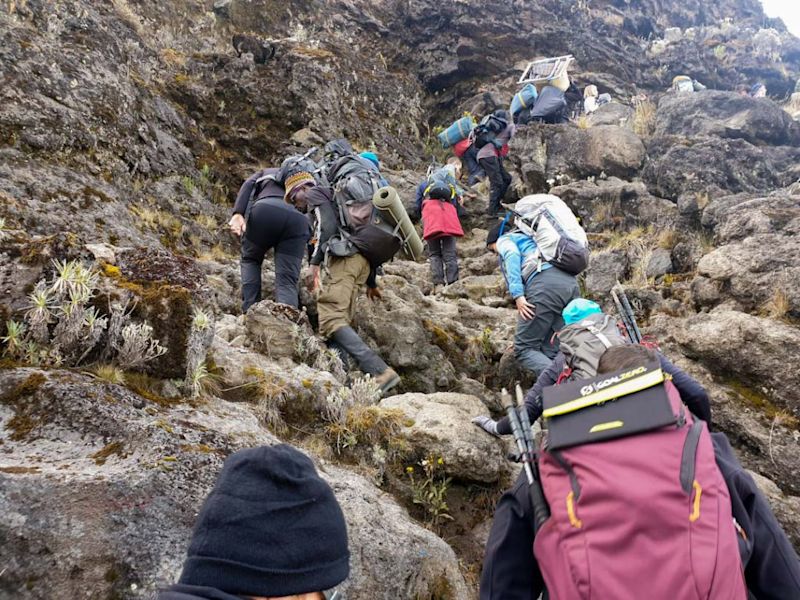
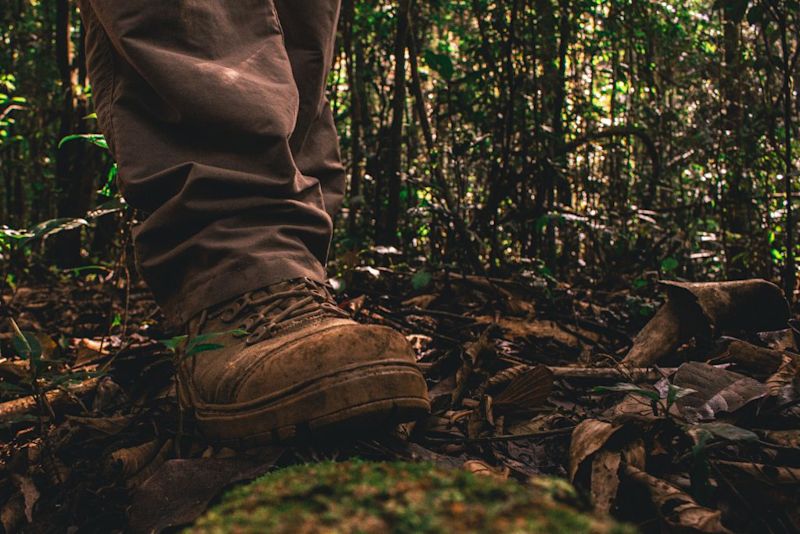
We definitely recommend hiking boots over hiking shoes when it comes to climbing Kilimanjaro. The terrain of the mountain is rough and varied. You have to walk over roots and rocks, through streams and mud, over scree, sometimes across ice and snow, and more! So, a quality pair of hiking boots is a must.
That said, you could opt to walk in hiking shoes some of the way, and boots the rest. A few Kili climbers walk the first couple of days in hiking shoes because the temperatures near the base of the mountain are mild. They then switch into their boots higher up, where the ground gets rougher and the temperature drops. But if it rains on those first days, which it often does, as you're walking in the rainforest, then again, hiking boots are needed.
This is fine, but just remember that there are countless steps where you can easily twist an ankle, or worse. Kili is an expensive exercise to risk a busted ankle, preventing you from reaching the top.
Hiking boots offer greater warmth than hiking shoes, which is important when trekking the top half of Kilimanjaro, where the conditions are harsh. Our advice is, therefore, once again, to go with hiking boots over hiking shoes.
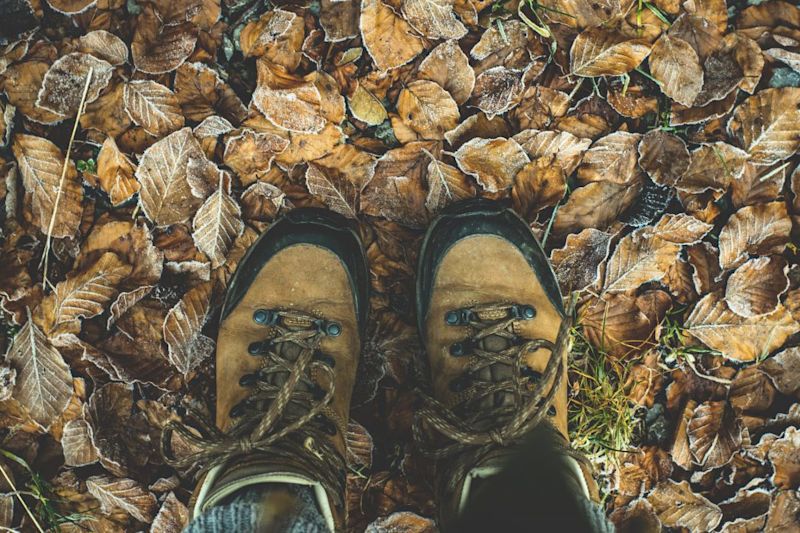
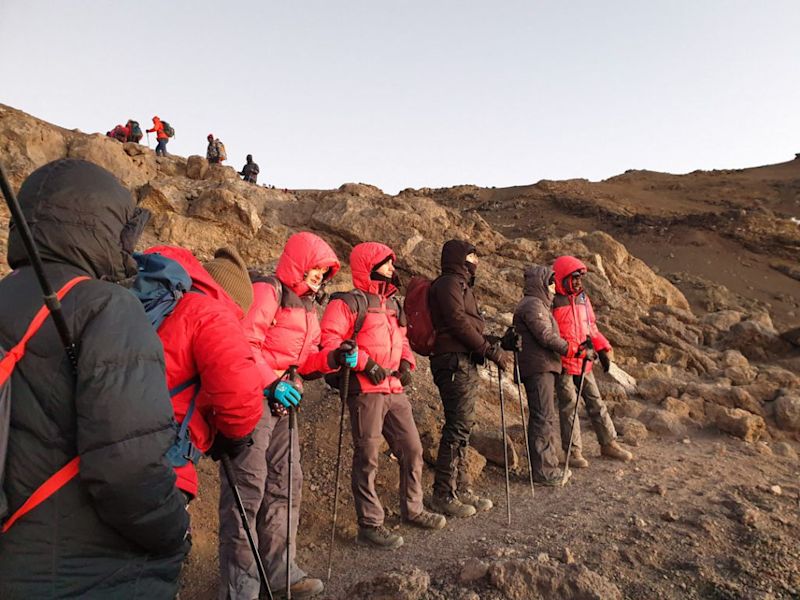
The summit of Kilimanjaro is often covered in snow, so you need well-insulated, water-repellent shoes
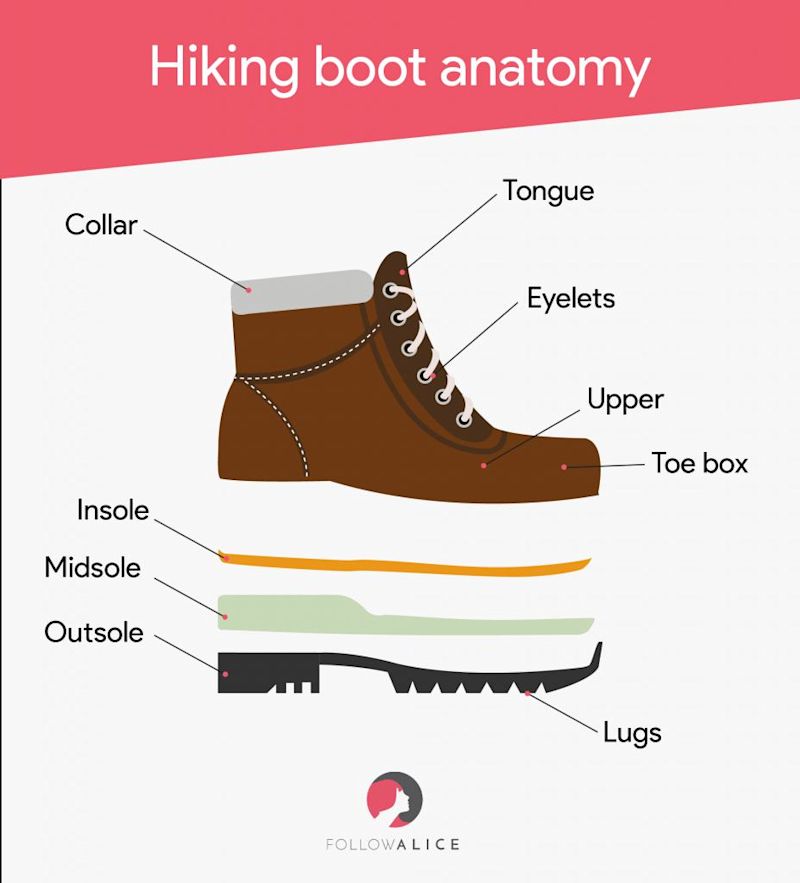
Anatomy of hiking boots
Knowing some basic hiking boot terminology will help you in your search for the best hiking boots for Kilimanjaro. Take a look at the hiking boot infographic below to familiarise yourself with the anatomy of a standard hiking boot.
Characteristics of good hiking boots
Finding the best hiking boots for Kilimanjaro is an integral part of your Kilimanjaro preparation.
There are so many different types and brands of hiking boots – both in-store and online – that shopping for them can be a bit daunting. The best way to enter the fray is to do so with some guiding principles.
With this in mind, we give you a breakdown of what to look for when shopping for hiking boots for Kilimanjaro under the following three categories:
The upper boot
Fit
The soles
But first, an important caveat. Much like nutritionists spread different ideas about what you should eat to be healthy, hiking boot experts have differing opinions as to what boots lead to the happiest and healthiest feet. Frustrating stuff, but there you have it.
Further to this, as research advances, we’re sure there will be different advice and industry standards to come in the future! With that being the case, we present both sides of the argument where debate exists to help you make up your own mind.
When you're wearing good hiking boots you forget about your feet and are able to focus on the climb and the scenery, which is how it should be!
The upper boot
When it comes to the upper portion of a hiking boot, there are a few things to consider, as follows:
Fabric
Weight
Toe caps
Insulation
Ankle support
1. Fabric
Hiking boot fabric is a very important topic. But it’s worth noting that there’s no ‘best’ fabric. What works well for one person might not be ideal for another. That’s why we can’t declare any one boot the best boot on the market. It’s all about you deciding for yourself based on expert opinion and knowing your own feet.
The two main hiking boot fabrics are leather and synthetics. And the two main concerns when it comes to boot fabric are breathability and absorbency. Unfortunately, the more waterproof a boot is, the less breathable it is, meaning you usually have to settle on a compromise between the two. So here’s the 411 on leather and synthetic hiking boots ...
Leather
Leather is a natural fibre (often cowhide) that makes very tough and long-lived hiking boots. It’s an excellent choice for many, and often those with leather hiking boots swear by them. Hiking boots are often made with full-grain leather, reverse full-grain leather, or nubuck. Leather boots are breathable, as animal skin has pores. But if you wax them enough, they can become waterproof. Leather hiking boots are great for Kilimanjaro, provided they’re broken in well.
The pros of leather boots are as follows:
They’re tough, resilient and durable.
They can withstand abrasive action much better than synthetic fibres.
A good pair of leather hiking boots can last years, even decades (though you may need to replace the soles).
They can be made waterproof by waxing them regularly.
They’re warm in cold weather.
With time, they mould to your feet and become very comfortable.
The cons (or possible drawbacks) of leather boots are:
They tend to be more expensive than synthetic boots.
They take a while to break in.
The more waterproof you make them, the less breathable they become.
They require more care and maintenance than synthetic boots.
They’re heavier than synthetic boots.
Quality leather bootscan last for many years
Synthetics
Synthetic boots are any boots constructed from a human-made fabric. Many synthetic hiking boots are made from synthetic leather, nylon or polyester. The majority of Kilimanjaro trekkers climb the mountain in synthetic boots and find them excellent.
Here are the pros of synthetic hiking boots:
They tend to be cheaper than leather boots (we all have a budget).
They’re quicker to break in.
They also require less maintenance.
They’re very breathable, which helps in the prevention of blisters.
They’re lightweight.
Synthetic hiking boots are popular for a few reasons, especially because they're easy to break in
The cons of synthetic boots are:
They aren't waterproof.
They’re not as tough and durable as leather boots.
They’re not as warm as leather boots.
Water-resistant vs water-repellent vs waterproof
A quick word on the matter of absorbency. You’ve probably heard the terms water-resistant, water-repellent and waterproof, and you might even have thought they’re synonymous. Not so.
Waterproof materials are completely impermeable, so not a drop of water can get through. Water-repellent fabric is one step down, as it keeps most water out, but isn’t entirely waterproof. A water-resistant fabric is the least reliable – you might say it discourages water, but that’s all.
On Kilimanjaro, you walk through rainforest, and sometimes over ice and snow. Having a waterproof boot is very helpful here, though a water-repellent one is usually sufficient too.
‘Water-resistant’ is not the same thing as ‘water-repellent’. And ‘waterproof’ is another thing altogether.
Choosing between leather and synthetic hiking boots for Kilimanjaro
When it comes to Kilimanjaro, both leather and synthetic boots work well. Synthetic boots might be a better option for you if you have particularly sweaty feet or are prone to blistering, as they offer excellent breathability. Remember, the more you wax leather boots, the less breathable they become.
Kilimanjaro isn’t a particularly wet climb, as you’re not walking in a monsoonal region or anything like that. But the lower portion of the mountain, which you hike your first day or two along most Kilimanjaro routes, has a rainforest climate and so does get plenty of rain, especially at certain times of year.
Also, you’ve got the potential of ice and snow at the summit of the mountain to contend with. So water-repellent boots are a plus for a Kilimanjaro climb. You can’t afford wet feet when walking in an arctic climate.
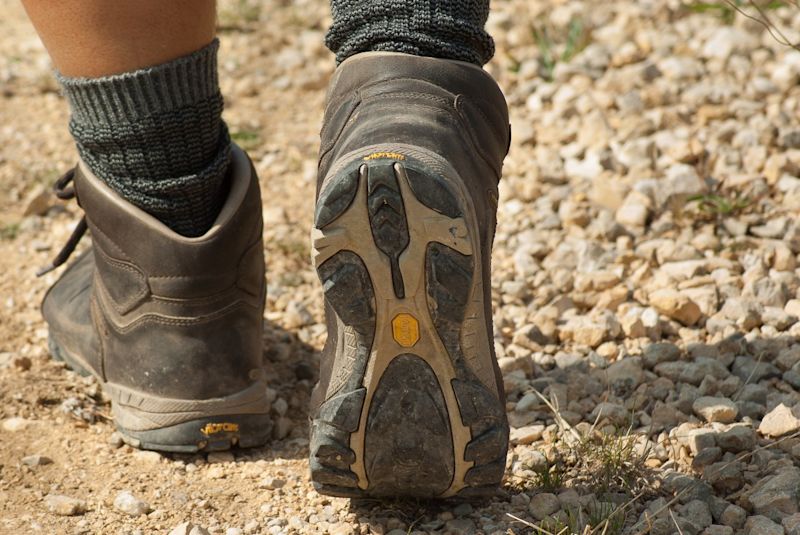
There's frequently snow covering the summit of Kilimanjaro, so you need boots that will keep your feet dry
2. Weight
You want to avoid boots that are too heavy for you to walk comfortably for long stretches. Each day on a Kilimanjaro climb sees you hiking for hours, and that's hours of up climbing for the most part.
As mentioned, leather boots tend to be heavier than synthetic boots. We suggest that when trying on the boots that you walk around the store for some time, lunging, squatting, air kicking, and just generally putting on a show to help you ascertain if the boots are the right weight for you.
Some stores have treadmills you can use to help test out the boots. These are a fantastic resource, and we recommend taking the time to test out the boots on them.
Note that a boot may not feel heavy when standing in the store, but after hours of walking, it could become trouble-somely heavy. We suggest you ask the sales clerk for advice in this regard.
3. Toe caps
A toe cap (or toe shield) is a hard surface wrapped around the outer edge of the toe box. Some toe caps are even made from steel.
The toe cap is an important feature that helps to protect your precious toes (and the boot fabric) from things like falling rocks, thorns and bashings.
Not all hiking boots have toe caps – if the material is already tough enough, like certain leathers, then they’re not necessary. But if buying boots made with a relatively soft fabric like Gore-Tex, be sure to purchase ones with quality toe caps.
Toe caps are added to softer hiking boots to help protect your toes from being bashed or squashed
4. Insulation
The inside lining of hiking boots is important as this determines, to a large degree, the warmth of your feet while trekking. This is very important on a Kilimanjaro climb where you enter some very cold climates near the top of the mountain, including an arctic climate at the summit.
The materials used to line the insides of boots vary, including fabrics like leather, microfibre and insulated or vegan lining. Synthetic linings can sometimes lead to extra sweating and bad odours.
Winter hiking boots tend to use fluffy lambskin or insulated lining, but you don’t need winter hiking boots for Kilimanjaro. These would be overkill for much of the climb. When worn with thermal socks, regular hiking boots that have a standard inner lining will see you through the summit day of a Kili climb just fine.
That said, you certainly could opt for winter hiking boots if you plan to do most or many of your future treks in very cold conditions. Just be sure to pack other walking shoes for the lower region of the mountain.
Even when there's no snow at the summit, it's still bleeping cold (!), so you need warm shoes
5. Ankle support
It’s important to think about your ankles when choosing hiking boots. One busted ankle could mean the end of your Kilimanjaro climb. For this reason, many advocate choosing high-cut hiking boots.
Our own Follow Alice team member Joel Ott swears by his Meindl boots, which saw him comfortably up and down Kilimanjaro.
High-cut boots have a high collar that wraps around your ankles to offer them support. You want to find boots that have a nicely padded collar, as these are more comfortable for the ankles as well as your shins and lower calves.
If you’re unused to high-cut boots, note that they can take a while to get used to. This is another good reason to spend plenty of time in your boots before hitting the slopes of Kili!
An example of a pair of high-cut boots
The very best ankle support
It’s worth saying that the very best ankle support is strong ligaments and muscles in the feet and lower legs.
Those who argue for a more ‘natural’ type of hiking boot say that artificial ankle support is actually unhelpful. They point to the fact that no ankle support can completely immobilise your ankle (to prevent sprains or breaks), and argue that you don’t want this anyway.
The argument against ankle support will likely ring prettily in the ears of those who hate high-cut boots! If you do choose to go with low-cut boots, be sure to still go with proper hiking boots, not regular trainers. You want the other characteristics of good hiking boots (like insulation and toe caps) to be in place.
As you can see, you can't be too precious about your hiking boots – boots are made to get dirty!!
Fit
The fit of a hiking boot is crucial. You’re going to be spending long hours in your boots every day, so the best hiking boots for Kilimanjaro are, naturally, ones that fit your feet very well.
While shopping online can be tempting (especially when you find a sweet deal), you’re left on your own when the boots arrive to determine if they’re a good fit. It’s better to have someone who’s bread and butter is shoes to help you find the just right pair.
We strongly suggest that you go to a reputable outdoor store to find the best hiking boots for you. When thinking about fit, we suggest you pay attention to boot size as well as the toe box. Also, note that you should ideally only try on hiking boots after having walked around for a few hours, as your feet will have swollen a bit by then, as they will on the trek.
Walk around the store for a while when testing out hiking boots, or ask to use a treadmill
Boot size
While you may be someone who is usually a size 6, for instance, don’t let that number stick in your head when shopping for hiking boots. Keep an open mind about what size you should purchase. For starters, the sizes of each brand may not be identical. And secondly, you often need a bigger boot size than your normal shoe size. More on that in just a moment.
A good guide when looking for the right size hiking boot is the index finger test. This test says that when your boots are on and laced, you should be able to fit your index finger between your (sock-clad) foot and the back of the boot. You want a boot that protects your feet but doesn’t distort or overly confine them. Ideally, you want a boot that allows for some engagement with the ground while still offering protection.
Wear your socks when choosing your boots
It’s important to take your different hiking socks with you when you visit the outdoor store to buy your hiking boots. As discussed below, your hiking socks for Kilimanjaro should include sock liners, thermal socks and regular hiking socks. If you don’t have these socks already, ask the sales clerk to give you appropriate pairs to try on with the boots, and then buy those too.
You need boots that are large enough to fit a sock liner as well as a thick thermal sock. It’s no use deciding a pair of hiking boots fits you well only to have it turn out to be too small when you add your Kili socks into the mix. This is another reason why you may end up buying hiking boots that are a size (or half a size) larger than you expected.
Did you know? Many people have slightly differently sized feet. In fact, around two-thirds of the world’s population has unequal feet! Experts say that if one foot is half a size bigger than your other foot, you should buy shoes to fit your bigger foot. This makes sense. Remember the saying …
The toe box
The hiking boots of the past few decades have mostly provided relatively narrow (or tapered) toe boxes that keep your toes pressed relatively close together. (The toe box, as you saw in the infographic above, refers to the front area of the shoe that houses your toes.)
Some now argue for the superiority of a wide toe box that allows for natural toe splay. Toe splay refers to how your toes naturally spread out when you walk barefoot. Toe splay is important in helping you to maintain balance.
When a shoe reduces or takes away toe splay, it often compensates for the reduced balance by giving you a wider front sole. But is this ideal? Narrow toe boxes can sometimes lead to nasties like ingrown toenails, neuromas or even dead toenails.
Whichever shaped toe box you choose, note that your toes shouldn’t touch the front of the boot. Far from it, in fact. Leave about a finger’s width between the front of the boot and your toes. If you can’t move your toes at all, they’re too confined. Your toes also shouldn’t be pressed up against the sides of the boot – again, that would mean your boot is too small.
The fit of the boot is critical to a happy trek
The soles
The soles of your hiking boots are a make-or-break feature. You want soles that have good tread and are waterproof, comfortable and durable.
Sole thickness
There are two differing views when it comes to the ideal thickness of a hiking boot’s sole. The established viewpoint is that the thicker the sole, the more protection the sole of your foot receives. A thick sole prevents your foot from being injured when you step on things like sharp stones, and it endures longer.
Another reason for a thick sole is that the more weight you’re carrying (like a heavy rucksack, for instance), the longer it lasts. The army issues thick-soled boots because soldiers often carry heavy equipment. With Kilimanjaro, you only need to carry a daypack with your daily items, as the porters carry the rest of your stuff as well as all of the food and camping equipment.
The other viewpoint – the challenger – is that a thick sole is too rigid and holds your foot in one position. More specifically, your foot is prevented from feeling and making micro adjustments to the demands of the terrain underfoot. Advocates for this viewpoint also argue that a thinner sole lowers your centre of gravity and so improves your balance. Leonardo da Vinci said that the “human foot is a masterpiece of engineering” should we be letting our feet do more of the work when hiking than the boot?
You need some flexibility in your boot, especially when climbing the infamous Barranco Wall!
The outsole
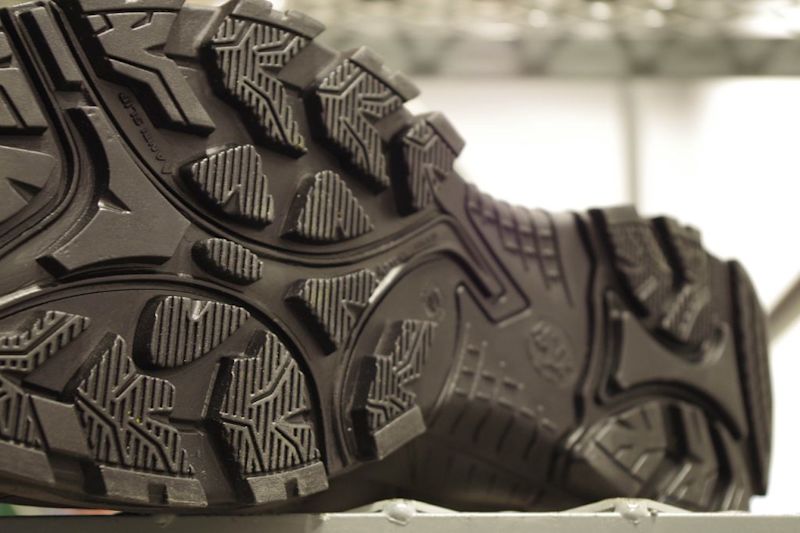
As you saw in our discussion on the anatomy of hiking boots, the soles of boots can be divided into three parts: the insole, midsole and outsole. When looking at the outsole of a hiking boot, you want one that’s decently wide, especially in the front half, for good balance.
The lugs of the outsole are what afford you traction, which helps you not to slip. If you’re likely to tackle treks that ask you to walk across surfaces like grass, streams, scree or ice, then you want good traction to avoid slipping. You need decent traction for climbing Kilimanjaro as the forest floor can be muddy, and there’s snow and ice near the summit.
Outsoles can be made from various materials like polyurethane, plastic or rubber. For a hiking boo,t you want an outsole that’s waterproof and durable. Vibram is an example of a brand that makes quality outsoles suitable for hiking boots. Their outsoles are hardy and abrasion-resistant, so they cope well with rough terrain like that of Mt Kilimanjaro.
Outsoles do tend to wear out before other parts of a hiking boot, given the beating they take. But the good news is that you can often get a boot resoled, saving you from ditching the entire shoe when the sole becomes too degraded.
You want lugs that are deep and not too close together to afford the best possible traction when hiking
Tread
The tread pattern formed by the lugs on an outsole can increase or decrease a boot’s grip. You want plenty of deep lugs with a fair bit of space between them to provide you with good traction when you walk. Lug depth is also important, as abrasion from walking will wear them down with time. While most hiking boots should have this, check for lugs that cover the ball of the boot and its heel.
The grip of a boot matters, especially when walking on slippery ground like a mossy forest floor
The insole
Many trekkers enjoy insoles with memory foam. As your feet heat up with walking, the heat spreads to the memory foam, which starts moulding to your feet. You also want an insole with decent arch support. Women especially tend to have insteps, and inadequate arch support can lead to foot problems.
If you’re someone who has problematic arches, the best course of action in such instances would be to visit a podiatrist. They can offer custom-made insets if necessary. If you have such orthotics, check that the sole of the hiking boot is removable, as you usually won’t have room in the boot for both.
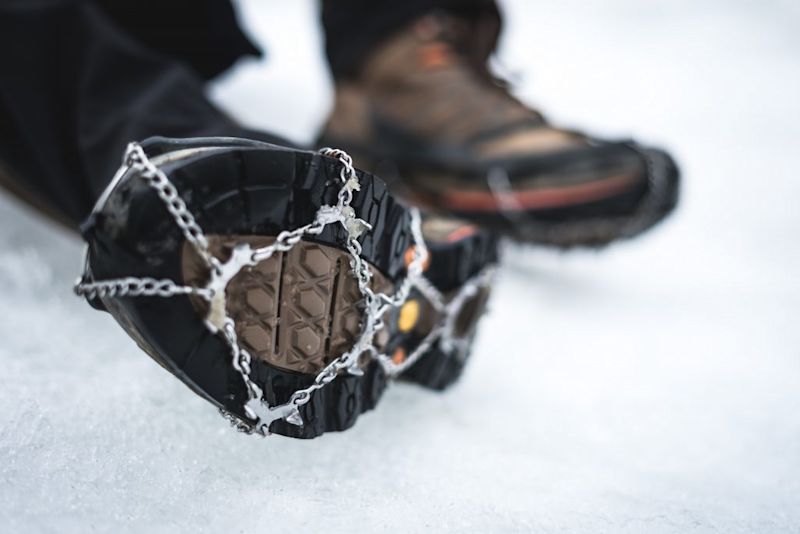
Kilimanjaro and crampons
Crampons are metal frames with spikes that you can attach to the bottom of your boots to help give you fantastic traction when walking in snow and ice. When hiking Kilimanjaro, you don’t need the hardcore crampons used by those tackling mountains like Everest. Instead, a pair of light crampons will do the trick.
That said, crampons usually aren’t needed on a Kilimanjaro climb. The only time you might like to have them is when conditions are particularly icy at the summit.
When this is the case, you can easily hire strap-on crampons in Tanzania just before heading to the mountain. If you travel with Follow Alice, we’ll advise you on arrival in Tanzania if our mountain team thinks they’d be helpful, and assist you in renting a pair.
Crampons can clip onto pretty much any hiking boot.
Crampons help you to walk steadily across the snow and ice that sometimes cover the summit of Kilimanjaro
Choosing the best bootlaces
Bootlaces aren’t something most of us give much thought to. We simply use what comes with a pair of new boots. And usually those do the job just fine. But should you like a little more insight into the ideal bootlaces, then read on ...
The best bootlaces for hiking boots
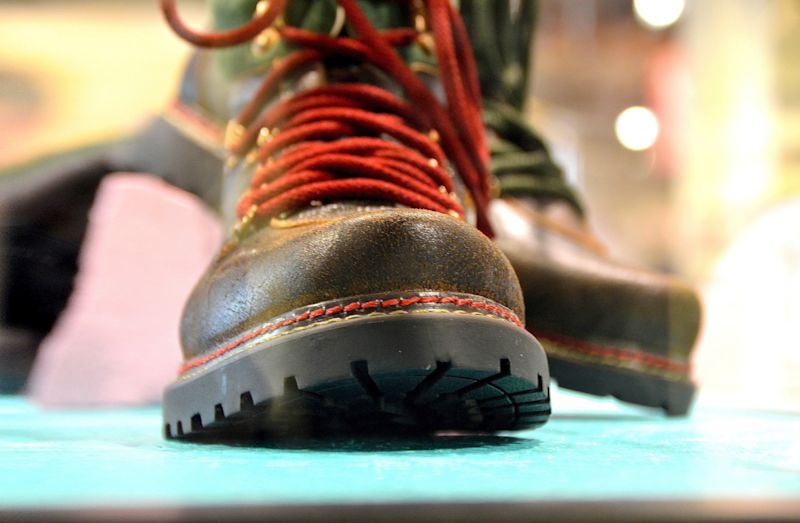
This boot has aglets at the ends of the laces to prevent them from fraying – very useful
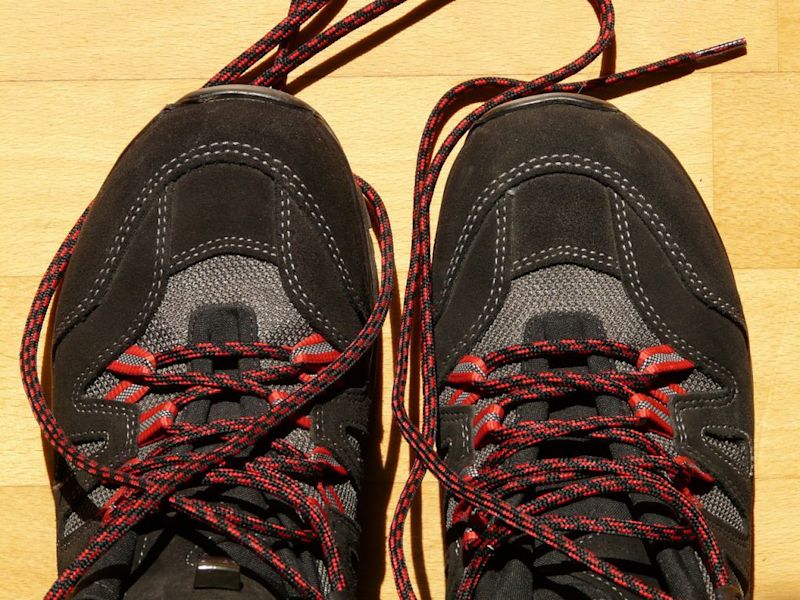
We recommend round bootlaces (like those in the picture above) over flat ones for hiking boots. Round bootlaces are a bit more durable, being able to cope with stronger knots and tugs.
Note that polyester or nylon bootlaces are more durable and water-resistant than cotton ones. Braided or paracord nylon bootlaces are super strong and an excellent option for hiking boots. Nylon laces are a touch more expensive, but they last very well.
You also want laces with aglets (plastic-coated ends) to make threading them through eyelets more manageable. Aglets have the added advantage of preventing the laces from fraying.
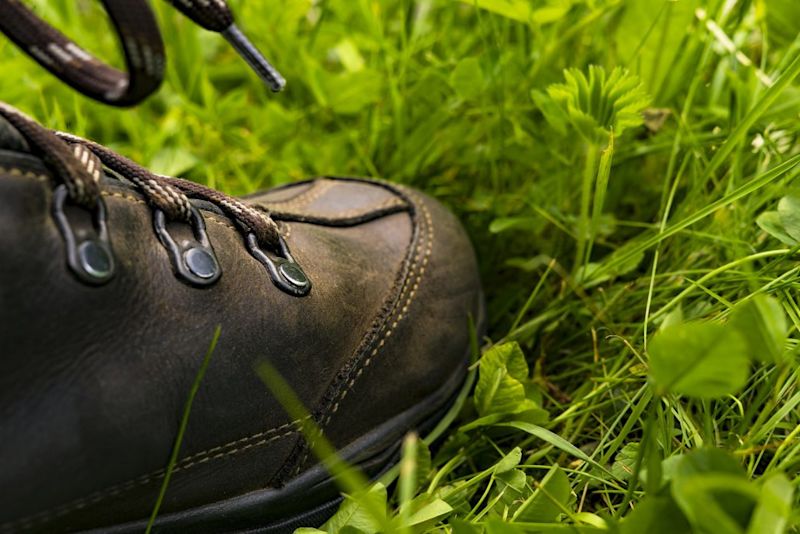
Finally, you want bootlaces long enough for the very top hooks or eyelets of the boots. Of course, the laces that come with the boots you buy should be long enough for this. But if you ever need to replace your laces, measure them or take them with you to the store to ensure the new ones are the right length.
Long bootlaces are useful as you can tie your laces in different ways to accommodate the varying terrain and any foot or discomfort issues
Break in your hiking boots
A good pair of hiking boots is an absolute must on Kili. With a good pair, you can forget about your feet and just enjoy the beauty and challenge of the climb. With a bad pair, your expedition can become miserable, even dangerous.
Your hiking boots shouldn’t be an afterthought in your Kilimanjaro preparation. Since rushed purchases lead to buyer’s remorse, give yourself plenty of time to shop around and find just the right pair (hopefully at the right price).
You also need to leave yourself plenty of time to properly break in the boots. You should do training hikes in your boots, as we discussed in How should I train for Kilimanjaro?
Unfortunately, quality hiking boots don’t come cheap. But speak to any seasoned trekker and they’ll tell you the same thing: hiking boots are an investment. A good pair of boots can last years, sometimes even decades.
For this reason, try to think ahead to the sorts of treks you might like to do in the future. Consider the climate, terrain and other conditions of those routes to help you decide which boot is best for Kilimanjaro as well as those treks.
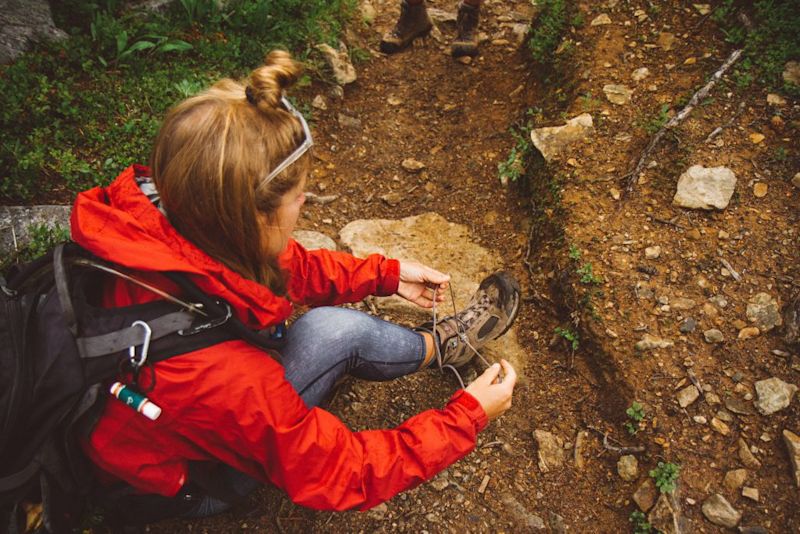
Be very careful to break in your hiking boots properly before your Kilimanjaro climb. This is especially important with leather boots. Even if your boots feel super comfy when you test them out (which they should), they still need breaking in. What's comfortable in-store isn't usually comfortable after a few hours of hard hiking.
We recommend that you and your boots cover at least 100 km together before your Kilimanjaro climb.
Start by wearing the boots around the house and on short outings, like going to buy groceries. Gradually level up by doing some longer walks, and then eventually going on increasingly longer hikes, backpack in place.
If you try to rush the process, you’re likely to get sore feet, especially with leather boots. This is another reason why you shouldn’t leave your Kilimanjaro preparation to the last minute – if you do, you won’t have enough time to properly break in your boots.
A word of caution: don’t listen to the folks who suggest quick-fix remedies like soaking the boots. The very best way to break in boots is to spend lots of time in them. Breaking in your boots properly is so important that it’s one of our top 10 tips for climbing and summiting Mt Kilimanjaro.
Happy feet = happy climbers!
Toe 'socks'
If you find your toes are hurting or blistering – or your toenails are suffering – while breaking in your boots (or even after your boots are worn in), you might like to try out toe caps. Not to be confused with the top caps that are an aspect of synthetic hiking boots, these toe caps are gel ‘socks’ that you can slide over individual toes to protect them from friction and provide some extra cushioning.
Again, you wouldn’t try something like this for the first time on Kili – experiment with toe caps before coming to the mountain to ensure they work and don’t produce any negative side effects.
You should only attempt Kilimanjaro wearing properly worn-in hiking boots
We hope we’ve helped you find the very best hiking boots for Kilimanjaro. And not only for Kilimanjaro – we want you to invest in a pair of boots that can accompany you on many other adventures! Because once you’ve ascended Kilimanjaro, you’ll doubtless have caught the trekking bug. 😄