


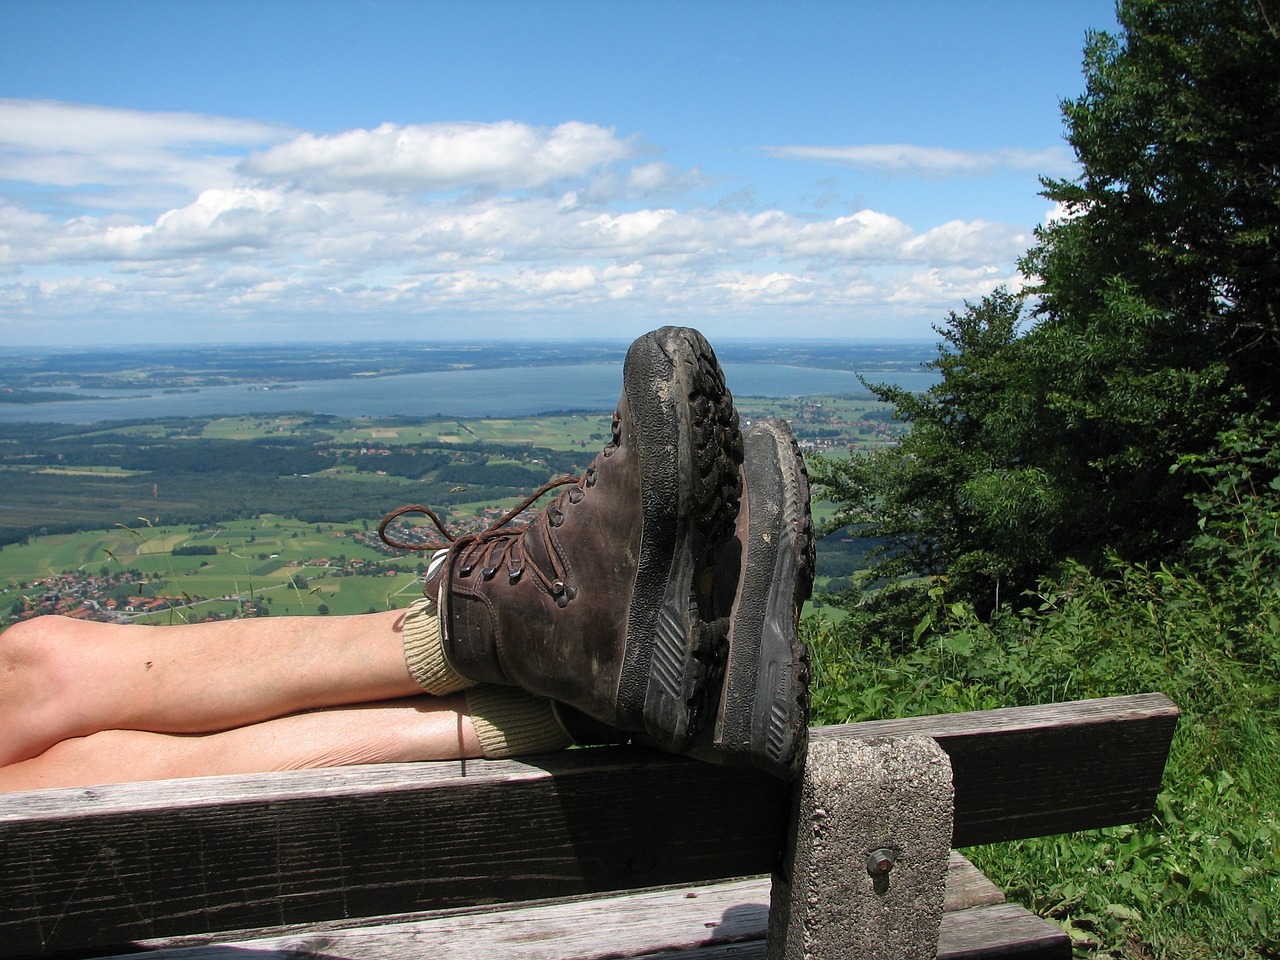
A blister forms when too much friction and heat cause fluid to fill a gap between your skin layers. They're painful and a nuisance, especially if you're in the middle of an epic trekking adventure!
So when trekking, you want to prevent blisters from ever even having the idea of coming into existence.
6 ways to prevent foot blisters when trekking
Here are our top six tips for doing just that ...
1. Break in your boots properly before the trek
You naturally need boots that are the right size and fit for a trek to ensure you don't develop any foot blisters. And the only way to know for sure that your boots are up to the task is to wear them in properly.
This means wearing them lots, and for long stretches. The best way to break in boots is to wear them on increasingly long and arduous hikes. You want to mimic and test your boots against the conditions they will one day face on a big trek.

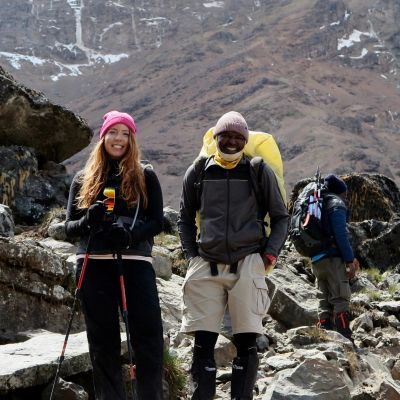
Never ever embark on a trek in a pair of boots that aren't properly worn in
Lots and lots of hours spent hiking in your boots will help mould them to your feet and prevent blisters developing when you go trekking.
2. Keep your feet dry
Wet shoes and socks do blisters make.
With this in mind, you want to be sure to trek in waterproof or properly water-repellent boots. Boots that aren't waterproof, or are only water-resistant, aren't sufficient for keeping your feet dry in most trekking conditions. (We discuss this matter of waterproof boots in detail in The best hiking boots for trekking in Nepal.)
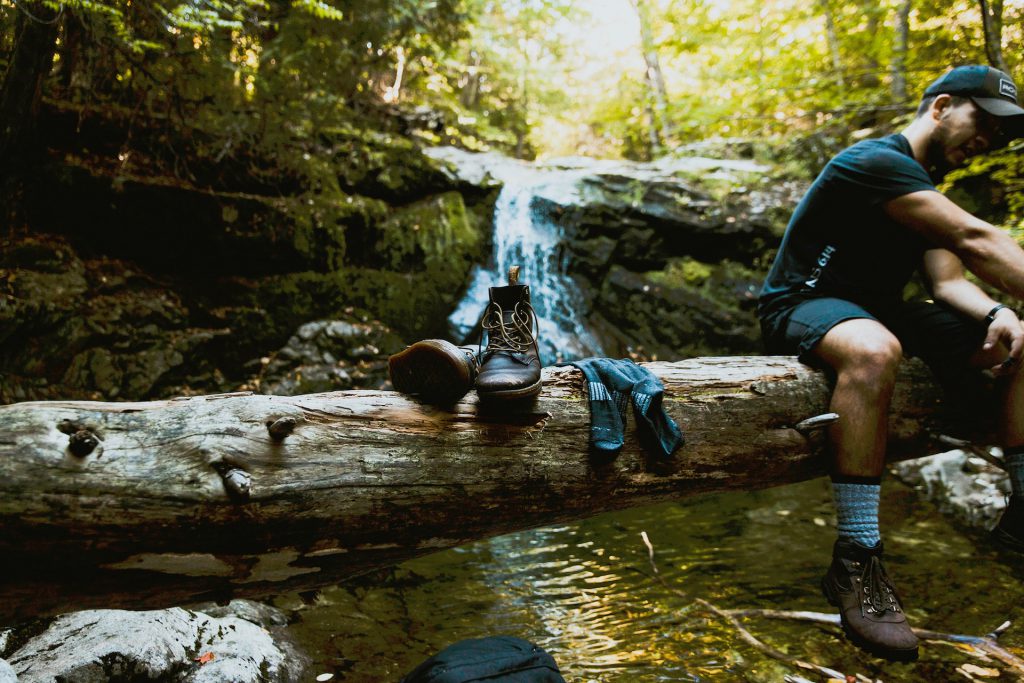
Always have spare socks to hand
You also want to change into dry socks when they get wet or very sweaty. This means keeping a spare pair in your backpack at all times. When you stop for a lunch break, for instance, check the state of your socks and put on some clean ones if necessary.
If your boots are soaked, put on dry socks and then put a plastic bag over each sock before putting your feet back into your boots. The plastic bags will keep your socks and feet from getting wet again.
Swap your socks for a dry pair if they become too damp with sweat
Never put on damp socks
Also be sure to only put on dry socks in the morning. If you're doing a multiday trek and don't have any clean socks left, be sure to dry some old ones properly overnight. And also dry your boots overnight if the insides are wet or damp.
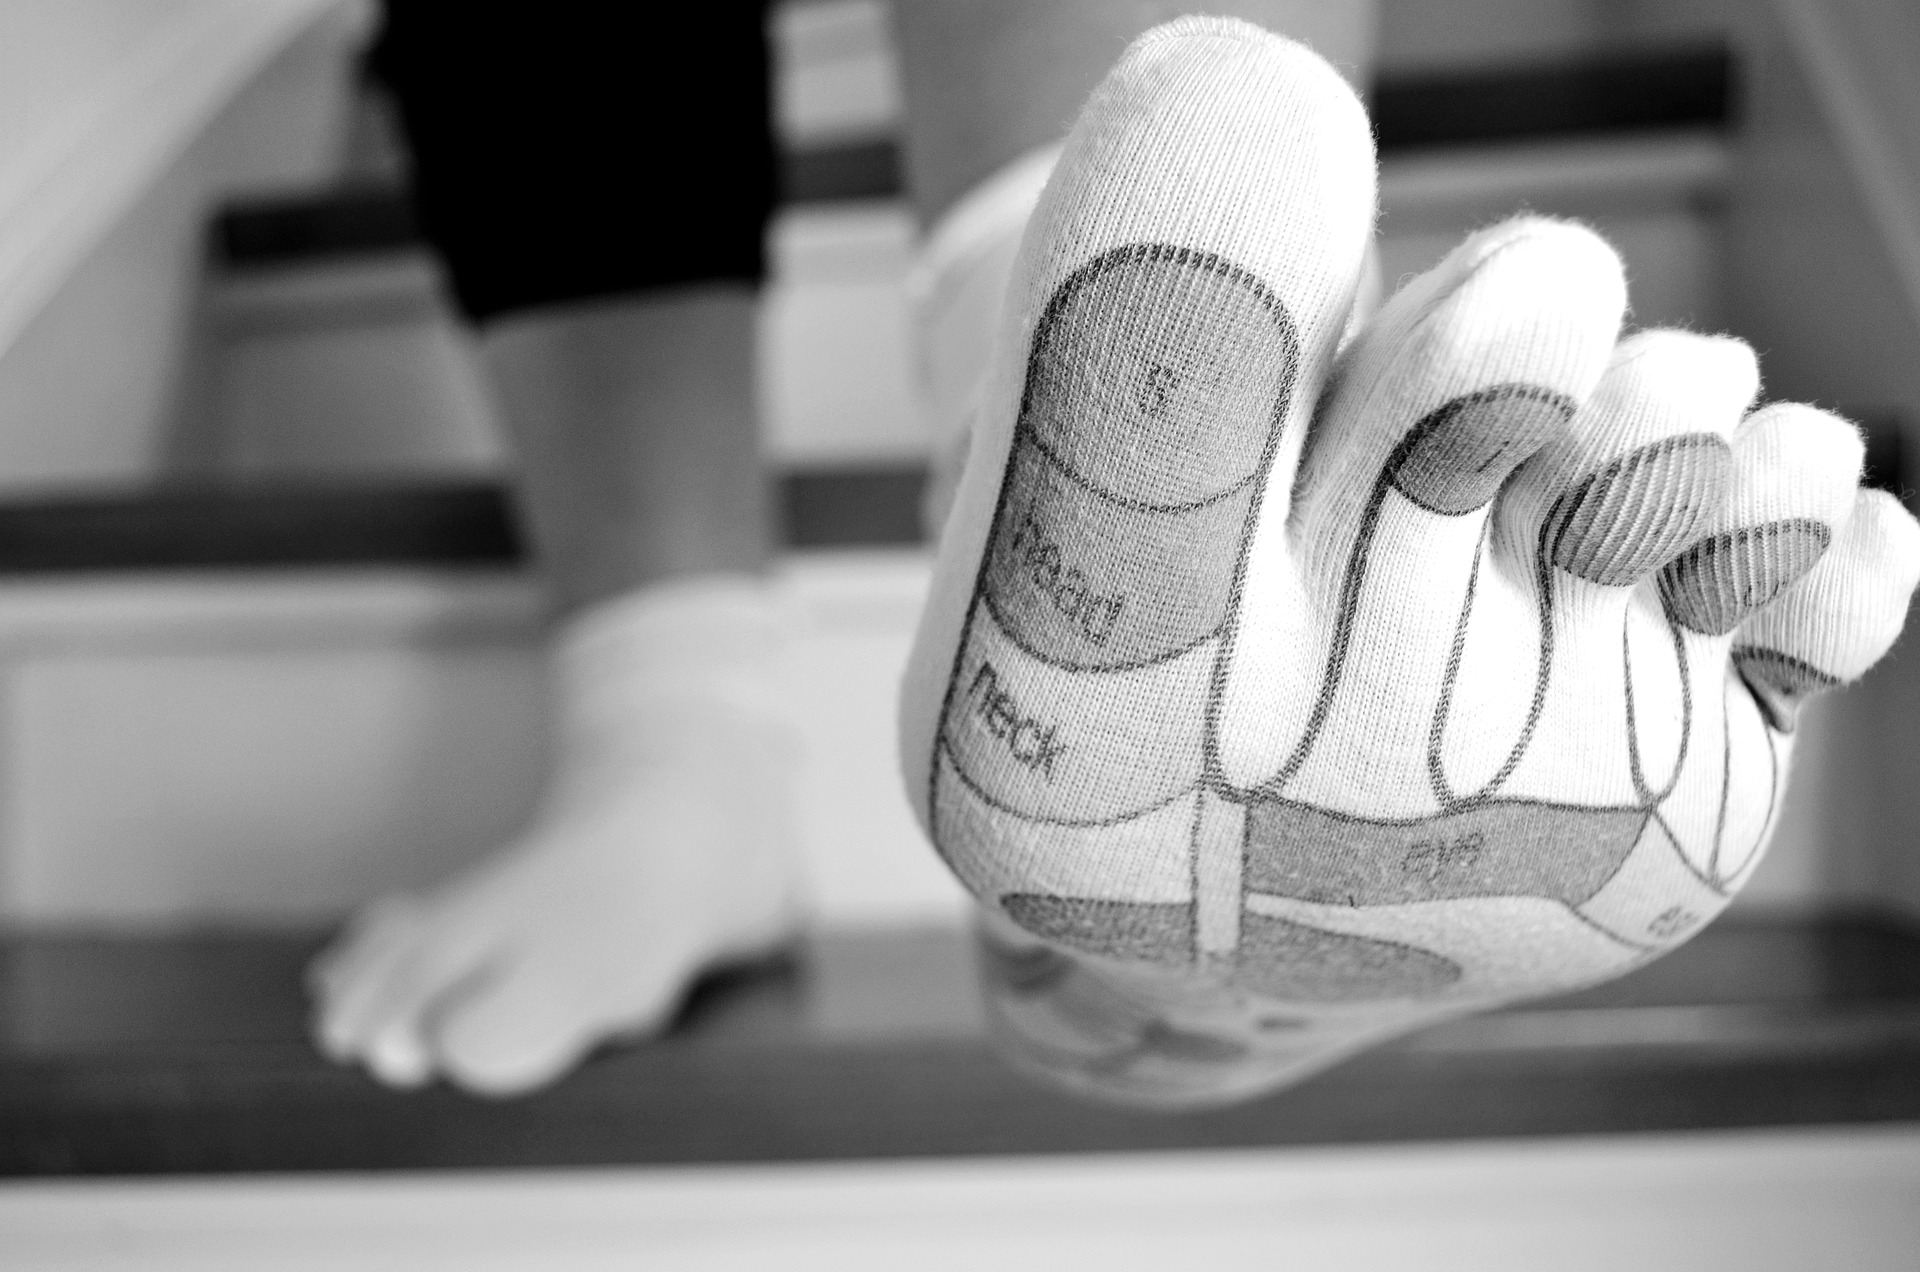
3. Wear two pairs of socks
A sock is like an additional layer of skin between your boot and your actual skin that helps to prevent hot spots and friction between the boot and your foot. Two pairs of socks therefore act like two layers of additional skin.
So consider wearing two pairs of socks on a trek. On a cold trek, this will also offer some valuable extra warmth.
Make the second pair sock liners
Alternatively, instead of two pairs of hiking socks, you could make the second pair sock liners (also known as sock inners). These are thin socks that sit snugly against your foot, and then you put your normal hiking socks over them.
Sock liners are thin socks (usually made from silk, polyester, wool or a hybrid fabric) that are super form-fitting.
Of course, it's vitally important that you only wear socks that fit well – not only on your foot, but also with each other. A bunching of socks would create issues, not solve them.
Test out your socks beforehand!
Finally, whatever number and kinds of socks you wear on your trek, be sure to only wear tried-and-tested socks on your trek. Some socks have seams that irritate, or fabric that chafes. While sock marketers can (and often do) promise the moon, the only real test is using them and seeing if they work for you.
Just as you should walk many miles in your trekking boots before using them on a big trek, wear your intended socks with those boots to check that everything works together when worn for many hours.
Hiking socks should be trial tested just like boots
More sock info
Perhaps surprisingly, socks are a big topic.
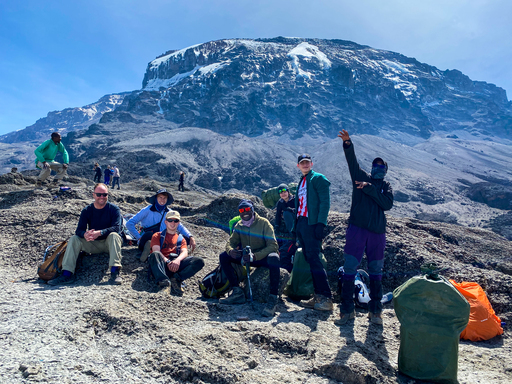
You can learn more about the best fabrics for hiking socks, and other matters, in The three kinds of socks you need for Kilimanjaro. While the article focuses on a Kilimanjaro climb, the info is valuable for any multiday trek, especially one at high altitude.
4. Protect your pressure and hot spots
There are numerous items you can buy to protect different parts of your feet, as some of us are prone to chafing and blistering in different areas.
If you're prone to developing blisters between your toes, for instance, we suggest trying out toe socks, where each toe is encased in its own little covering. Think of them as gloves for your feet.
Toe socks help to prevent friction between your toes
Alternatively, if there's just one or two toes that bother you, try a gel toe cap. Also known as toe protectors, these provide really good cushioning.
5. Try a foot spray
There are foot sprays available that help to prevent blisters forming by creating a sweat-resistant layer atop the skin.
Two well-known brands that you might like to try are Barefoot Scientist PreHeels+ and Dermal Therapy Blistop.
6. Adjust your bootlaces for long uphills and downhills
When hiking long uphills, it's worth the effort to loosen the laces across the foot and tighten the upper section of your boots. This is because you want your heels to stay snugly in place while allowing room at the front for healthy toe splay.
Conversely, on long downhills, loosen the laces around the upper section of your boots just a little, and tighten them across the feet. You want to prevent your toes from bumping against the front of the boots while giving your ankles and shins a little room for the big steps down.
Use rest stops to take pics – but also to adjust shoelaces and socks if necessary
Also note that your feet swell as you hike. So make time to loosen them during the day if your feet are starting to feel pinched. Too-tight shoes are one of the biggest culprits behind foot blisters.
How to manage a suspected or developing blister
If you suspect a blister is starting to form on your foot, or you discover that one is taking hold, take immediate action! Never ignore a niggle – rather an overreaction than an underreaction.
So yes, stop whatever you're doing, find a seat, and apply a blister plaster or zinc-oxide strapping tape. Depending on the size and location of the blister-in-the-making, a plaster or tape might suit your purpose better.
Never carry only regular plasters (band aids) on a trek. If there's enough friction to cause a blister to start to form on your foot, then a regular plaster is highly unlikely to have the necessary staying power. It will just wrinkle or slide off.
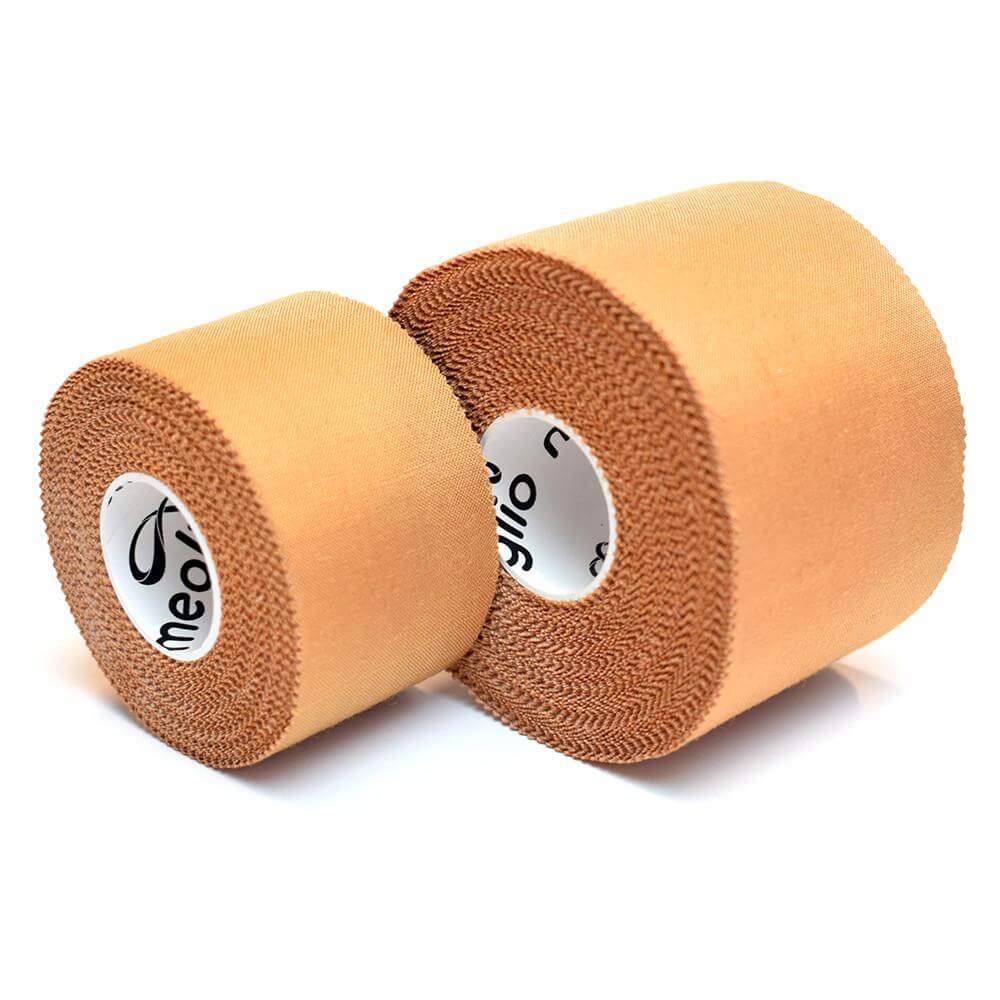
Zinc oxide strapping tape has the big bonus of not stretching
We recommend experimenting with different blister plasters and sports strapping tapes at home during your everyday routine – in other words, before heading off on your trek. You don't want to be faced with a developing blister and find the product you brought for this is useless or somehow not right for you.
So think about where your feet or ankles are blister-prone, and apply an appropriately sized and shaped blister plaster or a strip of zinc-oxide tape there and wear it throughout the day.
In a pinch, if you don't have plasters or tape, rub a little Vaseline or lip balm on the hot spot.
How to pop and dress a foot blister
If you find yourself with a large and painful blister, you'll need to pop it. Smaller blisters might be better left alone, and treated as potential blisters, as described above.
But if you do have a big 'n nasty blister that needs popping for you to carry on trekking, then you want to ensure you do it right.
Use a hypodermic needle to carefully pop it. Then drain the blister and let it dry.
That done, apply antiseptic cream and cover it with a hydrocolloid dressing to ensure it doesn't get infected. (Hydrocolloid dressings are specialised wound plasters that are waterproof yet also providing a slightly moist, healing environment.)
We recommend that you carry a hypodermic needle in its unopened package in your backpack. In this way, you have a sterile needle to hand for a moment like this – no need to dip a needle in boiling water or otherwise sterilise it. You also won't be tempted to use your possibly dirty fingernails to pinch and break the blister! 😣

And that's how you take control of the blister life, folks. Don't trek in fear, or adopt the attitude of a fatalist. Seize control of the situation by being well prepared. Prevent blisters and then, if necessary, have what's needed to deal with them swiftly and effectively.