The best acclimatisation for climbing Kilimanjaro
The very best way to safely acclimatise on a Kilimanjaro climb is to choose a good route. A good route doesn't take you up the mountain too quickly. It also includes at least one opportunity to 'climb high, sleep low'. We explain what this means ...
The main reason so many Kilimanjaro trekkers – around 50% – don't make it to the summit is that they climb the mountain too quickly, and develop altitude sickness.
A route with a good acclimatisation profile is one that doesn’t push you to climb too high, too quickly.
What is acclimatisation?
Acclimatisation is all to do with your body learning to cope with a reduced oxygen supply.
There would be a youtube video here.
Sadly, the youtube player requires cookies to work.
Is acclimatisation important?
The dangers of inadequate acclimatisation
When you don’t acclimatise properly to a higher elevation, you develop altitude sickness.
What is altitude sickness?
Altitude sickness is when your body reacts badly to the lower oxygen associated with a higher altitude.
Can I prevent altitude sickness?

Not all routes are created equal
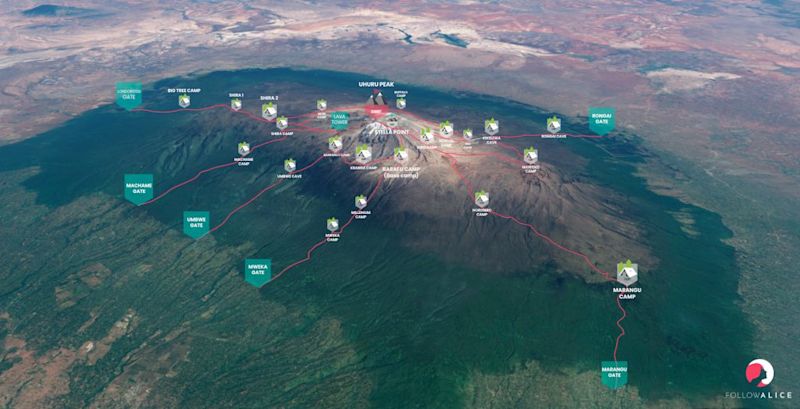
There are seven different routes up Kilimanjaro, each with its own pros and cons.
There would be a youtube video here.
Sadly, the youtube player requires cookies to work.
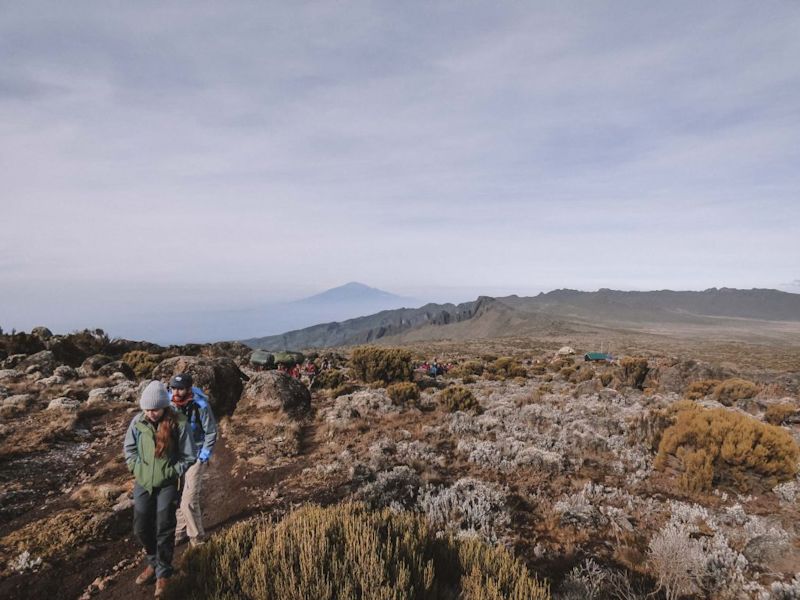
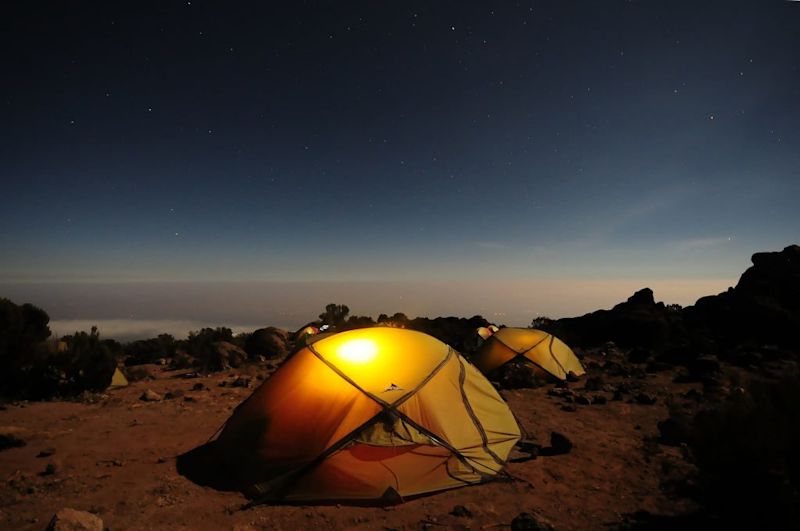
Climb high, sleep low
It’s very helpful to your body when you climb high and then sleep low.
Video of the seven Kilimanjaro routes
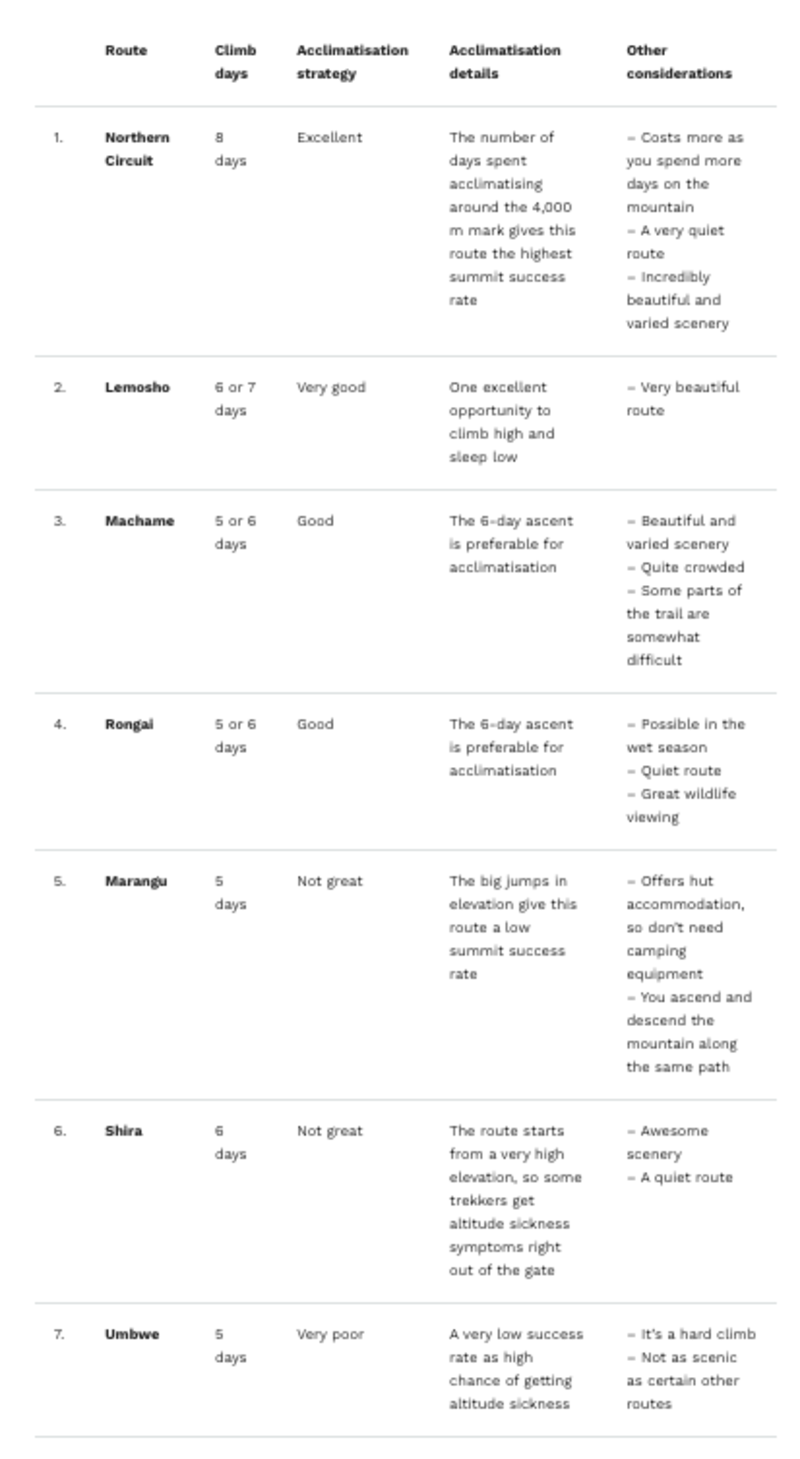
Routes offering great acclimatisation
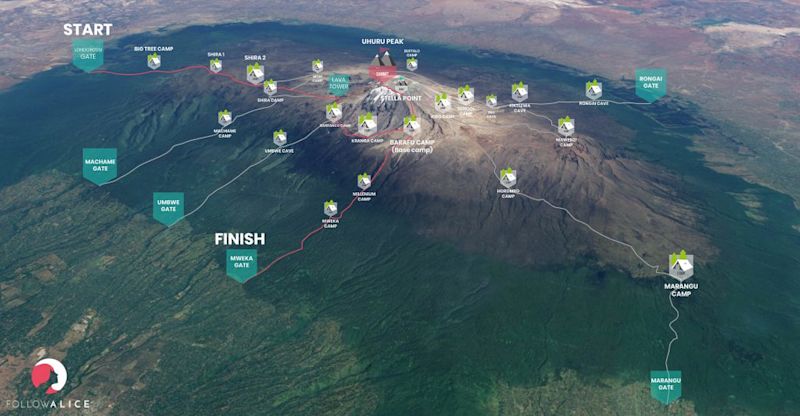
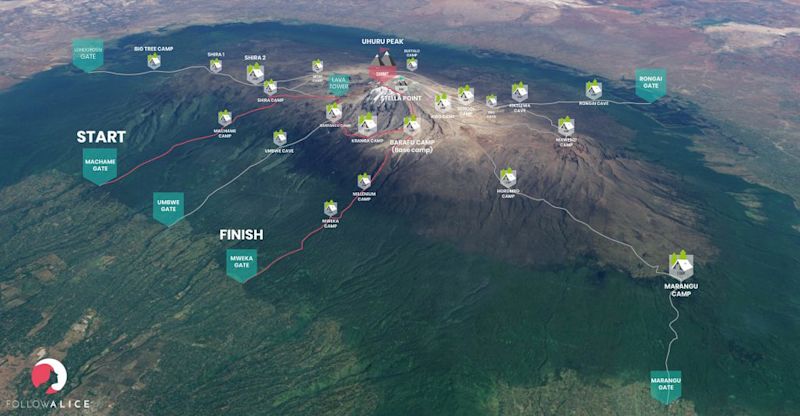
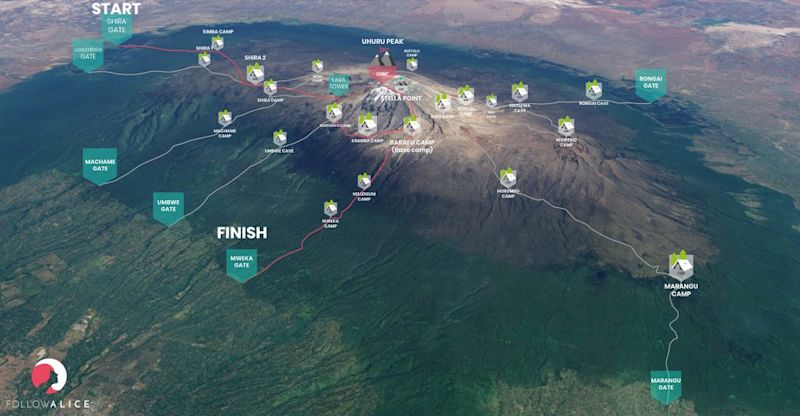
The Lemosho
An updated Shira route
We love the Lemosho route at Follow Alice – it’s our favourite!
The Northern Circuit route
The Northern Circuit is similar to the Lemosho
The 360° views of Northern Circuit
Fantastic acclimatisation strategy
The Northern Circuit offers the best acclimatisation of any Kilimanjaro route. It consequently has the highest summit success rate.

Routes offering decent acclimatisation
The Machame route
A beautiful route
The Machame is a beautiful and popular route. We recommend you take at least seven days to complete it.
The Rongai
It’s a very quiet route near the beginning, and you pass through some beautifully untouched wilderness. This also means you have a good chance of spotting wildlife . You can trek the Rongai during the wet season, as the northern slope of Kilimanjaro doesn’t receive as much rainfall as the other slopes. The Rongai offers some of the best, or clearest, views of the mountain. You descend the mountain via the Marangu route, so the scenery is varied. If you choose the seven-day itinerary, the trail should offer enough time to acclimatise properly.
The scenery isn’t quite as lovely as that of the routes approaching the summit from the west. The climb is steady and pretty flat, and as such doesn’t offer any climb-high-sleep-low opportunities, which really help with acclimatisation.
Two very different Rongai routes

Routes offering poor acclimatisation
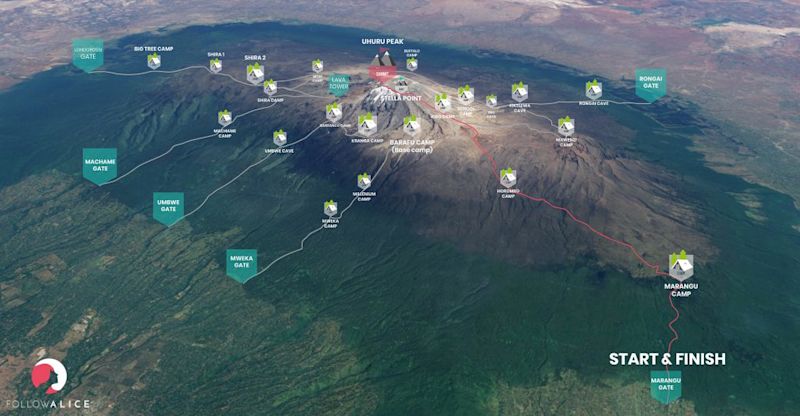
The Marangu
Cons of the Marangu route
It has a poor acclimatisation profile . This is because you ascend to the summit in only five days. The route, which approaches the summit from the east, is arguably the least scenic of all the Kilimanjaro routes. You descend the mountain along the same route as the ascent, so you don’t enjoy different views on the homeward trek. The Marangu is a relatively crowded route.
The Shira
A very high starting elevation
We don’t recommend opting for the Shira route unless you’re a highly experienced high-altitude climber or someone who lives at a similar altitude.
The Umbwe
A very taxing ascent
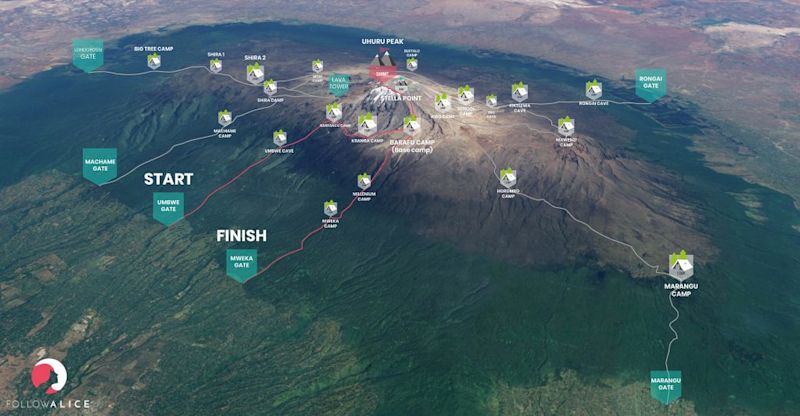
The Umbwe is very steep and offers very poor acclimatisation - we don't recommend it.
Best routes for acclimatisation